

How To Paint Ceramic Plate With Acrylic Paint Pens
Do you want to add some color and creativity to your plain ceramic plates? If so, you might be interested in learning how to paint ceramic plate with acrylic paint pens. Acrylic paint pens are easy to use, affordable, and versatile. They can help you transform any ceramic plate into a beautiful and personalized piece of art. In this article, we will show you how to paint ceramic plate with acrylic paint pens in a few simple steps. You will learn how to choose the right materials, prepare the surface, design your pattern, and seal your artwork. Whether you want to make a gift for someone special, or just have some fun with your own dishes, this project is perfect for you. Let’s get started!
These Materials Are Required for This Painting
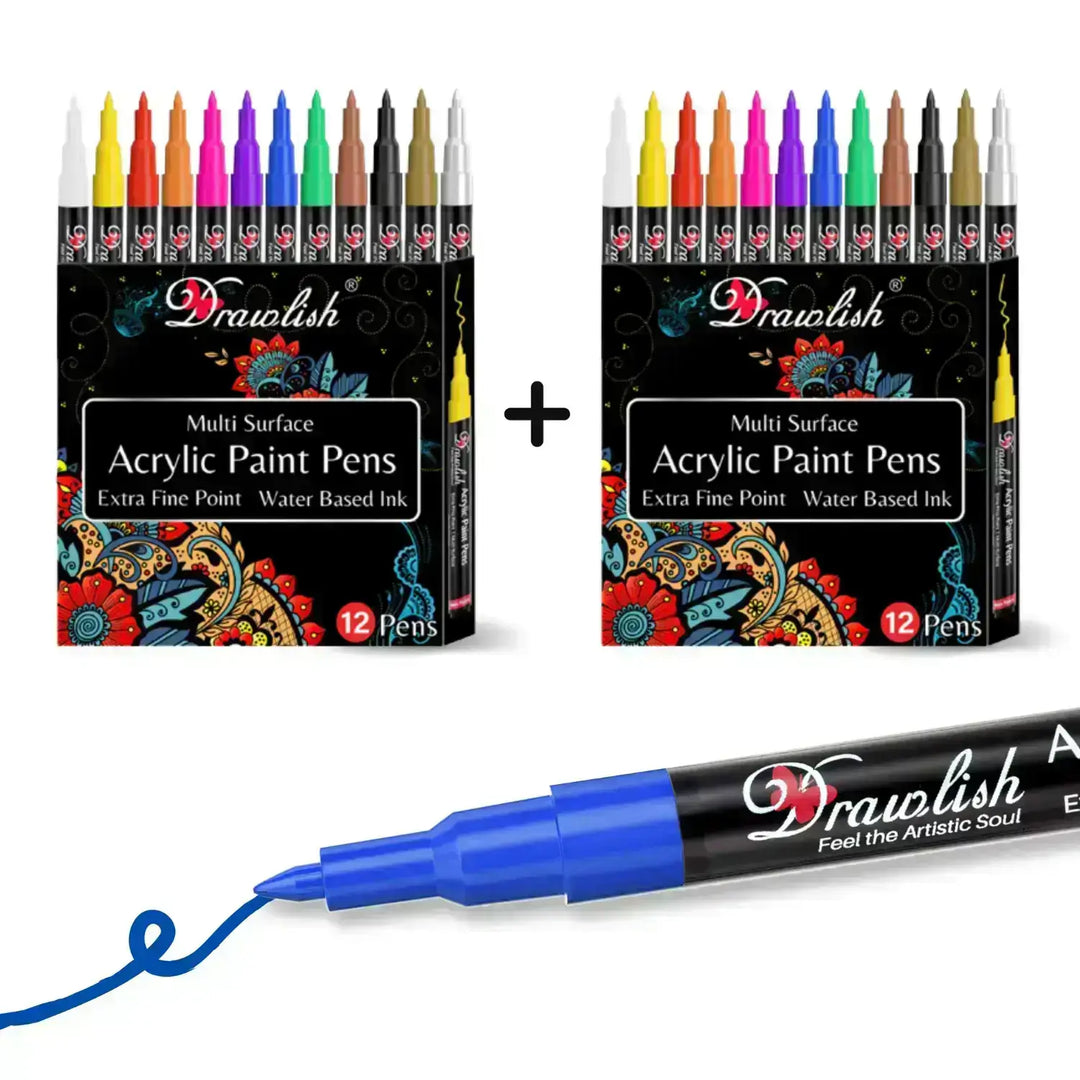
- Drawlish Acrylic Painting Pens Set of 24
- Ceramic Plate
Step By Step Guide To Paint On Ceramic Plate
Here is a step-by-step guide on how to paint ceramic plate with acrylic paint pens, This guide provides a solid starting point for your ceramic painting project, laying the groundwork for a visually stunning and personalized finished product. Enjoy the creative journey, starting with the first step
Step 1: Create 3 Flowers
Start by cleaning your ceramic plate with soap and water, and then wiping it with rubbing alcohol to remove any residue. Once dry, use a yellow drawlish acrylic paint pen to create a base layer on the left side of the plate. Begin by creating three Allamanda type flowers. Start with a half flower in the upper corner of the left side of the plate, then create a full flower in the middle of the left corner, and finally another half flower in the down corner of the left side of the plate. according to reference video or the below image. Once the base layer is dry, use a green drawlish acrylic paint pen to add details to the flowers.

Step 2: Create 3 More Flowers
starting with the second step, Once the base layer is dry, use a yellow drawlish acrylic paint pen to create three more Allamanda type flowers on the plate. Start by creating a full flower in the middle of the plate. Then, create another full flower in the right down corner of the plate, and finally, a full flower in the opposite right side of the another flower on the plate

Step 3: Adding white and orange dots
The third step in painting an Allamanda type flower is to add white dots to the center of each flower using a white Drawlish acrylic paint pen. This will give the flowers a natural and beautiful look. Once you have added the white dots, use an orange Drawlish acrylic paint pen to create some dots around the rounded edges of the white dots. This will add depth and dimension to the flowers.

Step 4: Create Stem And Leaves
The fourth step in painting an Allamanda type flower is to create a green stem for each flower. To make the stem look realistic, use a black Drawlish acrylic paint pen to create a line down the center of the stem. This will add depth and dimension to the stem. Once you have created the stem, use the same green Drawlish acrylic paint pen to create leaves for each stem. To make the leaves look beautiful, use the black pen to create veins on each leaf. This will give the leaves a more natural and realistic look.

Step 5: Compare Your Work
The fifth and final step in painting an Allamanda type flower is to compare your finished artwork with your reference video. This will help you identify any mistakes you may have made and make corrections as needed. Remember, no one is perfect, so keep practicing and striving for improvement. With time and practice, you can become a professional artist!
Comparing your artwork with your reference video is an important step in the painting process. It allows you to see how your artwork compares to the original and identify any areas that need improvement. Look for tiny details such as color, shading, and texture, and make sure that your artwork matches the reference video as closely as possible.
If you notice any mistakes or areas that need improvement, don’t be discouraged. Instead, use this as an opportunity to learn and grow as an artist. Make the necessary corrections and keep practicing until you are satisfied with your work.
Video Tutorial Of This Artwork
2 Bonus Tips:
Bonus Tip 1: Seal with a Clear Varnish for Longevity
Enhance the durability of your painted ceramic plate by applying a clear varnish or sealant designed for acrylic paints. Once your artwork is complete and thoroughly dry, carefully coat the entire surface with the varnish. This not only adds an extra layer of protection against scratches but also helps preserve the vibrancy of the colors over time. Ensure the varnish is compatible with acrylic paints and follow the manufacturer's instructions for the best results.
Bonus Tip 2: Experiment with Textures for Dimension
Elevate your ceramic plate painting by experimenting with textures to add dimension to your design. Consider incorporating varying stroke thickness, stippling, or cross-hatching techniques to create interesting visual elements. This adds depth and character to your artwork, making it more visually appealing. Before applying these techniques to the final plate, practice on a separate surface to refine your texture application skills and achieve the desired artistic effect.
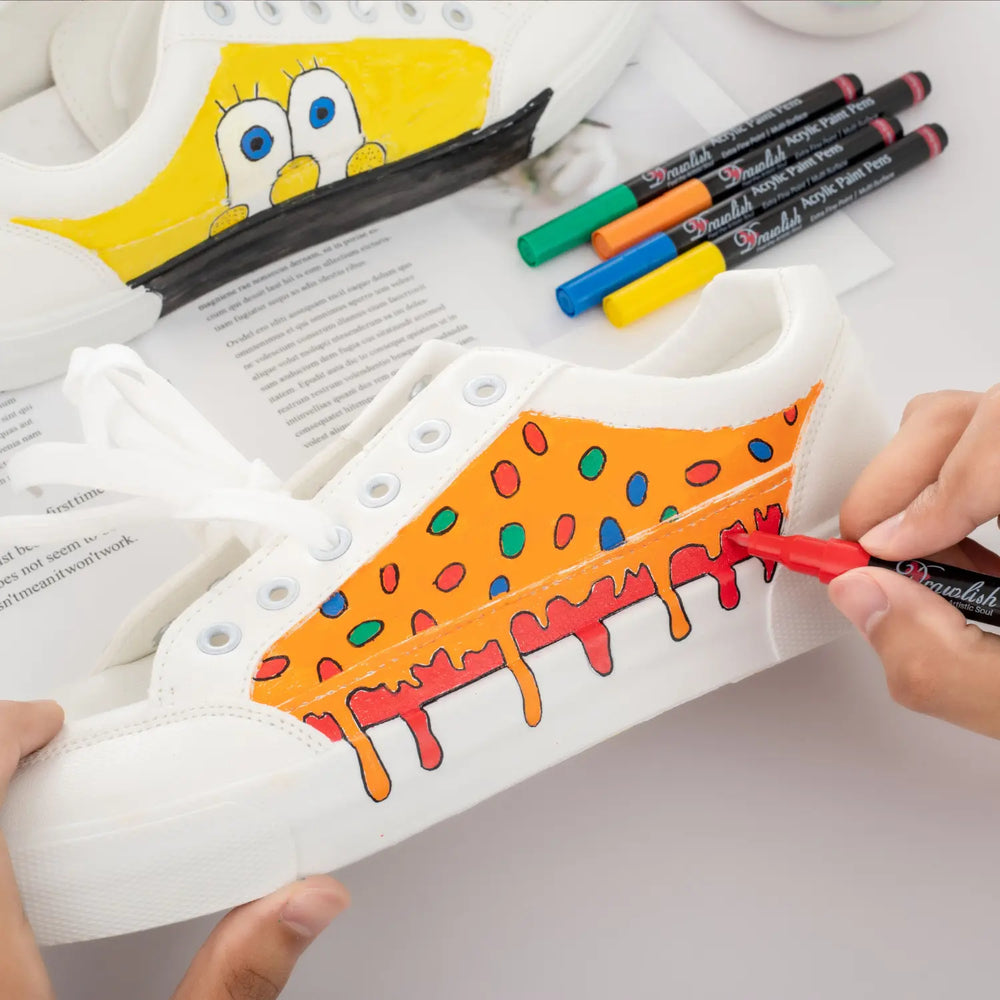
How To Use Drawlish Acrylic Paint Pens?
Drawlish Art Supply Store offers a wide range of acrylic paint pens that can be used for this purpose. The Drawlish Acrylic Painting Pens Set of 24 is a great option for those who want to experiment with different colors and shades. These pens work well on all kinds of surfaces, including canvas, paper, and wood etc. They are also easy to use and provide a smooth and consistent flow of paint.
To use the pens, simply shake them well before use and press the tip down on a piece of paper, or what you are painting on, until the paint starts to flow. Then, apply the paint to your canvas, glass, plate or paper or what you are painting on, in a smooth and even manner. The pens are also water-resistant and quick-drying, which makes them ideal for painting flowers and other intricate designs.
Buy now this paint pens set before its gone
Avoid These Common Mistakes
To create a stunning masterpiece with acrylic paint pens, you need to have skill, patience, and attention to detail. but, even with these qualities, it’s crucial to steer clear of some common mistakes that can compromise the final result. Here are some key errors to avoid while using acrylic paint pens:
-
Neglecting Shake and Test: Acrylic paint pens require a good shake before use to ensure the paint is well-mixed. Skipping this step may lead to inconsistent color distribution. Additionally, always test the pens on a scrap surface to check the flow and color accuracy.
-
Overlooking Color Compatibility: Mixing incompatible colors or layering them improperly can result in muddy tones. Take the time to understand color theory and plan your palette to avoid unintended color combinations.
-
Forgetting to Experiment: Acrylic paint pens offer versatility. Don’t be afraid to experiment with different techniques, styles, and surfaces. Embrace the learning process and discover unique ways to enhance your artistic expression.
By avoiding these common mistakes, you can create stunning works of art that are sure to impress. Remember to take your time, practice, and experiment with different colors and techniques to achieve the desired effect. With the right tools and techniques, you can create beautiful and unique works of art that showcase your creativity and talent!
Q1: How do I get a ceramic plate ready for painting with acrylic paint pens?
Begin by cleaning the ceramic plate with soap and water. This step eliminates any residual oils or substances that could impact the adherence of the paint. Ensuring a clean surface provides an ideal canvas for the application of acrylic paint pens, allowing your artistic creation to adhere smoothly and effectively to the ceramic.
Q2: Can I use any kind of acrylic paint pen on a ceramic plate?
No, it's best to use acrylic paint pens specifically made for ceramics. These pens stick better and last longer without chipping or fading. recommended pens are drawlish ones who's perfect for this project
Q3: Do I need to use a primer before using acrylic paint pens on ceramic?
In most cases, a primer isn't necessary. but, if you find the paint isn't adhering well, consider using a ceramic primer to enhance its adhesion and ensure better results. This simple step can significantly improve the performance of acrylic paint pens on ceramic surfaces.
Q4: How long does it take for the paint on the ceramic plate to dry?
The paint typically dries quickly, but it's crucial to allow each layer to dry completely before applying additional coats. Follow the recommended drying time provided by the paint pen manufacturer. Adhering to these guidelines ensures a well-set and durable finish on your ceramic plate masterpiece.
Q5: Can I use something to protect my painted ceramic plate?
Yeah Absolutely! You can safeguard your painted ceramic plate by applying a sealant or varnish designed for acrylic paints. This additional layer serves as a protective barrier, preventing scratches, fading, and damage from moisture. It not only preserves the longevity of your artistic creation but also enhances its durability, allowing you to enjoy your painted ceramic masterpiece for a long time.
Q6: Is it safe to eat from a ceramic plate painted with these pens?
Generally, once the paint is dry, it's safe. However, for added assurance, it's recommended to paint only the exterior of the plate and avoid areas where food will come into direct contact. This precaution ensures the safety of your culinary experience while still allowing you to showcase your artistic flair on the outer surfaces of the ceramic plate.
Q7: Can I put a ceramic plate painted with these pens in the dishwasher?
It's advisable to hand-wash the plate to preserve the painted design. Dishwashing may cause the paint to fade or chip over time. By opting for hand-washing, you ensure the longevity and vibrancy of your painted ceramic creation.
Q8: How can I fix mistakes while painting on the ceramic plate?
If a mistake occurs, swiftly wipe off wet paint with a damp cloth. For more stubborn errors, use a cotton swab with a bit of rubbing alcohol. After cleaning, you can seamlessly paint over the corrected area. These simple techniques ensure a smooth and enjoyable ceramic painting experience, allowing you to refine your masterpiece with ease.
Q9: Can I mix different colors to make new shades?
Absolutely! Feel free to experiment with mixing colors to craft your unique shades. Before applying them to your main canvas, test the blended colors on a separate surface to ensure you achieve the desired hue. This hands-on approach allows you to customize your palette and infuse your artwork with a personal touch.
Q10: Do I need special skills to paint a ceramic plate with these pens?
No special skills required! These paint pens are beginner-friendly, offering excellent control. Have fun, experiment with different ideas, and relish the process of creating your own ceramic masterpiece. It's a delightful and accessible way to express your creativity on ceramic surfaces.
Summary, painting a ceramic plate with acrylic paint pens is an enjoyable and accessible creative activity. By following simple steps like cleaning the plate, using the right pens, and allowing proper drying time, anyone can craft a personalized masterpiece. Remember to protect your artwork with a sealant and avoid dishwashing for long-lasting results. No special skills are required, making it a perfect project for all skill levels. So, gather your supplies, unleash your creativity, and embark on a delightful journey of turning a plain ceramic plate into a vibrant and unique creation using acrylic paint pens. Best of luck for your painting!


Leave a comment