How To Draw A Dog Drawing In 8 Short Steps
Drawing a dog can be a fun and creative way to express your artistic talents. Whether you're a seasoned artist or a beginner, learning to draw a dog is an enjoyable endeavor. In this article, we'll guide you through the process with 8 short and quick steps to create a charming dog drawing. But before we dive into the drawing process, let's make sure you have the necessary supplies at your disposal.
These Supplies You Need To Have Before Drawing
Before you start drawing, gather the following supplies:
- Paper: You can use any type of paper, but for beginners, plain white paper is ideal.
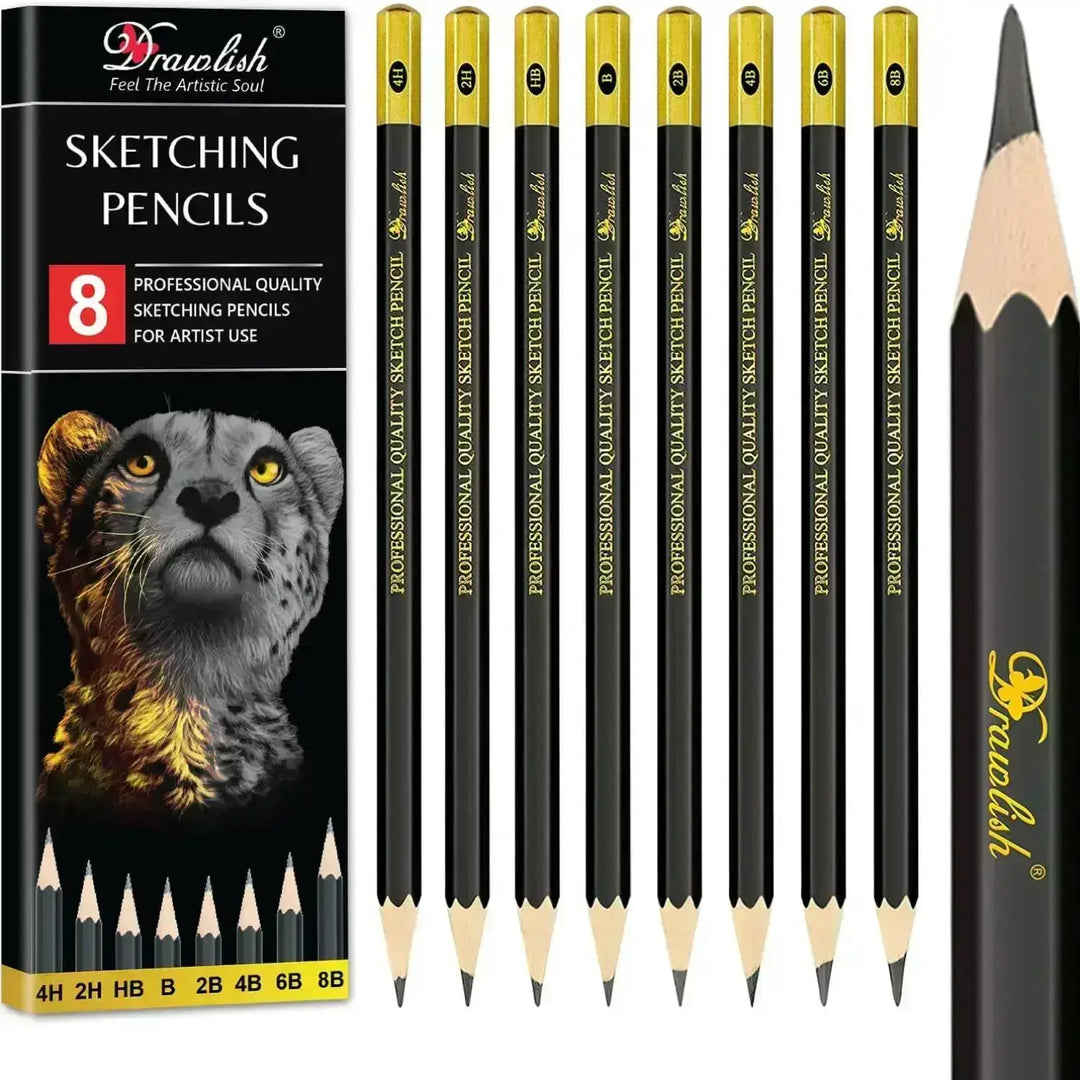
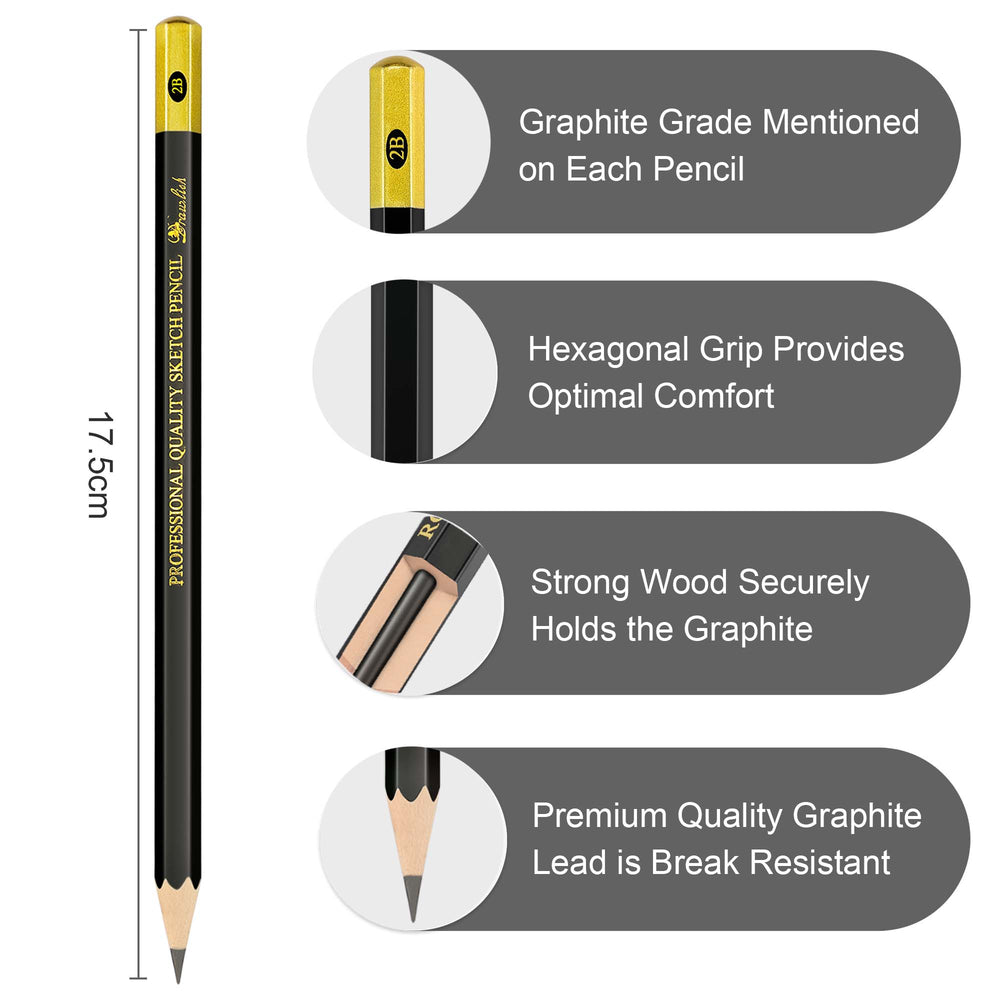
- Pencils: A set of pencils with varying degrees of hardness (H, HB, B) for shading.
- Eraser: A good quality eraser to correct mistakes and smudges.
- Sharpener: Keep your pencils sharp for precise lines.
- Reference Image: It's helpful to have a picture of a dog you want to draw for reference.
With your supplies ready, let's dive into the 8 short and quick steps for drawing a dog.
Here Are The 8 Short And Quick Steps For Dog Drawing
Step 1: Draw The Upper Body Nape Line And Eye
In Step 1 of drawing a dog, begin by sketching the upper body nape line, a gently curved line that serves as the foundation for the dog's head and body. This line's curvature can vary based on the dog's pose and breed. Next, draw the eye above and to the left of the nape line, using a small oval or circle shape. Pay close attention to the eye's size and position as it influences the dog's expression. Adding details like the pupil, iris, eyelids, shading, and highlights brings the eye to life. Ensure the nape line smoothly transitions into the head for a natural look.

Step 2: Now Draw The Mouth And Short Throat Line
In this step, the focus shifts to the dog's facial features. Begin by defining the mouth just below the previously drawn eye. The mouth is typically depicted as a curved line, although its exact shape may vary according to the dog's breed and the desired expression. For a friendly, upbeat look, curve the mouth slightly upwards; for a more neutral expression, maintain a straighter line. Ensure that the size of the mouth is proportionate to the eye. Below the mouth, create a short and subtle throat line, linking it to the neck, thereby contributing to the overall portrayal of the dog's profile. Refine these features, adjusting them as needed to match your reference image and desired expression. This step brings the dog's face to life, setting the stage for the subsequent phases of the drawing.

Step 3: Draw The Ear Now
As we continue to bring our dog drawing to life, it's time to add the ear, an essential feature that contributes significantly to a dog's appearance and character. The location, size, and shape of the ear will vary depending on the breed you're depicting. Some dogs have floppy ears, while others have perky, upright ears. To draw the ear, first, observe your reference image closely. Pay attention to the angle and position of the ear in relation to the eye and head. Then, sketch the ear, making sure to capture its unique characteristics. Keep in mind that detailing the ear is vital in conveying the breed's specific traits, so take your time and refine the shape until it closely matches your reference. This step adds depth and authenticity to your dog drawing, making it more recognizable and engaging.

Step 4: Draw The Back Full Neck Line
In this step, we continue to build the dog's overall structure by defining the neck and back. Begin by extending the neck from the nape line drawn in the first step. This line should flow smoothly from the upper body, and the curvature will depend on the breed and posture you want to depict. A long and elegant neck might be suitable for some breeds, while others may have shorter, more muscular necks. The neckline connects the head to the body and plays a crucial role in capturing the dog's posture and demeanor. Pay close attention to your reference image to ensure you capture the appropriate neck shape for the specific breed you're drawing. Refining this line will contribute to the overall authenticity and grace of your dog drawing.

Step 5: Now Draw The Throat Line But Half
As we continue to refine our dog drawing, it's time to add detail to the throat and front of the neck. Building upon the foundation established in previous steps, sketch a shorter line beneath the initial throat line. This half-throat line represents the dog's neck structure as it leads toward the body. The length and curvature of this line will depend on the dog's breed and posture. For example, in a standing or alert pose, the line may be relatively straight and shorter, while in a more relaxed or sitting pose, it might be slightly curved. Observing your reference image is essential for ensuring accuracy, as the neck's shape greatly influences the dog's overall appearance and posture. By completing this step, you're bringing your dog drawing one step closer to a lifelike and expressive representation.

Step 6: Now Draw The Two Legs
In this step, we begin to shape the dog's body by adding the front legs. These legs are a crucial part of the overall structure and balance of the drawing. Start by extending two parallel lines down from the bottom of the neck, creating the front legs. The length of these lines can vary depending on the dog's breed, size, and posture. For example, in a standing or alert pose, the front legs will appear longer and more extended, while in a sitting or relaxed pose, they will be shorter and more bent. Pay attention to your reference image to capture the specific angle and proportions of the front legs, ensuring that they align with the breed and posture you're depicting. This step marks a significant development in defining the dog's form and posture.

Step 7: Draw Two More Legs With A Tail
To complete the body of your dog drawing, it's time to add the hind legs and a tail. This step adds balance and symmetry to your portrayal. First, draw two parallel lines extending from the lower part of the body, creating the hind legs. The length and angle of these lines will depend on the breed and posture you're illustrating. For instance, in an alert or standing pose, the hind legs will be more extended, while in a sitting or relaxed pose, they will appear more bent. Additionally, sketch a simple, curved tail at the rear of the body. The tail's shape and length can vary widely from one breed to another, so reference your image to ensure accuracy.

By completing Step 7, your dog drawing will take on a more comprehensive and balanced appearance. The inclusion of hind legs and a tail adds depth and dimension to your representation.
Step 8: Add Details Now
In the final step of drawing your dog, it's time to add those little details that bring your artwork to life. Focus on enhancing the dog's character and texture.
Toes on Legs: Begin by adding toes to the legs. Dogs typically have four toes on each front leg and three toes on each hind leg. Use short, curved lines to represent these toes, and don't forget the nails or claws at the end of each toe.
Dots on Face: Many dog breeds have freckles or small spots on their face, particularly around the muzzle or nose. Add these dots or spots as small, evenly spaced markings to give your dog drawing a more authentic and realistic appearance.

Adding these fine details is where your drawing truly comes to life, emphasizing the unique qualities of the breed you're depicting. Pay attention to your reference image and ensure that you capture these characteristics accurately to make your dog drawing more captivating and true to life.
2 Bonus Tips
Bonus Tip 1: Shading for Realism
To add depth and realism to your dog drawing, pay special attention to shading. Use varying degrees of pressure with your pencils to create light and shadow. Observe your reference image to identify areas in shadow and those illuminated by light. Lightly shade the darker areas, leaving the lighter portions untouched. This shading technique enhances the three-dimensional quality of your drawing, making it more lifelike.
Bonus Tip 2: Practice And Patience
Drawing is a skill that improves with practice. Don't be discouraged by initial imperfections; instead, embrace them as part of your artistic journey. Keep practicing and refining your techniques, and over time, you'll see significant progress in your ability to capture the nuances and diversity of different dog breeds. The key is to be patient with yourself and enjoy the creative process.
Conclusion
In this artistic journey to draw a dog, you've followed eight essential steps to bring your canine subject to life. Each step has played a vital role in shaping the dog's form, expression, and character. From the initial nape line to the intricate details on the face and paws, your drawing has evolved into a representation of your chosen breed's unique charm. Remember that practice and patience are key, and as you continue to draw, your skills will grow, allowing you to capture the essence of various dog breeds with greater precision and authenticity. Enjoy your artistic endeavors, and keep honing your abilities to create more lifelike and expressive dog drawings.


Leave a comment