How to Draw Realistic Lips Like a Pro: Step-by-Step Guide
Drawing realistic lips might seem daunting at first, but with the right approach and a bit of practice, you can master this essential skill. Whether you’re a beginner or an experienced artist looking to refine your technique. In this step-by-step guide, we’ll walk you through the process of how to draw realistic lips like a pro.
Gather Your Materials:
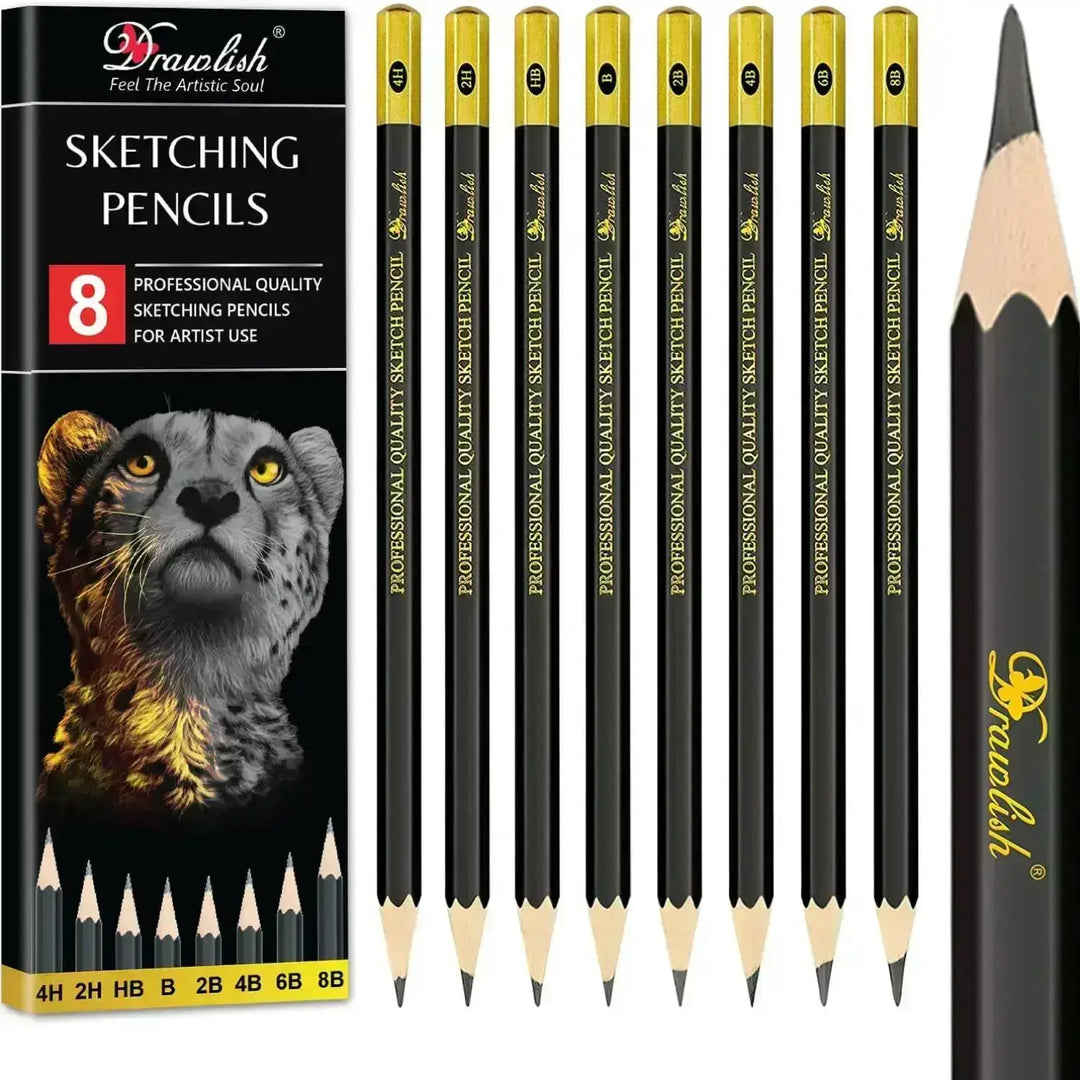
- Drawlish HB and 5B Sketching Pencils
- Soft Tissue and Cotton Buds
- Kneaded Rubber
- Drawing Paper
- Eraser
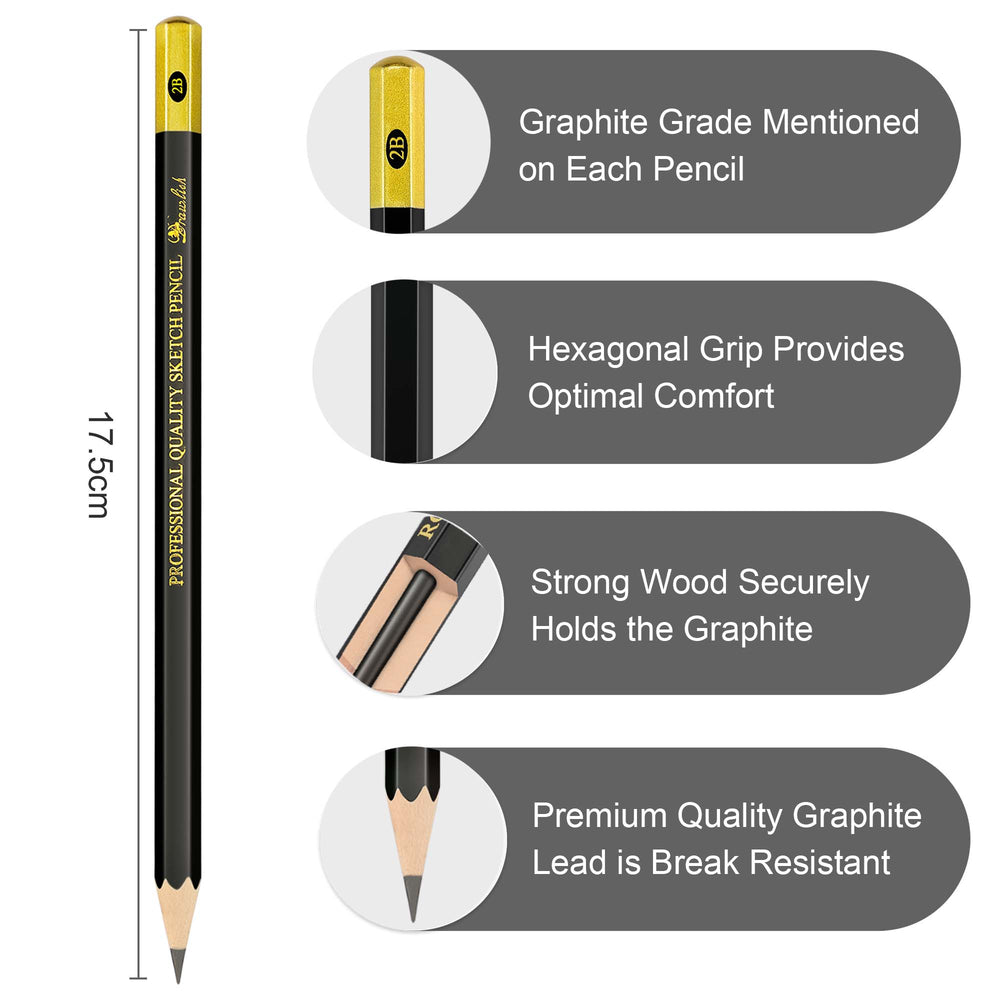
Using high-quality materials like Drawlish drawing pencils will significantly improve the precision and detail of your drawing.
Step 1: Outline the Basic Shape
Start with your Drawlish HB pencil for the construction process. Keep your lines very light to ensure they blend seamlessly with your shading later on. This method is simpler than the traditional triangle method and will help you get a more natural outline.
-
Draw the Center Line: Begin with a horizontal line. This line will act as a guide for the center of the lips.
-
Mark the Center Point: Locate the very center of this line and draw a small curve that will form the dip of the cupid’s bow.
-
Place the Corners of the Mouth: On both sides of the center point, draw a small tick mark. These marks will indicate the corners of the mouth. Make sure they are spaced evenly apart to ensure symmetry.
-
Connect the Dots: Connect these marks using a wavy line of your choice. This line represents the opening of the mouth. The way you draw this line will affect the expression and shape of the lips.

Bonus Tip:
The shape of the line can curve up or down. Depending on the shape you draw, you can create different mouth shapes and expressions. Experiment with different curves to see how they alter the look of the lips.
Step 2: Draw the Cupid's Bow and Outline the Lips.
-
Draw the Cupid's Bow: Start by locating the center point on your guide line. Draw a wide "V" shape for a prominent cupid's bow. Alternatively, you can draw a "U" shape or a flatter line for different styles. The position and shape of this line will determine whether the top lip is thinner or thicker.
-
Connect to the Corners: From the ends of your "V" or "U" shape, draw lines connecting to the corners of the mouth you marked earlier. These lines should follow the natural curvature of the lips. Repeat the same process for the bottom lip.

Bonus Tip:
Keep the width of the cupid's bow to about a third of the overall mouth width. This proportion helps maintain a natural and balanced look, preventing the bow from appearing too wide or too narrow.
Step 3: Lay Down the Base Layer of Graphite
-
Lay Down a Smooth Layer: Take your HB sketch pencil to apply a smooth, even layer of graphite over a large area. Use the hatching method, making sure all strokes go in one direction. Hold the pencil with an overhand grip for broader, smoother strokes.
-
Blend the Shading: Wrap a soft tissue around your finger. Lightly blend the graphite to create a smooth base layer.
This base layer ensures your drawing stands out from the paper, giving it a more lifelike appearance.

Step 4: Add Contour Lines for Texture
Let's enhance the lips with more shading and texture.
-
Shading with Contour Lines: Use an HB pencil with a sharp point. Instead of hatching, use contour lines that follow the natural curves of the lips. Apply these lines uniformly to the bottom lip for texture.
-
Create Thin Lines: Use the pointy tip of your pencil to create many thin, precise lines. Vary the pressure to add depth and dimension.

Bonus Tip:
The way you draw your contour lines can significantly affect the shape and realism of the lips. Experiment with different line directions and pressures to achieve the desired effect.





Leave a comment