How To Paint Angry Bird On Rock With Acrylic Paint Pens
Welcome to the colorful world of rock painting, where creativity meets simplicity, In this step-by-step guide, we're going to show you how to bring the iconic Angry Bird to life on a rock using nothing but acrylic paint pens. Get ready to embark on a paint-filled adventure that's easy, enjoyable, and downright cool. Whether you're a seasoned artist or just dipping your toes into the world of DIY crafts, this tutorial is designed for everyone. With vibrant acrylic paint pens in hand, we'll guide you through the process of creating a feisty Angry Bird on a rock. It's the perfect blend of fun and relaxation, making it an ideal project for unleashing your inner artist. So, grab your paints, find a comfortable space, and let's transform an ordinary rock into a masterpiece that'll surely bring a smile to your face. Let the painting party begin.
You will need these essential materials
Follow This Detailed Step-by-Step Guide for Creating a Stunning Angry Bird Rock Painting
Ready to dive into the colorful world of creativity? In this easy-to-follow guide, we'll be using Drawlish Acrylic Painting Pens to bring an Angry Bird to life on a rock. Whether you're a seasoned artist or just starting, this step-by-step adventure is crafted for everyone. So, grab your pens, find a cozy spot, and let's turn an ordinary rock into a vibrant masterpiece. let's start with sketching
Step 1: Sketching the Feisty Bird
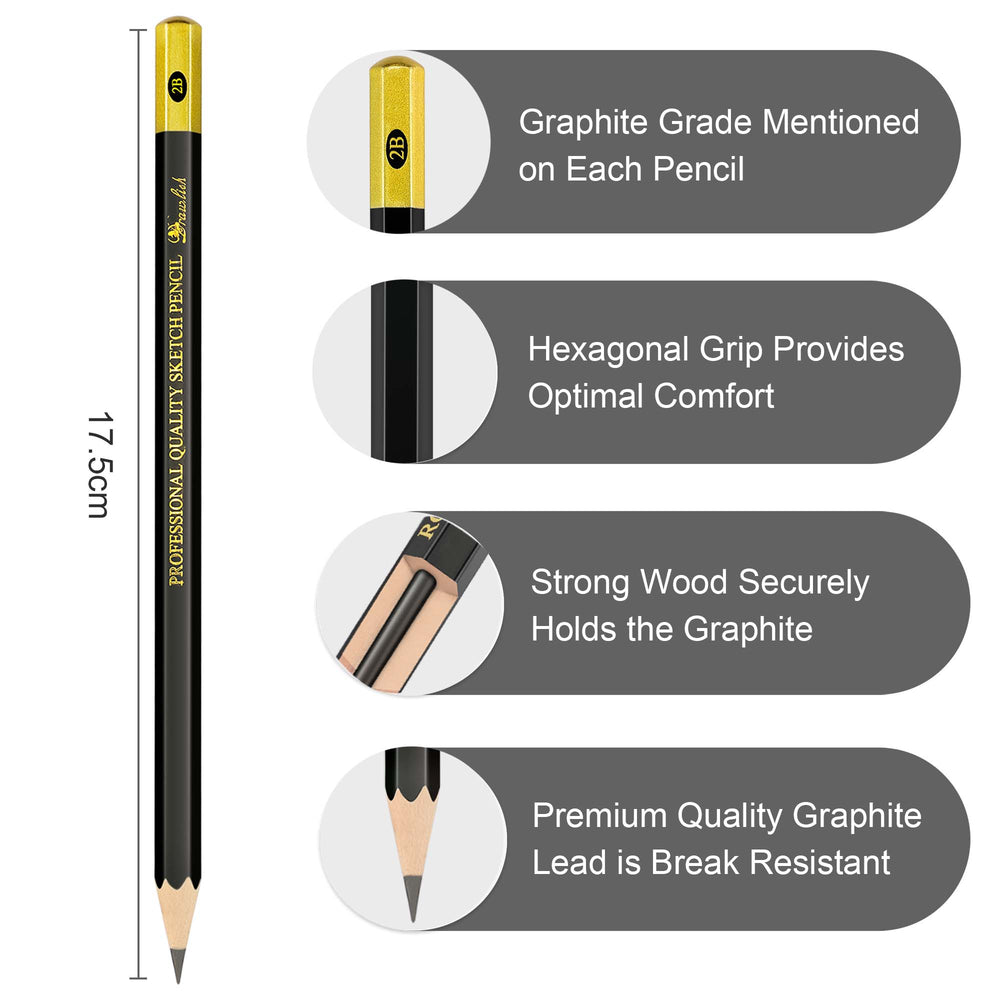
Prepare for a creative adventure as you embark on the first step in crafting your vibrant Angry Bird rock painting. With a pencil in hand, follow this guide to create a lively sketch of the Angry Bird on the rock, using a reference video for accuracy. Let your artistic instincts take over, and enjoy the process of bringing this iconic character to life on your rock. This initial step sets the stage for the colorful journey ahead, ensuring your Angry Bird takes shape with style and character. Get ready to add a splash of personality to your rock.

Step 2: Crafting the Cool Angry Bird Head
In this exciting second step, grab your trusty black drawlish acrylic paint pen and get ready to define the Angry Bird's personality. Start by creating a rounded circle, giving your feisty friend a head that's as bold and distinct as its attitude. Don't stress about perfectio, embrace the fun, and let the paint pen smoothly roll over the rock. The oval-like shape adds a touch of whimsy to your Angry Bird, setting the stage for the vibrant details to come. Feel the creative energy flow as you bring the character to life, one cool stroke at a time

Step 3: Creating Eye-Catching Features
In this dynamic third step, it's time to give your Angry Bird some expressive features. With your black paint pen, craft bold oval-shaped eyes that reflect the bird's attitude. Dive into the fun details by adding two circle-like ears, complete with tiny circles for that authentic ear-hole charm. Enhance the facial expression with a pair of cool eyebrow, just two sleek black lines to capture the character's intensity. This step adds a touch of mischief and flair, bringing your Angry Bird to life with personality. Enjoy the process of giving your feathered friend its unique, eye-catching charm.

Step 4: Adding Flair to Your Angry Bird
Get ready to elevate your Angry Bird's style in the fourth step. With your paint pen, fashion a sleek, oval-like shape just above the eyebrows. Now, for that extra touch of coolness, extend a circle-like line from each oval, creating a distinctive feathered look. Repeat this process to ensure your Angry Bird rocks not one, but two of these stylish feathered shapes. These unique details bring an extra layer of flair to your masterpiece, making your feisty friend stand out with an edgy, fashionable vibe. It's all about adding those cool finishing touches that make your Angry Bird truly one-of-a-kind.

Step 5: Greenify Your Angry Bird
Inject vibrant energy into your Angry Bird masterpiece with the fifth step, the color infusion, Take your green drawlish acrylic paint pen and bring the head to life, filling it with the bold shade of green. Don't forget to splash that lively color onto the eyebrows and the upper feather shapes, creating a cohesive and dynamic look. Dive into the details by adding the same green hue to define the cheeky mouth, giving your Angry Bird an extra dash of personality. This step is all about turning your feisty friend into a visually striking character, ready to steal the spotlight in your rock painting collection

Step 6: A Pop of White and Blue Magic
Prepare to add a touch of whimsy to your Angry Bird in the sixth step. Grab your white drawlish acrylic paint pen and generously coat the ears with this bright shade, creating a crisp contrast against the vibrant green. Once the ears are looking sharp, dive into the cool details by using a blue drawlish acrylic paint pen to color the tiny ear holes. This step not only enhances the bird's auditory charm but also brings a dynamic visual element to your masterpiece. Watch as your Angry Bird comes alive with personality, showcasing a harmonious blend of white and blue ear candy

Step 7: Let Creativity Soar, Explore Endless Possibilities
In the seventh step, the rocks is yours to command, Unleash your artistic spirit by experimenting with multiple rock paintings using various drawlish acrylic paint pens and shapes. While this tutorial focuses on crafting a single Angry Bird masterpiece, feel free to dive into the world of endless possibilities. Create a flock of Angry Birds with different colors, shapes, and expressions, letting your imagination take flight. Whether it's a feisty family of birds or a solo rock adorned with vibrant hues, this step encourages you to explore and enjoy the boundless creative freedom that rock painting offers. Let your creativity soar and paint the rocks of your imagination
Step 8: Fine-Tuning Perfection
As you reach the eighth step, it's time for a close-up examination. Compare your finished Angry Bird rock painting with the reference video, paying attention to every tiny detail. Embrace the opportunity to fine-tune and perfect your artwork. Should you spot any deviations, correct them with precision. Remember, no one achieves perfection instantly, so treat each stroke as a step towards becoming a professional artist. Acknowledge the imperfections as part of your artistic journey and use them as stepping stones for improvement. Keep practicing, refining, and evolving, your dedication will undoubtedly pave the way to unlocking your full artistic potential
Video Tutorial Of This Painting
How To Use Drawlish Acrylic Paint Pens?
The Drawlish Art Supply Store has a bunch of acrylic paint pens you can use for this. Try the Drawlish Acrylic Painting Pens Set of 24 if you want lots of colors to play with. These pens are great on different surfaces like canvas, paper, and wood. They're super easy to use, giving you a smooth and steady paint flow. Just shake them before using, press the tip down until the paint comes out, and then start painting on your canvas or whatever you're using. The pens dry fast and resist water, making them awesome for painting detailed stuff like flowers. So, get creative with Drawlish acrylic paint pens and make your art pop.
2 Bonus Tips
Bonus Tip 1: Mix It Up
Don't hesitate to blend colors from your Drawlish Acrylic Painting Pens Set of 24. Experiment with mixing and layering different shades to create unique tones for your Angry Bird or any other artwork. This adds depth and personality to your masterpiece, making it truly one-of-a-kind.
Bonus Tip 2: Practice Makes Perfect
Art is all about practice. Keep honing your skills by trying out various shapes and designs on spare rocks or paper. The more you practice, the more confident you'll become in handling your acrylic paint pens. Embrace the learning process, and soon you'll be creating rock paintings that showcase your evolving artistic flair.
Q: Can I use a hairdryer to speed up the drying process when using these pens?
Absolutely! Using a hairdryer on a low heat setting can help speed up the drying process. It's a convenient option, especially when working on layers or if you're eager to move on to the next step of your artwork.
Q1: Do I need a primer before using Drawlish Acrylic Painting Pens on surfaces like wood or glass?
It's recommended to use a primer on certain surfaces, such as glass or shiny wood, for better adhesion. Applying a primer creates a suitable base, ensuring that the acrylic paint adheres well and results in a more long-lasting finish.
Q2: Can I use Drawlish Acrylic Painting Pens on fabric for custom designs?
Absolutely, Drawlish Acrylic Painting Pens are suitable for fabric projects, letting you create custom designs on clothing, tote bags, or canvas shoes. After decorating, heat-set the fabric according to the pen's instructions for a durable and washable finish.
Q3: Are Drawlish Acrylic Painting Pens suitable for painting on rocks with rough textures?
Yes, These pens work well on various textures, including rough surfaces like rocks. The fine tips allow you to navigate the crevices and create intricate designs. Just ensure the rock is clean and dry before you begin to ensure optimal adhesion.
Q4: How can I correct mistakes made with Drawlish Acrylic Painting Pens?
If you make a mistake, act quickly. While the paint is still wet, use a damp cloth or cotton swab to carefully wipe away the error. If the paint has dried, you may need to paint over it with the background color and wait for it to dry before continuing with your artwork.
Q5: How long does it take for Drawlish Acrylic Painting Pens to dry on different surfaces?
Drying times vary based on the surface and thickness of the paint application. Generally, these pens offer quick drying times, ranging from a few minutes to an hour. Thicker applications or highly absorbent surfaces may extend drying times, so be patient and allow ample time for each layer to dry.
Q6: Are Drawlish Acrylic Painting Pens suitable for collaborative art projects with kids?
Certainly, These pens are perfect for collaborative projects with kids. Their easy-to-use design, vibrant colors, and water-resistant properties make them a great choice for creating art together. Plus, the fine tips allow for precision, making it enjoyable for artists of all ages.
Q7: Can I apply a clear coat over my finished artwork for extra protection?
Yes, you can, Applying a clear coat or varnish over your finished artwork provides an additional layer of protection. This helps safeguard your masterpiece against environmental factors and ensures its longevity, especially if displayed outdoors or in high-traffic areas.
Q8: Can I create a watercolor effect by diluting Drawlish Acrylic Painting Pens with water?
While these pens aren't designed for watercolor effects, you can achieve a lighter shade by diluting the paint with water. Experiment on a separate surface to find the right balance, keeping in mind that the result may differ from traditional watercolors.
Q9: Can I use Drawlish Acrylic Painting Pens for calligraphy or lettering projects?
Yeah, The pens' fine tips make them suitable for calligraphy and lettering. Experiment with different lettering styles, and enjoy the smooth and consistent paint flow for creating beautiful, personalized messages or quotes in your artwork.
Q10: How can I create a gradient effect with Drawlish Acrylic Painting Pens?
Achieving a gradient effect is easy, Start by applying the lighter color, then gradually introduce the darker shade while the paint is still wet. Use a gentle back-and-forth motion to blend the colors. Experimenting with this technique adds depth and dimension to your artwork.
Q11: Are Drawlish Acrylic Painting Pens suitable for creating art on ceramic surfaces?
Absolutely! These pens work well on ceramics. Ensure the surface is clean and dry, and then let your creativity flow. Once your artwork is complete, you can bake the ceramic item according to the pen's instructions to set the paint for long-lasting results. we also done some projects on ceramic surface like on plate utilizing some amazing ideas on it
Q12: How can I add a three-dimensional effect to my artwork with these pens?
To create a 3D effect, use darker shades for shadows and lighter shades for highlights. Apply the darker color where shadows naturally fall, and add the lighter color where light hits. This simple technique adds depth and dimension, making your artwork visually engaging.
In summary, our artistic journey, Dive into the world of creativity with Drawlish Acrylic Painting Pens. These pens, with their vivid colors and easy-to-use design, bring your imagination to life on various surfaces. From vibrant rock paintings to personalized fabric projects, Drawlish offers a canvas for all. Whether you're a budding artist or a seasoned creator, the versatility of these pens caters to everyone's artistic dreams. So, grab your Drawlish pens, embark on your creative expedition, and let your unique expressions take center stage. With these fantastic tools, transform ordinary moments into extraordinary works of art, adding a splash of color and fun to your artistic endeavors.


Leave a comment