How To Paint Butterfly On Ceramic Plate With Acrylic Paint
Are you art enthusiast? Or just want to create a super cool adventure where we turn a plain ceramic plate into a masterpiece featuring a gorgeous butterfly. We're talking about adding a splash of elegance to your art game! Imagine this: a butterfly, vibrant and lively, resting right on your plate. Sounds exciting, right? Well, it's about to get even more thrilling as we guide you through each step in a way that's easy-peasy and loads of fun. So, whether you're a pro or just starting your artistic journey, grab your paintbrush Get ready to impress yourself and everyone who sees your fantastic butterfly creation!
Needed Supplements For This Butterfly On Ceramic Plate Painting
- Drawlish Acrylic Painting Pens Set of 24
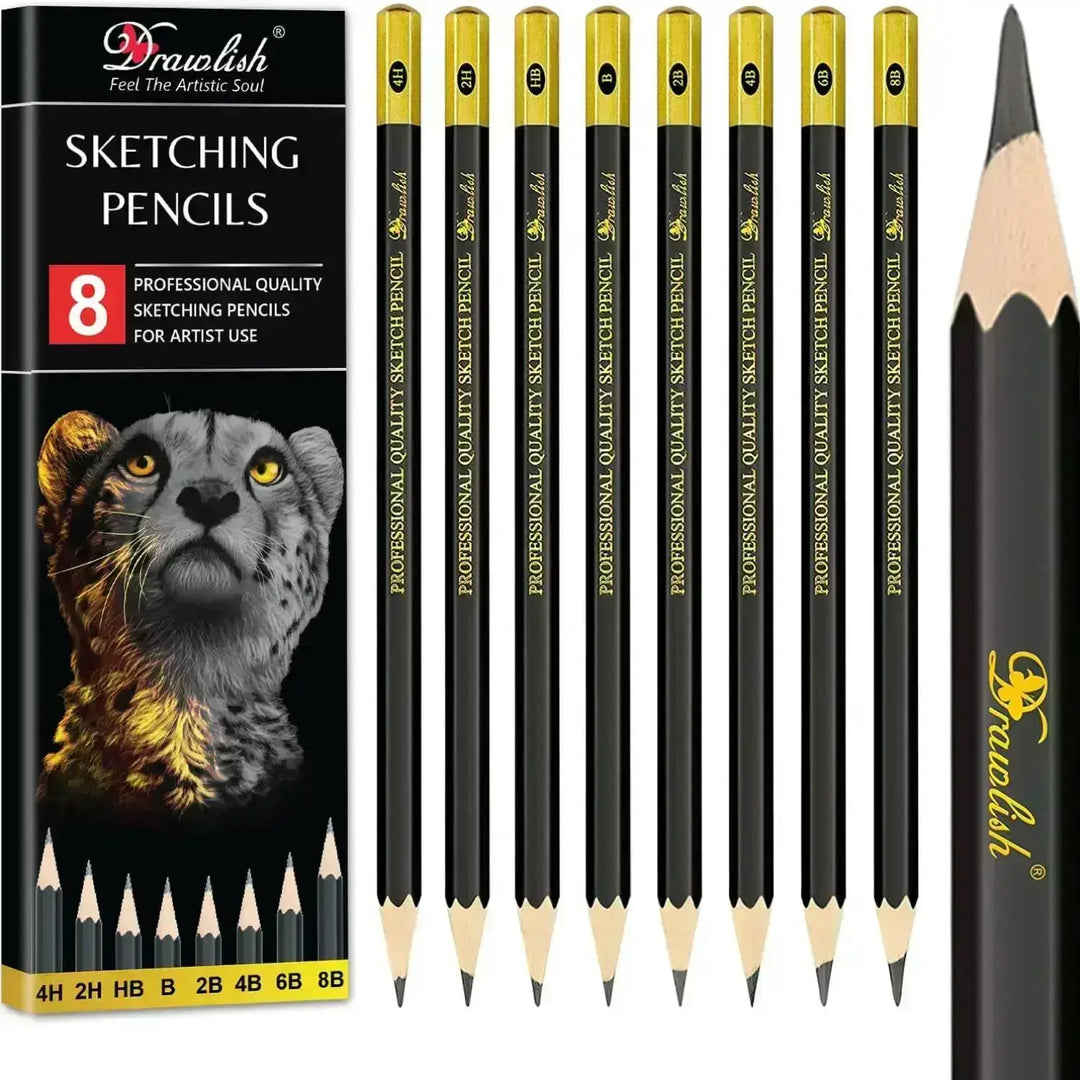
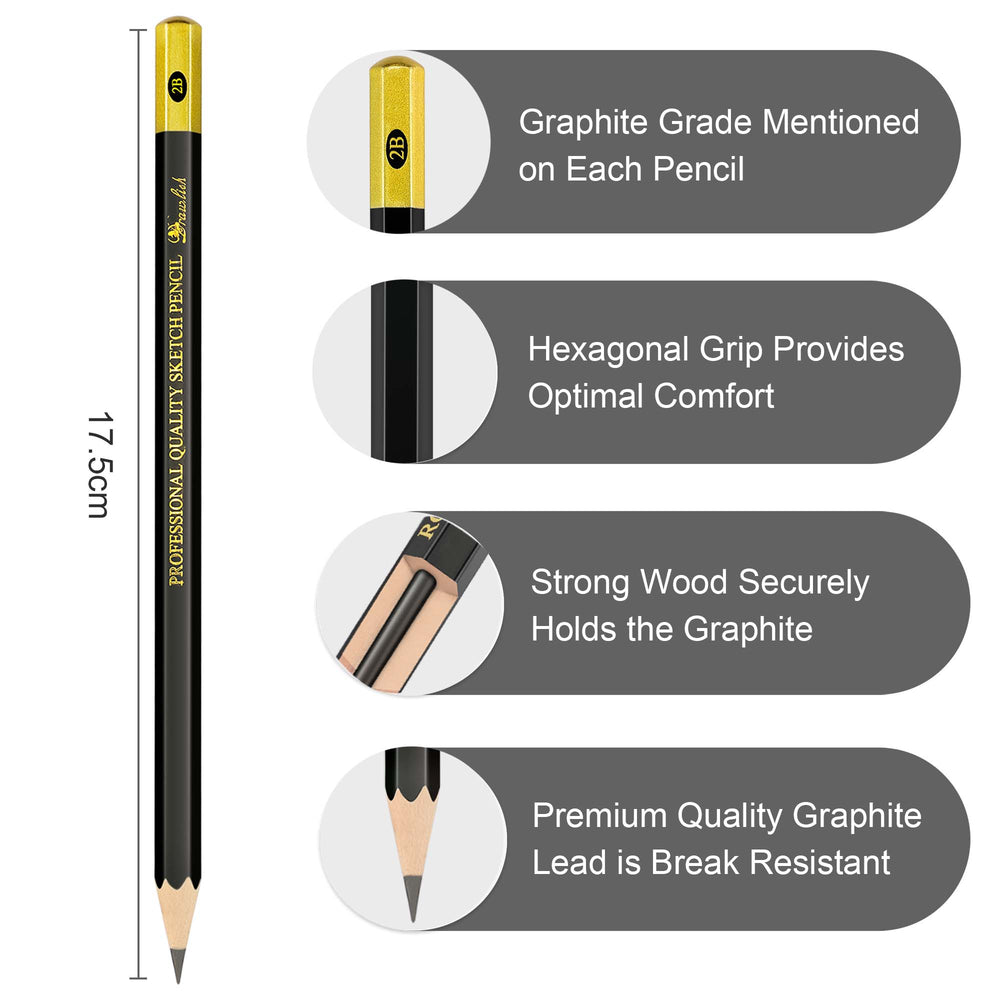
- Set of 8 Drawing Sketch Pencils
- Sakura White Gel Pen
- Ceramic Plate
Step By Step Guide On Butterfly On Ceramic Plate Painting
Step 1 Create a full outline
Use a drawlish pencil to create a full outline of the butterfly, including all body parts. Keep an eye on the details to ensure a better look and design.
Step 2 Color the butterfly body
Color the butterfly full body with brown and add some black lines. Give some white touches and some black for a natural look.
Step 3 Color the right upper wing
Color the right upper wing lines with black. Now color the full wing with black with some touches of brown and blue. Make a design with Sakura White Gel Pen and give some small yellow dots. Complete the right upper wing.
Step 4 Color the right down wing
In this wing, color the full wing with Sakura White Gel Pen and use black, brown, blue, orange, and grey for a design.
Step 5 Color the left down wing
In this wing, color the full wing with Sakura White Gel Pen and use black, brown, blue, orange, and grey for a design. Color the butterfly’s full body with black and with some touches of brown. Color the left upper wing lines with black. Now color the full wing with black with some touches of brown and blue, grey, orange. Make a design with Sakura White Gel Pen and complete the left upper wing.
Step 6 Check every detail
Check every detail like color matching and how you designed the butterfly. Keep a keen eye on designing details like where needs to improve and give dots or some touches.
Step 7 Practice makes perfect
Remember that the first try is not always perfect, but when you try again and again, it will make you an artist and professional and expert for paintings. Keep practicing and do not give up. Always strive to improve for better.
I hope these instructions help you create a beautiful butterfly painting on your ceramic plate!
Video Tutorial Of This Butterfly On Ceramic Plate Painting
Avoid These Common Mistake While Painting With Acrylic Paint
-
Not preparing the surface: Before painting, make sure the surface is clean and dry. If the surface is not prepared properly, the paint may not adhere well and may peel off.
-
Using too much water: Acrylic paint is water-soluble, but adding too much water can dilute the paint and affect its consistency. Use water sparingly and mix it well with the paint.
-
Not using a primer: A primer helps the paint adhere better to the surface and prevents the paint from soaking into the surface. Use a primer that is compatible with acrylic paint.
-
Not using enough paint: Acrylic paint dries quickly, so it’s important to use enough paint to cover the surface. If the paint is too thin, it may not cover the surface well.
-
Not cleaning the brushes: Acrylic paint dries quickly and can ruin brushes if not cleaned properly. Clean the brushes with soap and water immediately after use.
-
Not waiting for the paint to dry: Acrylic paint dries quickly, but it’s important to wait for the paint to dry completely before adding another layer of paint. If the paint is not dry, it may mix with the new layer and create a muddy color.
-
Not experimenting with different techniques: Acrylic paint is versatile and can be used in many different ways. Experiment with different techniques to create unique effects and textures.
2 Bonus Tips For Butterfly On Ceramic Plate Painting
Tip 1: Use white ovenproof ceramic plates:
Plain ceramic plates serve as a nice background for many different designs. If the plates have any stickers, be sure to peel those off after you purchase them. You can buy ovenproof ceramic plates at craft stores or art supply stores
Tip 2: Experiment with different techniques
Acrylic paint is versatile and can be used in many different ways. Experiment with different techniques to create unique effects and textures
I hope these step-by-step instructions and bonus tips help you create a beautiful butterfly painting on your ceramic plate! Remember to avoid common mistakes while painting with acrylic paint, experiment with different techniques, and practice to improve your skills. With patience and practice, you can become an artist and professional in no time!
How should I prepare the ceramic plate for painting?
To start, clean the ceramic plate thoroughly with soap and water. Ensure it's completely dry before beginning the painting process.
Can I use a regular pencil for the initial sketch of the butterfly?
Yes, a regular pencil is suitable for the initial sketch. Lightly draw the outline of the butterfly to guide your painting.
What type of paint is recommended for this project?
Acrylic paint is the ideal choice for painting on ceramic plates. It provides vibrant colors and adheres well to the surface.
Do I need special brushes for painting on ceramics?
While specialized brushes exist, regular synthetic brushes are suitable for this project. Experiment with different brush sizes for varied details. but these are the perfect brushes for this painting
Is it easy to fix mistakes if I make an error in my painting?
Yes, correcting mistakes with acrylic paint is straightforward. Allow the mistake to dry, then paint over it with the correct color.
Do I have to strictly follow the suggested color scheme, or can I choose my own?
Feel free to unleash your creativity with colors! While the steps suggest specific colors, you can personalize the palette to suit your preferences.
Should I wait for each layer of paint to dry before moving to the next step?
Patience is key. Allowing each layer to dry ensures clean and defined details in your painting.
Can I use a different type of pen for detailing instead of a Sakura White Gel Pen?
Certainly! Experiment with alternative fine-tip pens or markers that work well on acrylic paint for unique detailing.
How can I protect the finished painted plate?
Once the paint is completely dry, apply a clear sealant or varnish to safeguard the artwork and enhance its durability.
Is it okay if my first attempt isn't perfect?
Absolutely! Art is about expression and improvement. Don't be discouraged, each attempt is a step towards progress. Keep refining your skills with each painting.


Leave a comment