How To Paint Cute And Soft Face With Acrylic Paint

Acrylic paint is a great choice for painting portraits, especially if you want to create a cute and soft face. Acrylic paint is easy to use, affordable, and versatile. You can mix different colors to create realistic skin tones, eyes, and hair. You can also use different brushes and techniques to achieve different effects, such as smooth blending or impressionist strokes. In this article, you will learn how to paint a cute and soft face with acrylic paint, step by step. You will need some basic supplies, such as paint colors, brushes, acrylic pens, water, and sketchbook. By following the instructions and tips in this article, you will be able to create a beautiful portrait that captures the personality and charm of your subject.

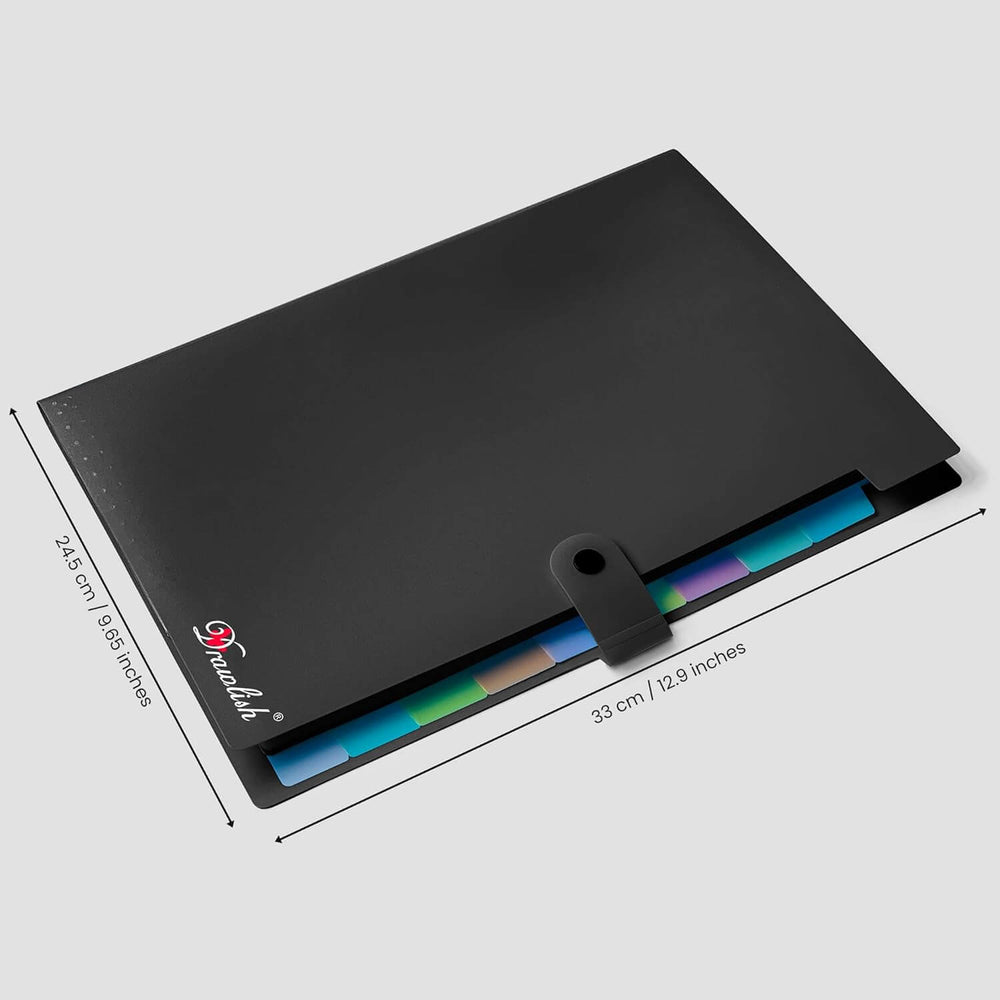
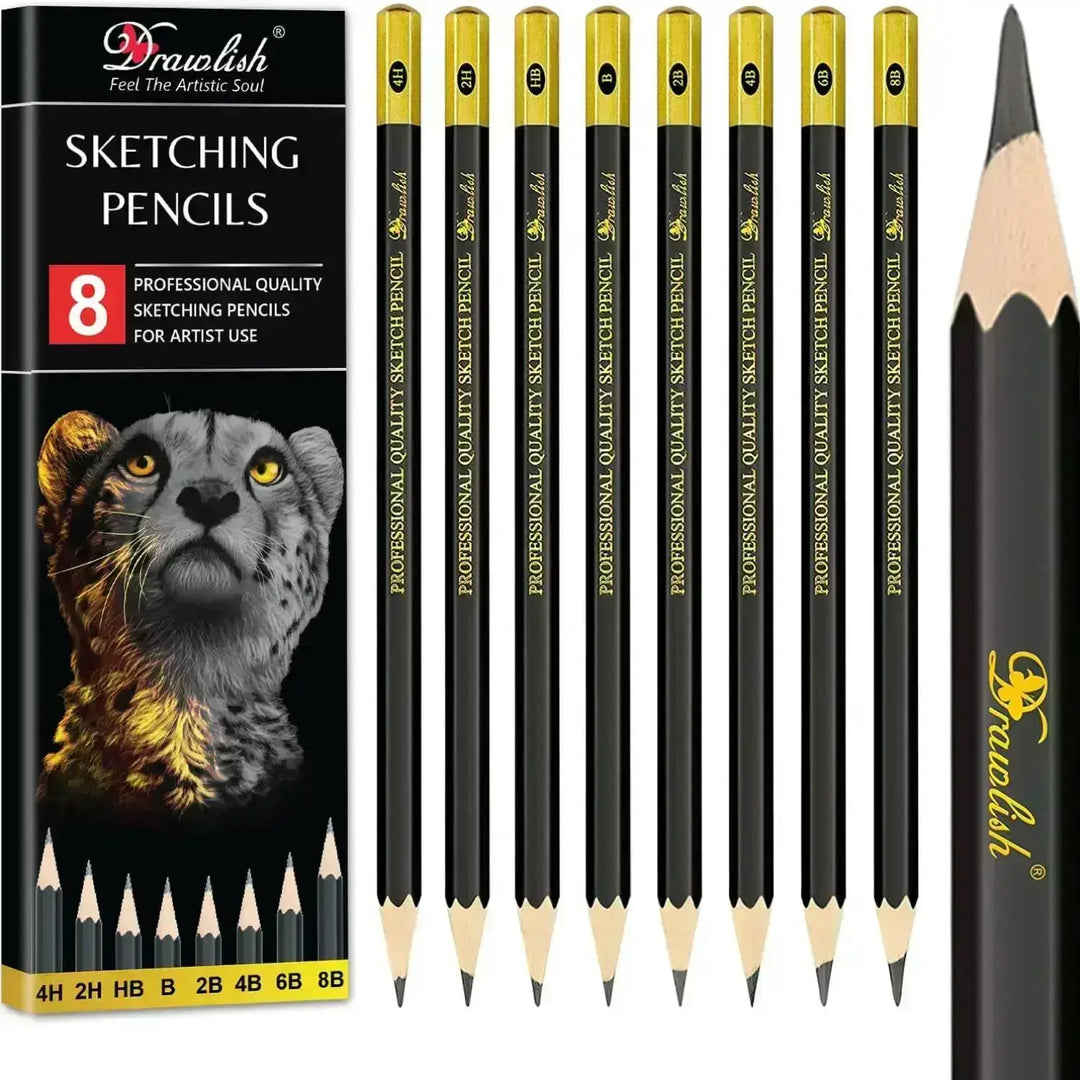
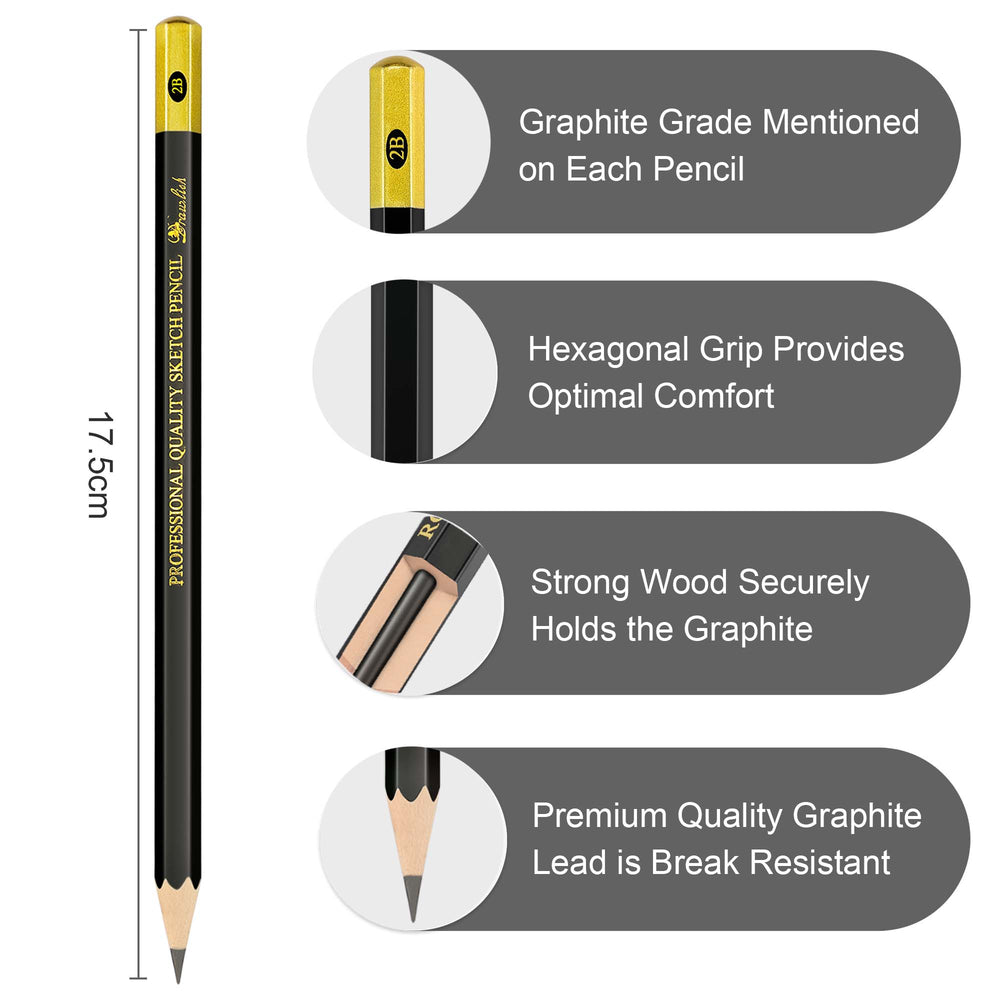
You will Need these Materials For This Painting

Here is a step-by-step guide to create a painting of a girl with a cute and soft face

Let's dive into the world of creativity and capture the innocence and sweetness of a cute & soft face of a girl character. Unleash your artistic flair and breathe life into your masterpiece, exploring expressions and infusing personality into each stroke. Whether a seasoned artist or beginner, enjoy bringing the endearing essence of a cute face to vibrant fruition.

Step 1: Make A Sketch Of A Girl

Start by drawing with a drawlish pencils a rough outline of the face. Draw a circle for the head and add two lines to mark the center of the face. Sketch the nose and ears on either side of the center line. Draw the eyes in the upper half of the circle, making sure they are symmetrical. Add eyebrows and eyelashes to give the eyes more definition. Once you have the basic outline of the face, start adding more details. Draw the lips and chin, making sure they are proportionate to the rest of the face. Add some blush to the cheeks to give the face a rosy glow. Sketch the hair around the face, making sure it frames the face nicely. Add some strands of hair falling over the forehead and around the ears. Once you have the basic sketch of the face, refine it by adding more details. Add more definition to the eyes, nose, and lips. Make sure the eyebrows and eyelashes are well-defined. Add some shading to the face to give it more depth.

Make A Sketch Of A Girl

Step 2: Color the hair

After sketching the hair around the face, it is time to add some color to it. Use black acrylic paint to fill in the hair, making sure to cover the entire area. Use a small brush to paint the strands of hair falling over the forehead and around the ears. To create a perm style hairstyle, use a round brush to make small curls in the hair. Start from the roots and work your way to the ends, making sure to leave some space between the curls. Add some highlights to the hair by using a lighter shade of black or gray. This will make the hair look shiny and textured.

Color the hair

Step 3: Create Eyebrows, Eyelashes, and Eye

After coloring the hair with black acrylic paint, it is time to create the eyebrows. Use a thin brush and a mix of brown and black paint to draw the eyebrows above the eyes. Make sure they are symmetrical and match the shape of the eyes. Add some black color points to the eyebrows to make them look more natural and realistic Next, use the same  black and brown mix thin brush and paint mix to create the eyelashes. Draw them along the edge of the eyelids, making sure they are curved and long. Add some volume and thickness to the eyelashes by adding more paint. Finally, use a small round brush and a mix of black and brown paint to create the eye dot, also known as the pupil. Make sure it is centered and aligned with the eye. Add some white dots to the eye dot to make it look shiny and watercolor-like. Use a lighter shade of brown to create the iris, the colored part of the eye. Add some details and shading to the iris to make it look more realistic.
Create Eyebrows, Eyelashes, and Eye

Step 4: Give color to the face

After creating the eyebrows, eyelashes, and one full eye, it is time to give color to the face. Use a medium-sized brush and a red drawlish acrylic paint to color the area below the eyes, like a makeup. Make sure to blend the paint well with the skin tone. Color both sides of the face, but on one side, give this look a little to the left eye that is not yet made. This will create a contrast and a sense of depth. Next, use a small brush and a light orange paint to color the upper area of the nose, making it look cute and soft. Then, use a thin brush and a red drawlish paint to create the lips. Make sure they are symmetrical and match the shape of the chin. Add a middle black line to the lips to make them look more realistic and close.

Give color to the face

Step 5: Add shadows and details to the painting

After giving color to the face, it is time to add some shadows and details to the painting. Use a drawlish acrylic paint pen in black and give a shadow-like look to the hair and the overall head. This will create a contrast and a sense of depth. Add some touches to the face, such as some freckles or moles, to make it more realistic and unique. Then, use a drawlish acrylic paint in yellow and color the ears. This will add some brightness and fun to the painting. Finally, use a drawlish acrylic paint pen in black and create smiley faces emojis on the ears. This will add some personality and humor to the painting. You can choose any emoji you like, such as a wink, a laugh, or a heart.

Add shadows and details to the painting

Step 6: Add details and highlights to the hair

After adding shadows and emojis to the painting, it is time to add some details and highlights to the hair. Use a white drawlish acrylic paint pen and shake it for 10 seconds to activate the paint. Then, give dots like slashes to the hair to make it look nice and pretty. This will create a contrast and a sense of texture. Next, use a small brush and some yellow, red, and green paint to create a design on the upper area of the hair that is rounded in shape. You can choose any design you like, such as flowers, stars, or hearts. This will add some color and fun to the painting.

Add details and highlights to the hair

Step 7: Color the cloth

After adding details and highlights to the hair, it is time to color the cloth that the girl is wearing. Use a medium-sized brush and a drawlish red acrylic paint to color the cloth, making sure to cover the entire area. Use a black acrylic pen to give shadow lines to the cloth, making it look more realistic and three-dimensional. Next, use a thin brush and a yellow drawlish acrylic paint to write on the hoody the word “RAW”. Make sure the letters are big and bold. Use a black acrylic pen to give a black shadow to the word, making it stand out more. Add some rounded shapes to the word, such as cute or nice, to make it look more artistic and creative.

Color the cloth

Step 8: Color the background

After writing on the hoody and adding shadows to the cloth, it is time to color the background of the painting. Use a large brush and a sky blue drawlish acrylic paint to color the background, making sure to cover the entire area. Do not rush and color it with details. This will make the background look amazing and complement the girl’s face. Use a lighter or darker shade of blue to create some contrast and depth in the background.
Color the background

Step 9: Compare the ready art

After coloring the background and adding some details, it is time to compare the ready art with the reference video that you followed. Look at both the art and the video carefully and see if there are any differences or mistakes. If you find any, correct them by using a small brush or a paint pen. Make sure to match every tiny detail, such as the shape of the eyes, the color of the lips, or the design of the hoody. This will make your painting look more accurate and professional.

Video Tutorial Of This Painting 

2 Bonus Tips:

Bonus Tip 1: Gradual Layering for Blush and Features

Achieve a cute and soft facial appearance by applying blush and features in gradual layers. Start with a light application and build up the color slowly. This technique adds a subtle, natural flush to the cheeks and enhances the softness of the overall facial expression. Remember, it's easier to add more layers than to remove excess paint, so take your time to achieve the desired level of cuteness.

Bonus Tip 2: Use Watered-down White for Highlights

For a delicate and adorable touch, dilute white acrylic paint with water to create a translucent mixture. Apply this watered-down white to strategic areas like the nose tip, forehead, and chin to add gentle highlights. This technique imparts a soft and glowing effect, contributing to the overall charm of the painted face. Experiment with the intensity of the highlights to find the perfect balance for your cute and whimsical character.

Q1. How do I choose the right acrylic paint colors for my project?

To choose the right acrylic paint colors, begin by defining the mood and theme of your artwork. Start with primary colors and experiment with mixing to create a personalized art. Consider complementary and analogous colors for contrast and harmony. Factor in tint, tone, and shade to add depth, and be mindful of color temperature for emotional impact. Test on a small scale before finalizing your choices. This thoughtful approach ensures your acrylic painting effectively conveys the desired artistic vision with a balanced and harmonious color scheme.

Q2. Is there a specific way to store leftover mixed acrylic paint?

Absolutely! To preserve leftover mixed acrylic paint, transfer it to an airtight container to prevent drying. If using a palette, cover it with plastic wrap to maintain moisture. For small amounts, refrigeration slows down drying, extending usability. These simple steps ensure your acrylic paint stays vibrant and ready for future projects.

Q3. Can I use household items as makeshift palettes for acrylic paint?

Certainly! Household items like plates, glass, or old trays make excellent makeshift palettes for acrylic paint. Ensure these items are clean and have a smooth surface for easy mixing. This cost-effective and creative solution allows you to repurpose everyday items for your artistic endeavors.

Q4. How do I add texture to my acrylic paintings?

Diversify your acrylic paintings by incorporating texture. Experiment with techniques such as palette knife strokes, layering, or introducing mediums like gels or modeling paste. These methods not only enhance visual interest but also provide a tactile dimension to your artwork, inviting a dynamic and engaging experience for both the artist and the viewer.

Q5. Can I use acrylic paint on unconventional surfaces like fabric or glass?

Yes! Acrylic paint is versatile. When painting on fabric, incorporate a fabric medium for optimal adherence and flexibility. For glass surfaces, ensure thorough cleaning and use a primer specifically designed for non-porous materials. This adaptability allows you to unleash your creativity on a variety of unconventional surfaces, expanding the possibilities of your acrylic artistry.

Q6. How can I create a smooth gradient with acrylic paint?

Achieving a seamless gradient with acrylics is simple. Blend wet colors using a soft brush or a damp sponge. The key is to work swiftly before the paint dries. Practice on scrap paper to refine your technique and master the art of creating smooth transitions between colors in your acrylic paintings.

Q7. Are there safety precautions when working with acrylic paints?

Indeed, acrylic paints are generally safe, but taking precautions enhances your experience. Ensure good ventilation in your workspace, especially for prolonged sessions. If you have sensitive skin, consider using gloves. After painting, wash your hands thoroughly to remove any residues. These simple steps contribute to a safe and enjoyable acrylic painting experience.

Q8. Can I mix different sheens of acrylic paint, like matte and glossy?

Absolutely! Feel free to mix different sheens of acrylic paint, such as matte and glossy. Keep in mind that the resulting finish may fall somewhere in between. To ensure the desired outcome, it's advisable to test the mixture on a small area first. This experimentation allows you to control the sheen and achieve the perfect balance for your artistic vision.

Q9. How can I fix mistakes in my acrylic painting?

Correcting mistakes in acrylic painting is simple. Let the paint dry completely, then either paint over the error or use a clean, damp cloth to lift unwanted paint. For stubborn spots, employ a gentle abrasive, like a soft eraser. These techniques empower you to refine and perfect your artwork without compromising the overall quality of your acrylic masterpiece.

Q10. What's the ideal drying time between acrylic paint layers?

Optimal layering in acrylic painting requires patience. Allow each layer to fully dry before applying the next. To gauge readiness, touch a small, inconspicuous area for any tackiness. This approach ensures a smooth and well-adhered build-up of layers, contributing to the overall quality and durability of your acrylic artwork.

Summary, painting cute and soft faces with acrylics is a fun and rewarding experience for artists of any skill level. By following the steps in this guide, you can create captivating and lively faces. The secret is to use the right colors, blend them well, and add details like eyebrows and eyelashes to make the expressions more cute. So, grab your brushes, unleash your imagination. Enjoy painting!



Leave a comment

This site is protected by reCAPTCHA and the Google Privacy Policy and Terms of Service apply.