How To Paint Female Portrait With Acrylic Paint
Welcome to the exciting world of acrylic painting, where we will guide you on creating a stunning female portrait. Painting with acrylics is a fantastic way to unleash your creativity and bring your artistic visions to life. In this step-by-step guide, we will explore the process of capturing the beauty of a female face using acrylic paint. Whether you're a beginner or an experienced artist, this tutorial is designed to be accessible and enjoyable. With easy-to-follow instructions and simple techniques, you'll learn how to blend colors, add depth, and create a lifelike portrait. So, grab your acrylic paints, brushes, and canvas, and let's embark on this artistic journey together. Get ready to discover the joy of painting a captivating female portrait with acrylics!
Required Materials You Should Have
-
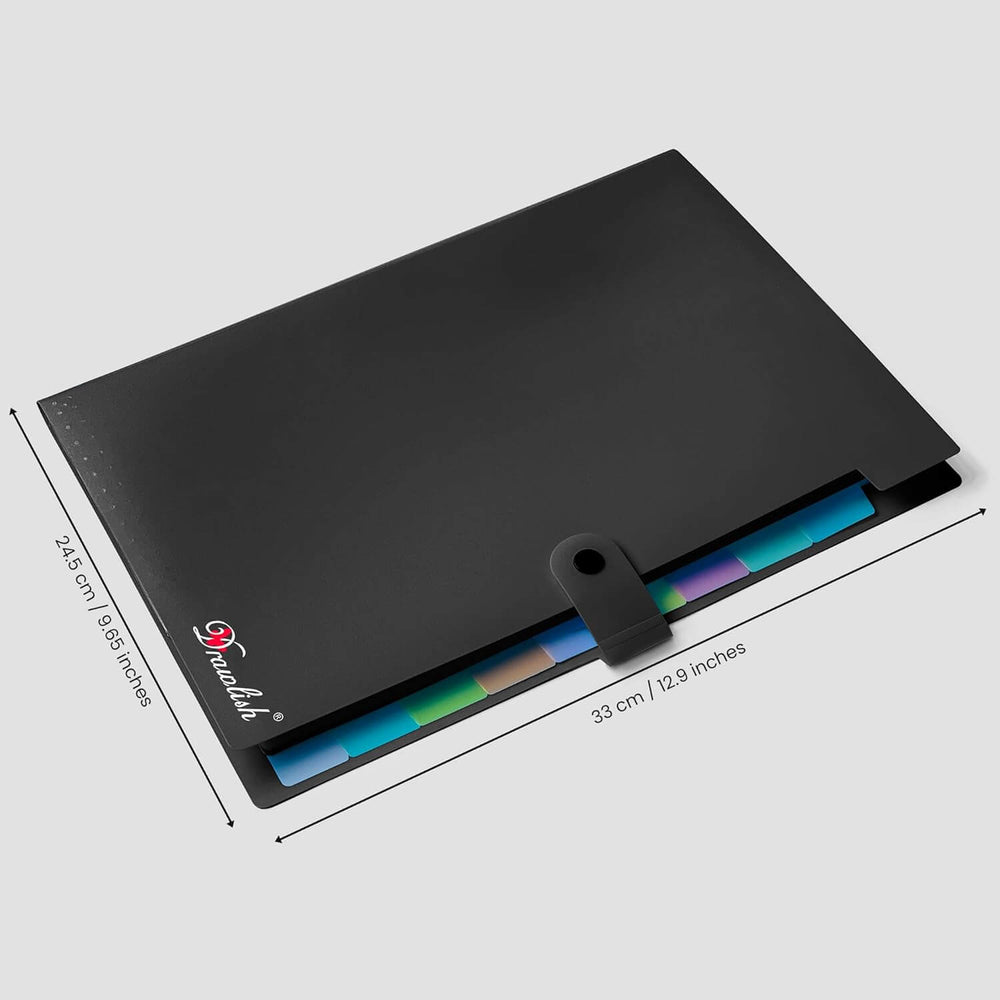
Sketching Book
Let's Jump Into The Step By Step Process On Female Portrait Painting
Step 1: Crafting the Chic and Unique Portrait Sketch
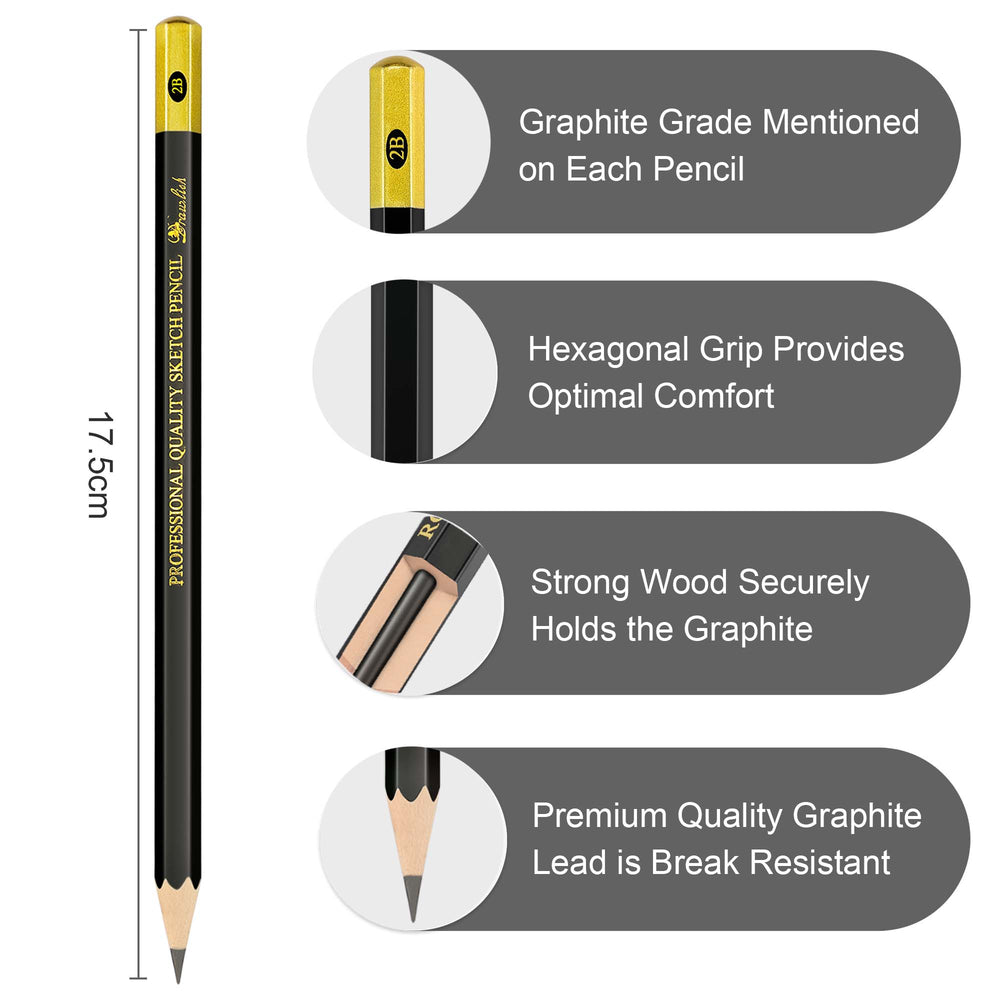
Begin your artistic journey by creating a beautiful and stylish sketch that will serve as the foundation for your female portrait. Grab a drawlish pencil and a sheet of high-quality paper to bring your vision to life. Start by outlining the face, paying attention to delicate details such as the shape of the eyes, nose, and lips. Capture a sense of individuality by incorporating stylish thug life glasses that complement the overall aesthetic.
Move on to sketching the full head, ensuring a harmonious balance in the proportions. Pay special attention to the details, such as the contours of the cheeks and jawline. To add a touch of glamour, depict one hand with prominent, well-defined nails. Play with the size and shape to achieve a unique and eye-catching effect.
Now, channel your creativity by infusing a hint of fantasy into your portrait – fashion big ears reminiscent of the iconic characters from the Avatar movie. However, maintain a seamless integration with reference, ensuring that the ears harmonize with the overall composition. This step sets the stage for the vibrant and personalized acrylic painting that will follow, as you've now laid the groundwork for a truly distinctive female portrait. follow this image

Step 2: Adding a Golden Touch to Your Portrait
Now comes the fun part! Grab your golden Drawlish acrylic paint and cover the whole body and head, including the hand with cool nails and those funky Avatar-style ears. Think of it like giving your portrait a warm, golden hug.
Take your time with the face, go over the features like the eyes, nose, and mouth. Make those curves and lines stand out. Let the golden paint make your portrait shine and sparkle. Don't forget the hand! Paint in those nails, and make them pop with a bit of extra detail.
When you get to the ears, give them that Avatar flair. Use the golden paint to show off their unique shape. Imagine your portrait coming to life with a touch of fantasy and a whole lot of glow!
This step isn't just about coloring, it's about making your artwork glow and stand out. So, dip that brush into the golden paint, let your creativity flow, and watch your portrait light up with personality.

Step 3: Givin' Life to the Face with Orange Magic
Alright, time to make that portrait pop! Grab your orange Drawlish acrylic paint and let's get started. First up, those lips, paint 'em with a lively orange shade, making them stand out and look inviting. Move on to the nose, outlining it to give your portrait some charm.
Now, the eyes, the windows to the soul! Use that orange paint to create a mesmerizing gaze. Blend different shades to add depth and let those eyes tell a story. And don't forget those Avatar-style ears, splash some orange on them to keep the fantasy vibe going strong.
Take it easy, stroke by stroke, and let the features come to life with that vibrant orange energy. Think about how the orange plays with the golden base, making everything harmonize and look stunning. Have fun with shading and highlights to make your portrait feel real and dynamic.
not just about adding color, it's about giving your portrait personality and expression. The orange paint is like magic, turning your sketch into a lively masterpiece. Ready for more? Let's keep the creative vibes flowing in the next steps!

Video Tutorial Of This Female Portrait Painting
Avoid These Common Mistakes While Painting This Masterpiece
-
Neglecting Planning: Skipping the planning phase can lead to composition and color harmony issues. Take the time to sketch and plan your masterpiece before diving into the painting process.
-
Rushing the Process: Impatience can result in overlooked details and imprecise work. Slow down, and give each step the attention it deserves for a more polished outcome.
-
Neglecting Layering: Building up your painting in layers adds depth and richness. Avoid the mistake of neglecting this crucial aspect, as it contributes significantly to the overall quality of your artwork.
-
Inconsistent Brushwork: Pay attention to your brushwork. Inconsistencies can disrupt the flow and cohesiveness of your piece. Strive for a smooth and deliberate technique.
-
Ignoring Lighting: Neglecting the impact of lighting can affect the overall quality of your painting. Be mindful of light sources and shadows to add realism and dimension to your masterpiece.
-
Overlooking Breaks: Taking breaks is essential. Overworking a piece can lead to fatigue and decreased creativity. Step back, refresh your mind, and return with a new perspective.
-
Not Checking Against Reference: Regularly compare your progress against your reference. This helps identify and correct any deviations, ensuring your masterpiece stays true to your vision.
-
Being Open to Adjustments: Mistakes happen, but being open to adjustments is key. Don't hesitate to make necessary changes as you progress, ensuring a more satisfying and successful end result.
2 Bonus Tips
Tip 1: take Mistakes as Learning Opportunities
Rather than seeing mistakes as setbacks, view them as chances to learn and grow. Each error provides insight into your process, guiding you toward improvement. Embracing mistakes fosters a positive and evolving artistic journey.
Tip 2: Experiment with Different Techniques
Don't be afraid to explore various painting techniques. Experimenting with brushes, textures, and application methods can uncover new dimensions to your artistry. Trying different approaches not only enhances your skills but also adds a unique touch to your masterpiece.
What materials do I need to start acrylic painting?
To begin acrylic painting, you'll need essential materials such as acrylic paint in various colors, brushes in different sizes,(looking for these types of brushes and all colors in one place? then buy this now for no worry at all) a palette for mixing, a sketching book, pencil for sketching and water for cleaning brushes, and a palette knife for texture if you want.
Do I need special brushes for acrylic painting?
While special brushes aren't mandatory, it's advisable to use synthetic brushes designed for acrylics. They are durable, maintain their shape, and handle the thicker consistency of acrylic paint well.( if you want perfect brushes then go for this)
Can I paint over a mistake in acrylic painting?
Absolutely! Acrylic paint allows for layering and corrections. If you make a mistake, let the layer dry completely before painting over it. This flexibility is one of the advantages of acrylics.
How should I clean my acrylic paintbrushes?
Clean your acrylic paintbrushes by rinsing them in water immediately after use. For a deeper clean, use mild soap or brush cleaner. Gently reshape the bristles and allow the brushes to air dry.
Is it necessary to varnish my acrylic painting?
While not mandatory, varnishing protects and enhances your acrylic painting. It provides a protective layer against dust, UV rays, and enhances color vibrancy. Apply varnish once your painting is thoroughly dry.
Can I use watercolor paper for acrylic painting?
While watercolor paper can absorb water well, it may not handle the thickness of acrylic paint as effectively. It's recommended to use surfaces specifically designed for acrylics for better results but in this case use sketching book for a better results.
How can I create texture in my acrylic painting?
To add texture, mix acrylic paint with modeling paste or use palette knives to apply thick layers. Experiment with different tools or materials to achieve the desired texture, creating depth and visual interest in your artwork.
Can I erase pencil marks from my sketch without damaging the paper?
Absolutely! Use a soft eraser to gently remove pencil marks. Be cautious not to press too hard, especially on delicate paper. If necessary, lightly dab the eraser to lift off excess eraser residue without causing damage to your sketch.
What's the difference between hard and soft pencils for sketching?
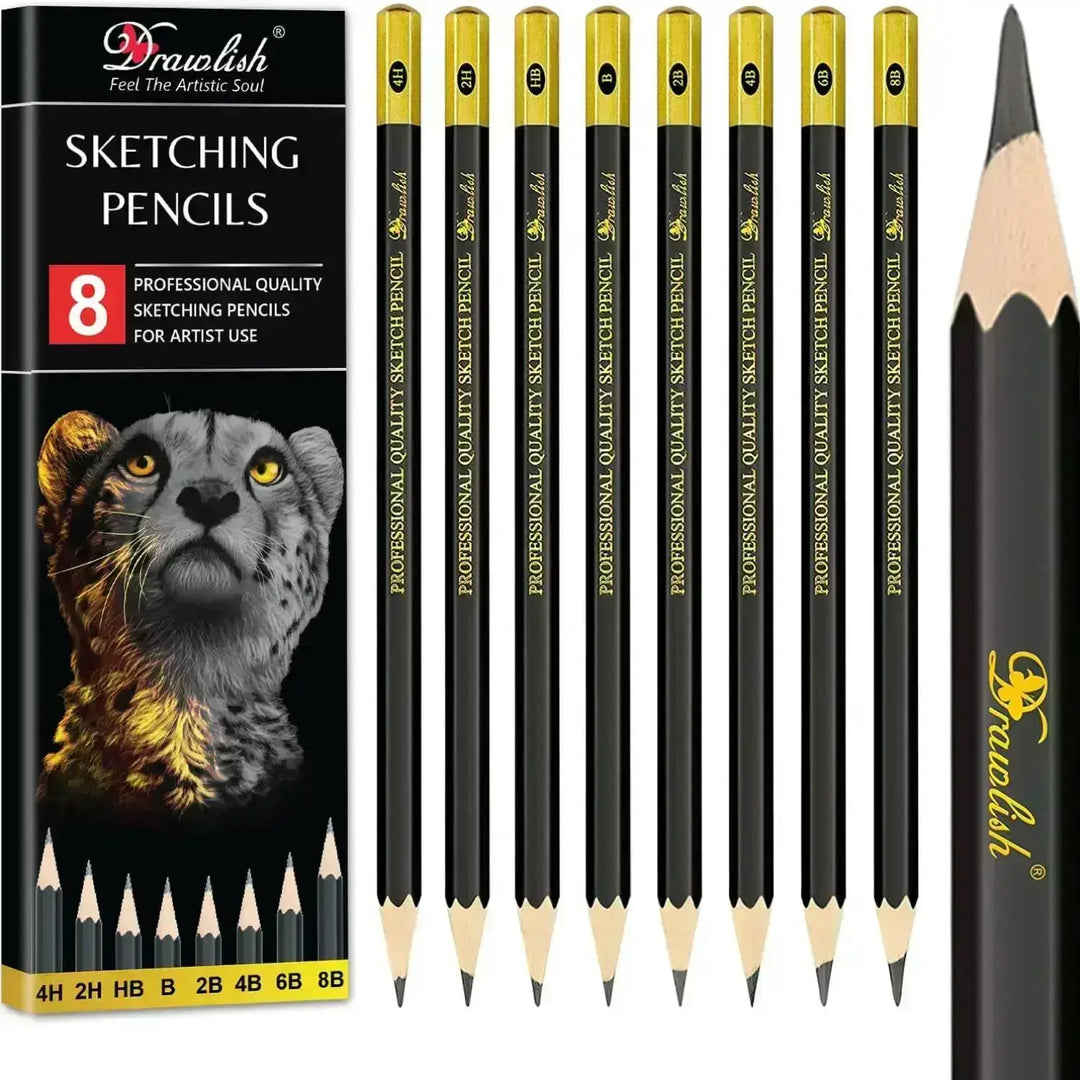
Hard pencils, like 4H or 2H, produce lighter and finer lines, ideal for intricate details. Soft pencils, such as 2B or 4B, create darker and broader strokes, perfect for shading and adding depth. Experimenting with both types allows you to achieve various effects in your sketches. (but for now if you want all these functions in one place just go for this)
How do I choose the right pencil hardness for sketching?
Selecting the appropriate pencil hardness depends on your sketching needs. Hard pencils (H range) are ideal for fine lines and details, while soft pencils (B range) are better for shading and broader strokes. Experiment with different hardness levels to find the right balance for your sketch.
In conclusion, mastering the art of sketching involves exploring various techniques and tools. Whether choosing the right pencil hardness, experimenting with textures, or deciding on blending methods, each step contributes to your artistic journey. Embrace the versatility of materials like watercolor pencils and the combination of graphite and charcoal. Remember, errors are opportunities to learn and grow. Keep practicing, and soon you'll find the perfect balance for your sketches. So, pick up your sketchbook, unleash your creativity, and enjoy the sketching process, it's the key to evolving as a skilled and confident artist.


Leave a comment