How To Paint Floral Girl With Acrylic Paint Pens
Ready to unleash your inner artist? In this cool and fun guide, we're diving into the vibrant world of acrylic paint pens to show you how to paint a delightful Floral Girl effortlessly. No fancy art jargon here, just pure creative joy! These nifty tools are your ticket to an easy-breezy painting experience, perfect for beginners and seasoned artists alike. Grab your favorite set of acrylic paint pens and let's embark on a colorful journey together. We'll break down the steps, keeping it simple and enjoyable, as we bring this Floral Girl to life on your canvas paper. Get ready to add a pop of flair to your artistic repertoire, it's time to paint and have a blast!
What Are the Essential Materials Required for Creating This Painting?
Embarking on a painting journey requires not just artistic vision but also the right tools to bring your imagination to life. let's explore the fundamental materials that will pave the way for your creative masterpiece. each element plays a crucial role in shaping your artistic expression. So, let's delve into the essential materials that will set the stage for your next painting adventure
Check Out the Step-by-Step Process for This Painting
Step 1: Sketching the Blooming Beauty
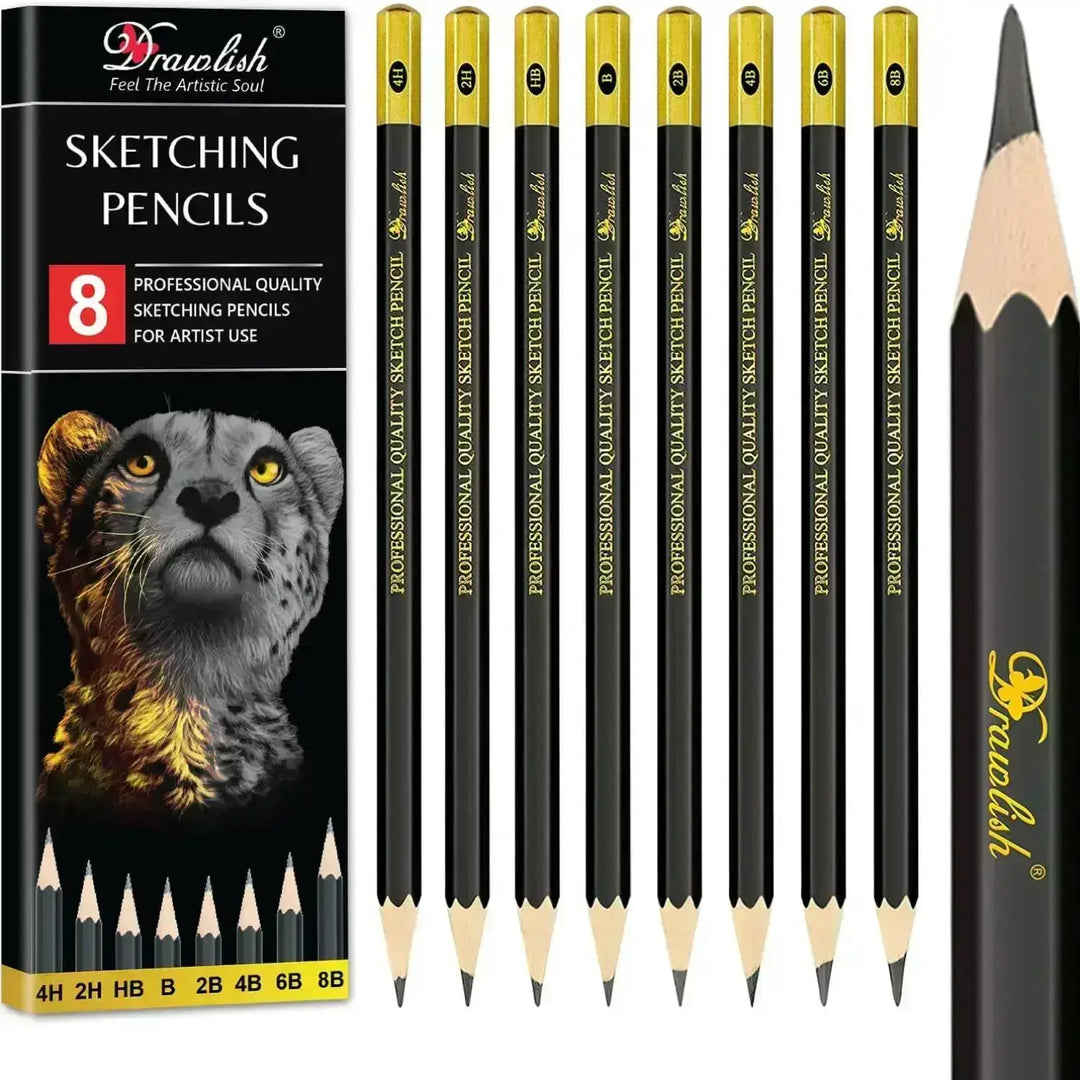
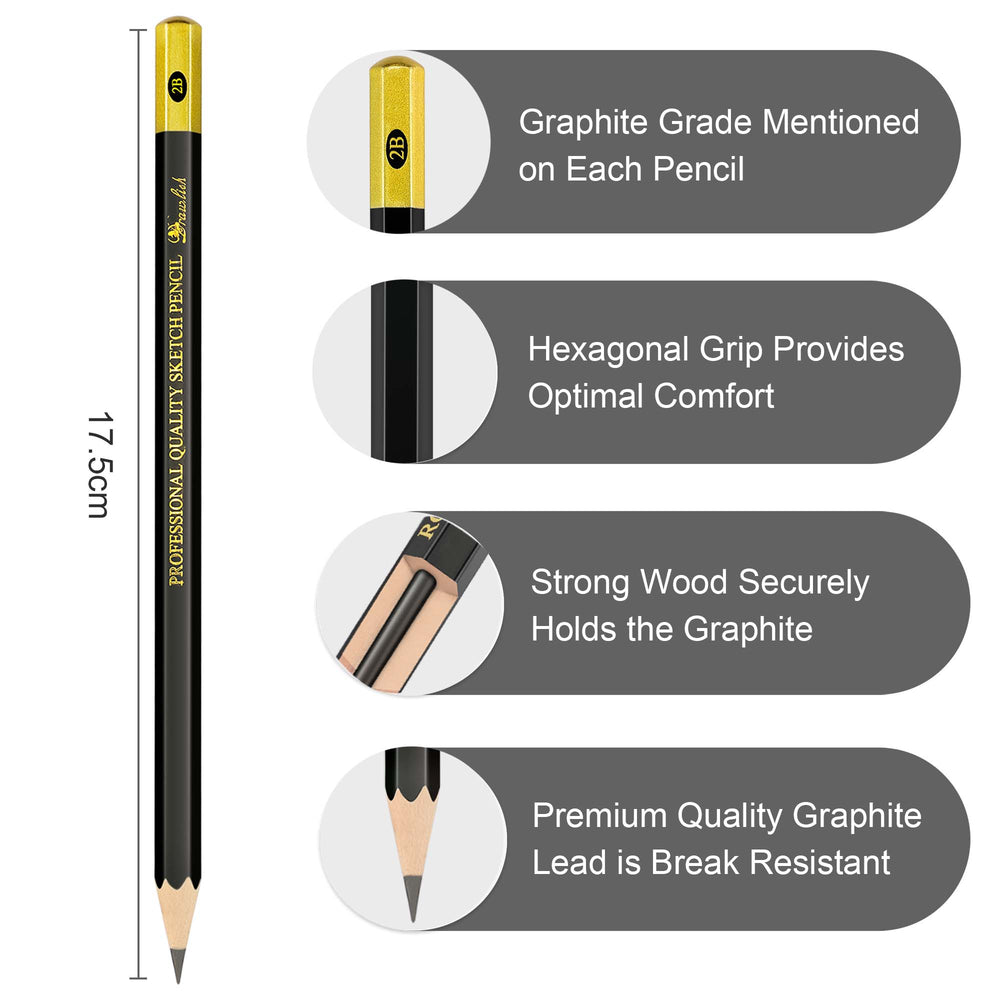
Let's kick off our artistic journey with the first step, creating a sketch bursting with floral charm! Grab your trusty drawlish pencil and unleash your imagination. Start by sketching the Floral Girl's head, neck, and flowing hair. Now, here's where the magic happens, adorn the neck with a garden of flowers, making it look lively and vibrant. Imagine a cascade of blooms framing the face and one whimsical blossom adorning the ear. Sprinkle some smaller flowers atop the head and entwine a few in the hair strands for that extra touch of botanical beauty. Feeling a bit unsure? No worries! Take a peek at the reference video we've provided to guide you through this blooming process. Remember, there's no right or wrong here, just let your creativity flow like petals in the wind. The more playful and busy the sketch, the better! So, put on your artistic hat, sketch out that floral vision, and get ready to infuse life into your canvas paper. This is just the beginning of our cool and fun journey into creating a Floral Girl masterpiece with acrylic paint pens!

Step 2: Color Her Face and Neck
Alright, time to breathe life into our Floral Girl! In this second step, grab your Drawlish acrylic paint pen in the perfect skin color, we're about to give her a radiant complexion. Imagine your pen as a magic wand, and with a soft touch, delicately color her face and neck. Picture the gentle strokes bringing warmth and vitality to the canvas paper. It's all about keeping it light and easy, as if you're painting a gentle breeze of color onto her skin. Think of this step as a makeup session for your artwork, you're enhancing the natural beauty of the Floral Girl. The key here is to maintain that cool and fun vibe, so don't stress about perfection. Allow the strokes to flow smoothly, and if you feel like experimenting with shading or highlighting, go for it! This is your masterpiece, and you're the artist with the power to make it uniquely yours. As you apply the skin color, envision the Floral Girl coming to life, ready to bloom amidst the floral tapestry you've sketched. So, dip that paint pen into the palette of possibilities and let the creativity flow as we continue to build our masterpiece, one stroke at a time!

Step 3: Coloring Eyes, Brows and Blooms
Get ready to make our Floral Girl truly captivating in the third step of our artistic adventure. Equip yourself with the Drawlish brown acrylic paint pen for those enchanting eyebrows. Picture each stroke as a brush of character, framing her eyes with a touch of mystery and allure. Now, let's dive into her gaze, grab a light green Drawlish acrylic paint pen to color her iris. Imagine a world of freshness in her eyes, adding that extra sparkle to her expression. Keep it light and playful, just like a cool breeze rustling through leaves. As we move down, it's lip-painting time! Combine the vibrant shades of red and white from your Drawlish acrylic paint pens to create lips that speak volumes. Think of it as giving her a voice through color, bold, yet subtly sweet. Don't forget to add a touch of personality with a mischievous smile or a more serene expression. But we're not done yet! Those flowers and leaves in the sketch deserve their own burst of life. Dive into your array of Drawlish acrylic paint pens, picking different hues for each petal and leaf. Let the colors dance and mingle, creating a vibrant symphony in the floral garden around our Floral Girl. So, with brows that tell a story, eyes that mesmerize, lips that speak, and a garden that blooms with personality, you're now shaping a masterpiece that's as cool and fun as it gets! Let the colors flow and watch your creation come alive!

Step 4: Coloring Flowers And Leaves
In the vibrant fourth step of our creative journey, let's infuse our Floral Girl's surroundings with a burst of color and energy. Reach for your assortment of Drawlish acrylic paint pens, each pen a magical wand ready to bring life to the flowers and leaves in our artwork. Start with the flowers, imagine a symphony of hues at your fingertips. Choose different Drawlish acrylic paint pens for each petal, allowing the colors to blend and dance together on the canvas paper. Picture vivid reds, calming blues, and lively yellows converging to create a floral masterpiece that mirrors the beauty of nature. Move on to the leaves, giving them their own unique personalities with varying shades of green. As each stroke lands on the canvas paper, visualize the leaves swaying gently in an artistic breeze. Feel free to experiment with the size and shape of the leaves, adding a playful touch to the overall composition. The beauty of this step lies in the diversity of colors and the freedom to let your imagination run wild. Mix and match the Drawlish acrylic paint pens, creating a garden that complements the cool and fun vibe of our artwork. As you bring these botanical elements to life, envision our Floral Girl standing amidst a flourishing landscape, her vibrant surroundings a testament to the joy and creativity emanating from your canvas paper. So, dive into the color palette, paint with flair, and watch the floral magic unfold!

Step 5: Color Her Hairs
Let's turn up the cool factor in the fifth step of our Floral Girl masterpiece, it's time to give her some fabulous hair! Grab your trusty Drawlish black acrylic paint pen, the stylist's wand for this part of the process. Picture each stroke as a bold statement, creating a hairstyle that's both natural and effortlessly chic. Think short, snazzy, and full of personality! The key here is to keep it realistic while infusing a touch of artistic flair. Imagine the black paint pen gliding across the canvas paper, shaping a mane that's as unique as your imagination. Play with different strokes to capture the texture and movement of each strand, adding depth and character to our Floral Girl's locks. As you work your magic with the black acrylic paint pen, envision the personality of our Floral Girl shining through her distinctive coiffure. This step is not just about coloring, it's about sculpting a statement hairstyle that complements the overall cool and fun aesthetic of our artwork. So, dive into the world of hair artistry, and let those Drawlish black acrylic paint pens do their magic!

Step 6: Perfecting your artwork
In the sixth step of our artistic odyssey, it's time for a meticulous comparison between your art and the reference video. Keep an eye on every detail, ensuring a harmonious alignment with the envisioned perfection. As you identify any error, view them not as mistakes, but as valuable insights for refining your skills. Embrace the imperfections as stepping stones towards becoming a future professional artist. Remember, this journey is a continuous learning process, and by fine-tuning your creation, you're sculpting your unique artistic voice.
Video Tutorial Of This Painting
How To Use Drawlish Acrylic Paint Pens?
At Drawlish Art Supply Store, you'll find lots of colorful paint pens. One cool set to try is the Drawlish Acrylic Painting Pens Set of 24. It's great if you want to use different colors. These pens work well on things like canvas, paper, and wood. They're easy to use, just shake them, press the tip on what you're painting, and start creating. You can use them on glass, plates, or paper too. They dry quickly and don't smudge, making them awesome for detailed designs like flowers. So, if you want to make art in a simple way, try the Drawlish acrylic paint pens, they're like magic wands for your creativity.
2 Bonus Tips
Tip 1: Layering Delight
Experiment with layering colors to add depth and dimension to your artwork. Start with lighter shades and gradually build up to darker tones. This technique not only enhances the visual appeal but also adds a touch of realism to your Floral Girl masterpiece.
Tip 2: Playful Accents
Don't shy away from adding playful accents to your composition. Consider incorporating subtle glitter or a touch of metallic sheen using specialty acrylic paint pens. These small details can elevate your artwork, making it uniquely yours and adding a bit of sparkle to the overall cool and fun vibe.
Q1: How do I choose the right acrylic paint pen colors for my Floral Girl painting?
Selecting the perfect colors for your Floral Girl involves considering the mood and atmosphere you want to convey. If you're aiming for a vibrant and lively feel, opt for a mix of bold, contrasting hues. On the other hand, a more subdued and calming ambiance can be achieved with a harmonious palette of pastels. Feel free to refer to the reference video or trust your instincts, the beauty of acrylic paint pens lies in their versatility, allowing you to experiment and find the shades that resonate with your artistic vision.
Q2: Can I use the Drawlish acrylic paint pens on surfaces other than canvas and paper?
Absolutely! The Drawlish acrylic paint pens are designed to work on a variety of surfaces, including wood, glass, and even plates. This versatility opens up a world of possibilities for your artistic expression. Whether you want to create a custom-painted wooden piece or add a touch of art to your glassware, these pens are up for the task. Just remember to prep the surface accordingly for optimal results.
Q3: What if I make a mistake while painting? Can I fix it?
Mistakes are part of the creative process, and yes, you can fix them! If you make a small error, wait for the paint to dry and layer over it with the correct color. For more significant mishaps, a gentle swipe with a damp cloth while the paint is still wet can often do the trick. Don't be afraid to embrace imperfections, they can lead to unexpected and beautiful artistic outcomes.
Q4: How long does it take for the Drawlish acrylic paint pens to dry?
One of the fantastic features of these pens is their quick-drying nature. In most cases, the paint will dry within a few minutes, allowing you to continue working on your masterpiece without long waiting times. However, keep in mind that drying times can vary based on factors such as the thickness of the paint application and the type of surface you're working on. It's always a good idea to test a small area before proceeding with extensive details.
Q5: Can I seal or protect my finished painting created with acrylic paint pens?
Absolutely! Once your Floral Girl masterpiece is complete, you can add an extra layer of protection by applying a clear sealant or varnish. This not only enhances the durability of your artwork but also provides a subtle sheen for a professional finish. Ensure the paint is completely dry before applying any sealant, and follow the product instructions for the best results. With proper sealing, your creation will be ready to shine and withstand the test of time.
Q6: What's the best way to clean the tips of the acrylic paint pens if they become clogged?
If you notice clogging, especially after a prolonged break, use a piece of scrap paper to gently pump the tip until the paint flows smoothly. For more stubborn clogs, remove the tip (if possible) and soak it in warm water for a few minutes. Avoid using excessive force, as it may damage the pen. Always follow the manufacturer's cleaning recommendations to ensure the longevity of your acrylic paint pens.
Q7: Are there any special techniques for creating texture with acrylic paint pens?
Absolutely! Experiment with stippling (dotting) to create texture on surfaces like flowers or fabric. Varying pressure while applying the paint can also add depth. For a unique effect, try cross-hatching or creating fine lines with the pen's tip. Don't hesitate to explore and find the techniques that best complement your artistic vision, the possibilities are as vast as your imagination!
Q8: Can I apply a clear coat or varnish immediately after finishing my painting with acrylic paint pens?
It's advisable to exercise patience before applying a clear coat or varnish. Allow your artwork to dry thoroughly first. Rushing this step may result in smudging or uneven application. Once the acrylic paint pens are completely dry, follow the instructions on the clear coat or varnish product. This additional layer not only protects your masterpiece but also enhances its overall appearance.
Q9: Can I use water to dilute the paint from acrylic paint pens?
Yes, you can use water to dilute the paint from acrylic paint pens. If you desire a lighter shade or a watercolor effect, add small amounts of water to the pen's tip or mix it on a palette. Keep in mind that excessive water may affect the paint's vibrancy and adhesion, so it's best to experiment on a separate surface to achieve the desired consistency.
Q10: Can I mix other mediums with acrylic paint pens, such as regular acrylic paint or colored pencils?
Mixing mediums can yield interesting results, but it's essential to understand their compatibility. Acrylic paint pens generally work well with regular acrylic paint. but, introducing colored pencils may require a textured surface for better adhesion. Experiment cautiously, keeping in mind that different mediums may have varying drying times and effects. Test on a small area before incorporating multiple mediums into your main artwork.
In summary, exploring the world of acrylic paint pens with Drawlish has been a journey filled with color, creativity, and joy. Whether you're a beginner or seasoned artist, these pens offer a cool and fun way to bring your artistic visions to life. From choosing vibrant colors to adding playful details, each step is a canvas for self-expression. Embrace mistakes, practice regularly, and soon you'll be on your way to becoming a future professional artist. So, dive into the world of Drawlish acrylic paint pens, let your imagination soar, and turn each stroke into a masterpiece of your own making.


Leave a comment