How To Paint Frog Rock Painting With Acrylic Paints
Let's have some fun painting! Today, we're going into the cool world of acrylic painting. Imagine a textured rock turning into a cool canvas, and on it, we'll bring a frog to life. imagine this frog chilling on the rock, holding a snazzy umbrella. It's not just about painting, it's about turning a rock into a piece of nature-filled art. So, get ready with your paints and brushes. We'll start with a simple sketch and then add colors bit by bit. It's like a coloring adventure, but on a rock! Our goal? To make this frog and rock combo look awesome. As we go along, remember: patience is key, and paying attention to the little details makes all the difference. This isn't just about making a painting, it's about enjoying the process and discovering your own creative magic. So, grab your paint gear, and let's turn a plain rock into a cool frog masterpiece!
Get These Materials For The Best Frog Rock Painting
- Drawlish Acrylic Painting Pens Set of 24 ( For Paint )
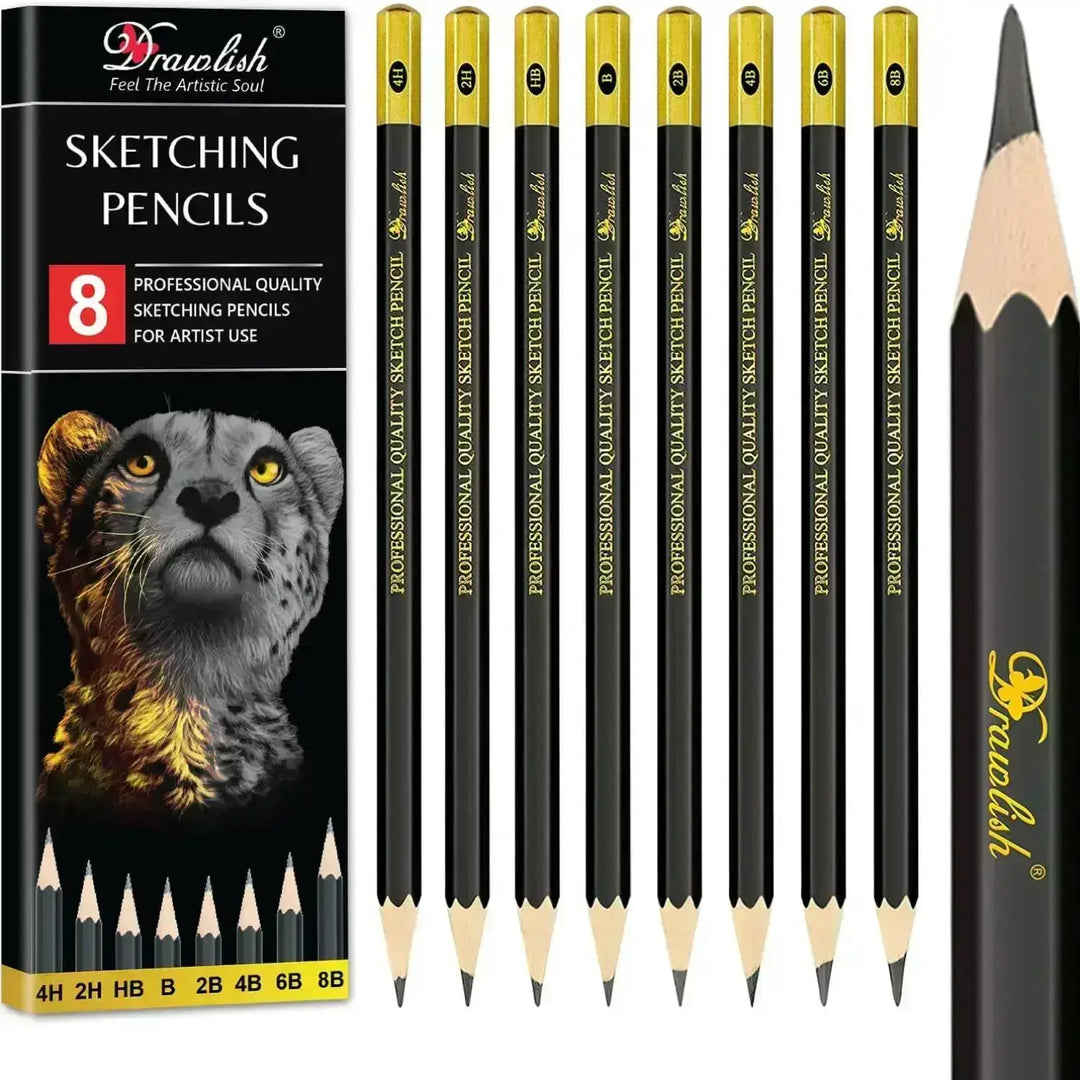
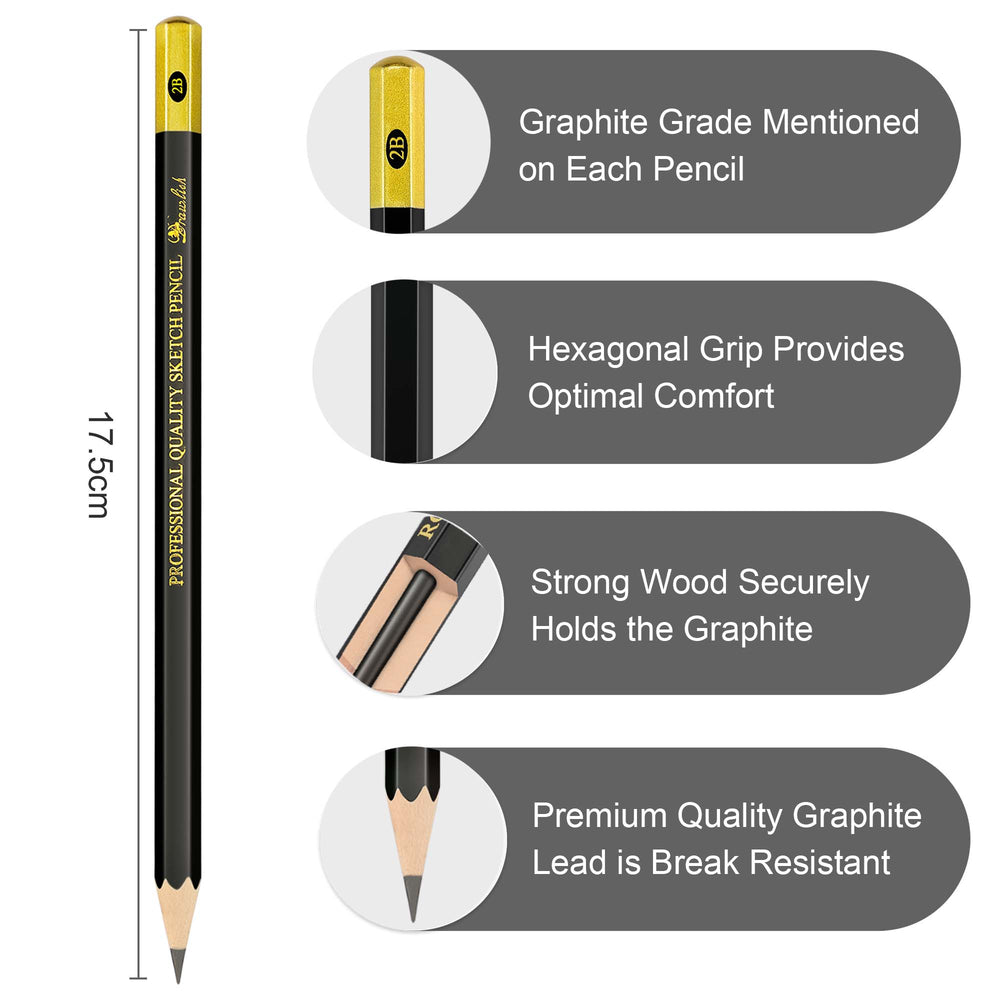
- Set of 8 Drawing Sketch Pencils ( For Sketching )
- Rock
Step-By-Step Instructions For Frog Rock Painting
Step 1: Prepare Your Workspace
Before you begin, ensure you have a clean and well-lit workspace. Lay down a protective surface to avoid any paint spills. Arrange your materials within easy reach, and have your reference image or video tutorial accessible for guidance.
Step 2: Sketch The Frog On The Rock
Start by lightly sketching the frog with pencil on the textured rock. Pay close attention to the frog's proportions and the rock's details. Include the frog's nose, eyes, hands, legs, and every tiny detail you can capture. Take your time at this stage to ensure the composition is pleasing.
Step 3: Paint The Frog Umbrella
Follow the video tutorial or reference image to paint the frog's umbrella. Use orange acrylic paint for the umbrella, applying it evenly to achieve a smooth and vibrant color. Take note of any shading or highlighting indicated in the tutorial to add depth to the umbrella.
Step 4: Paint the Frog Body
Next, paint the frog's body from the chest to the legs. Use the orange acrylic paint for this part as well. Be mindful of the frog's skin patterns, and try to capture the texture of its skin. Take your time to ensure that the paint coverage is even and that the colors are true to your reference.
Step 5: Paint The Frog Legs And Hands
Switch to green acrylic paint for the frog's legs and hands. Apply the green color carefully, paying attention to the transition from orange to green. Capture the details of the frog's fingers and toes, making sure they are distinct and well-defined.
Step 6: Paint The Frog's Head And Mouth
Continue with the green paint for the frog's head. Be meticulous in capturing the details of the eyes, nose, and mouth. Use a smaller brush for finer details and consider using a palette knife for texture if your rock allows it. Add a darker green color to the sides of the head for a natural and realistic appearance.
Step 7: Add Water Reflection To The Head
To create a natural and dynamic look, add a short and tiny darker green color to the sides of the frog's head, mimicking the reflection of water. This subtle touch adds depth and enhances the overall realism of your painting.
Step 8: Add Details With Black Paint
Switch to black acrylic paint to add small dots on the frog's face, legs, and hands. Pay close attention to the placement of these dots, as they contribute to the natural and beautiful look of the frog. This step requires precision, so use a fine brush for accuracy.
Step 9: Evaluate and Compare to Reference
After completing the painting, take a step back and carefully evaluate it. Compare every tiny detail to your reference, whether it's a video tutorial or an image. Check for accuracy in the frog's features, skin patterns, and overall composition. Don't be discouraged if you made mistakes, use them as opportunities to learn and improve.
Step 10: Learn And Improve
If there are discrepancies between your painting and the reference, take note of them and analyze where improvements can be made. Consider rewatching the tutorial or studying the reference image more closely. Each attempt provides an opportunity for growth, so embrace the learning process and strive to create a better painting each time.
Video Tutorial Of This Cute Frog Rock Painting
Check out this video before you start painting your frog for precise results. Follow each step for better guidance, aiming for perfection in your artwork.
2 Bonus Tips For Frog Rock Painting
In the conclusion, Creating a frog rock painting with acrylic paints involves a thoughtful and detailed process. By following these step-by-step instructions, you can showcase the beauty of nature on a textured rock. Remember to be patient, pay close attention to details, and use your mistakes as stepping stones for improvement. With practice and dedication, you'll develop the skills to create stunning acrylic paintings that capture the essence of the natural world.
Q1: Can I Use Any Type Of Rock For This Painting?
A: Yes, you can use various textured rocks for this project. Just make sure the surface is clean and dry before you start painting.
Q2: Do I Need To Be An Experienced Artist To Paint A Frog On A Rock?
A: Not at all! This project is designed for all skill levels. The step-by-step guide will help you through the process, and practicing is the key to improvement.
Q3: What if I Make A Mistake?
A: Mistakes happen, and that's okay! Acrylic paint is forgiving. You can let it dry and paint over it. Learning from mistakes is part of the creative journey.
Q4: Can I Use Different Colors For The Frog And The Rock?
A: Absolutely! While we've suggested specific colors, feel free to get creative. Experimenting with colors can make your frog rock painting unique and personalized.
Q5: Do I Need Special Brushes For This Project?
A: No need for anything fancy. A variety of brushes, including small ones for details, will do the trick. Use what you have or pick up an affordable set.
Q6: Can I Seal The Painting To Protect it?
A: Yes, it's a good idea to seal your finished rock painting with a clear acrylic sealer. This helps protect it from the elements if you decide to display it outdoors.
Q7: How Can I Make The Frog Eyes Look Realistic?
A: Paint the eyes black, and consider adding a tiny white dot to create a highlight. This gives the eyes a more natural and lively appearance.
Q8: Can I Use A Hairdryer To Speed Up The Drying Process?
A: Yes, you can use a hairdryer on a low, cool setting to speed up the drying time between layers. This is especially helpful if you're excited to move on to the next step.
Q9: Is it Necessary To Use A Palette Knife For Texture?
A: It's optional, but using a palette knife can add interesting textures to both the frog and the rock, creating a more dynamic and visually appealing painting.
Q10: Can I Turn This Into A Group Activity?
A: Absolutely! Frog rock painting is a fantastic group activity for friends, family, or a creative event. Each person can bring their unique style to the project, making it even more enjoyable.





Leave a comment