How To Paint Garfield Cat On Ceramic Plate With Acrylic Pens
Welcome to the perfect world of creativity! In this step-by-step guide, we're diving into the art of painting everyone's favorite lasagna-loving feline, Garfield, on a ceramic plate using vibrant acrylic pens. Whether you're a seasoned artist or just getting started, this tutorial promises a whisker-twitching good time as we bring Garfield's iconic charm to life on your dinnerware. Grab your favorite colors and let's embark on a paw-some adventure together. No need for fancy brushes or complicated techniques, just the joy of expressing your inner artist. From those lazy Mondays to the excitement of lasagna feasts, we'll capture every nuance of Garfield's personality in a cool and fun way. So, roll up your sleeves, get ready to doodle, and let's turn a plain ceramic plate into a masterpiece that even Garfield would approve of! Get ready to bring the laughs and the art to your dining table.
You Should Have These Materials Before Starting You Painting
Discover the Simple Step-by-Step Process for This Painting
Here’s a step-by-step guide to creating a ceramic plate with the famous Garfield cat character, Get ready for a fun art adventure as we turn a plain plate into something special with Garfield on it, let's build up some excitement. We're about to mix laughter and art, beginning with the first step, drawing Garfield with a special pencil.
Step 1: Sketch the Garfield Cat
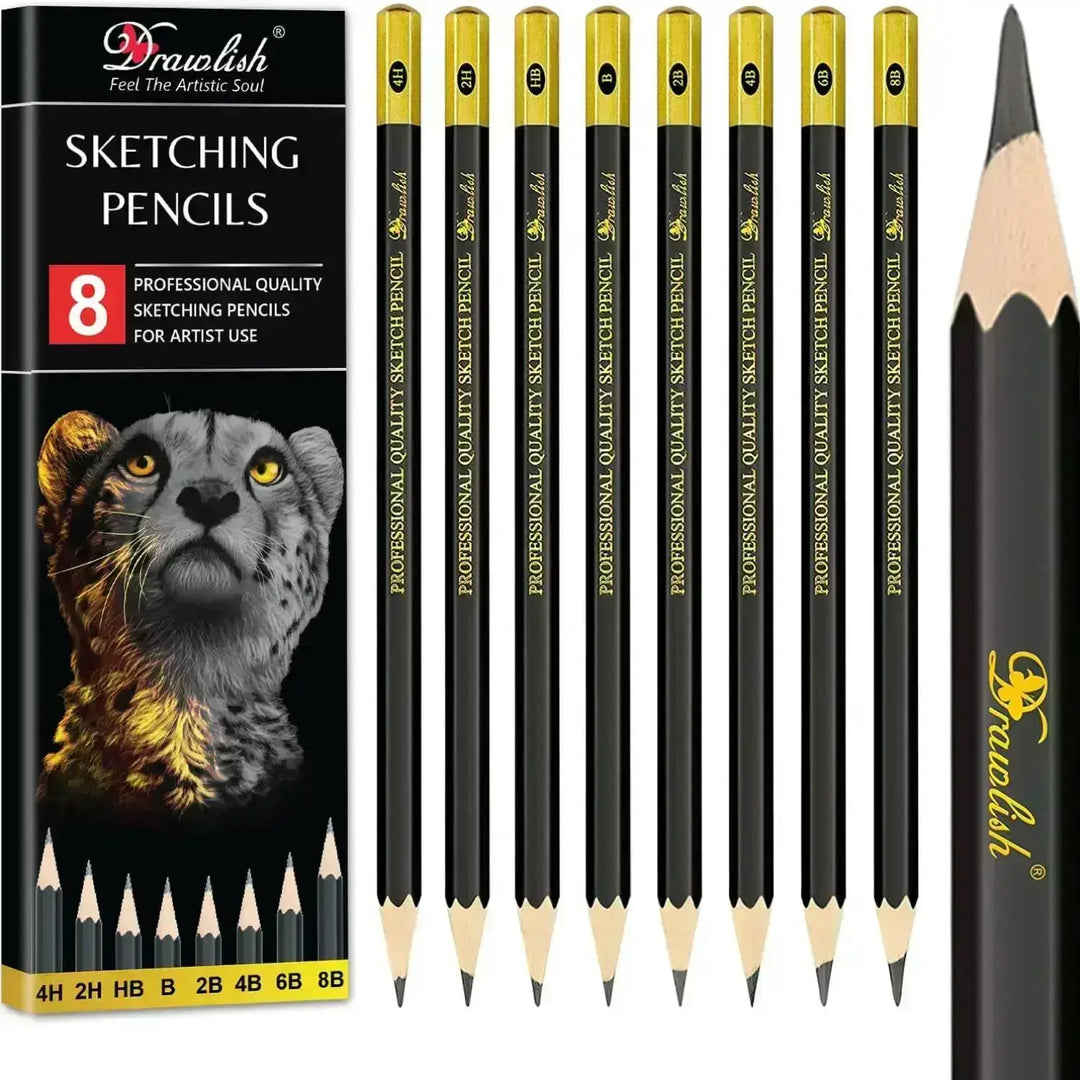
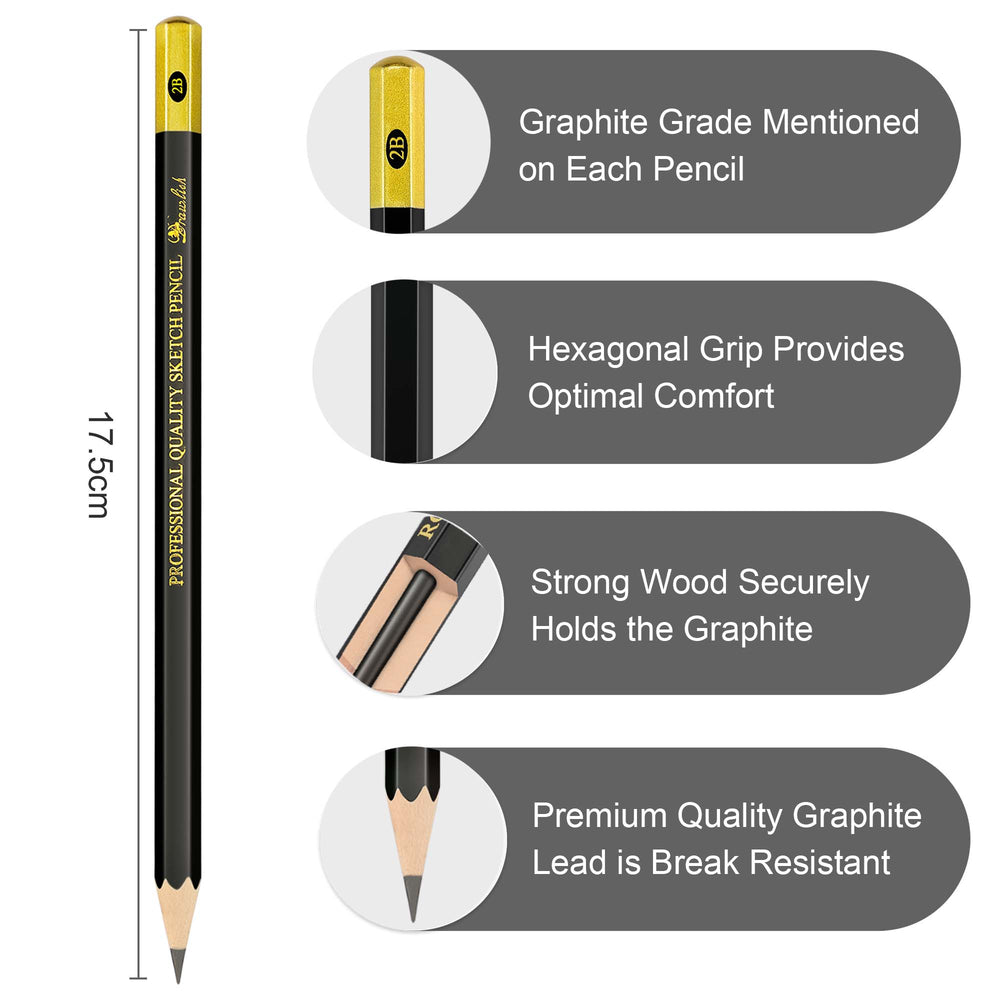
Start by sketching the Garfield Cat with a drawlish pencil. Make sure you capture every element of the Garfield Cat and create a sketch of it. You can start by drawing the head of the cat, which is a round shape with triangular ears on top. Then, draw the body of the cat, which is oval-shaped and has a curved tail. Add the legs and paws to the body, which are short and stubby. Finally, add the facial features of the cat, which include small dot round eyes, and a smiling mouth.

Step 2: Outline the Garfield Cat
Let's kick off the next phase of our Garfield art project with a burst of coolness! Before diving into the details, grab your drawlish black acrylic paint pen and give it a good shake. This ensures the paint inside is ready to flow smoothly, setting the stage for outlining Garfield in style. Now, when it comes to outlining our lasagna-loving friend, pay close attention to the key elements. Start by outlining the distinct shape of Garfield's head, emphasizing those charming pointy ears and the playful tuft of hair. As you move down, trace the lazy sprawl of his body, giving extra flair to the round belly that defines his laid-back vibe. Capture the essence of Garfield's coolness by outlining his stubby legs and cute paws, adding a touch of personality to each stroke.

Step 3: Finishing Black Outlining
Now, we're ready to take our Garfield masterpiece to the next level in the third step of this cool and fun art journey. Building on the black outlining from the previous step, it's time to pay extra attention to detail and complete the bold strokes that give Garfield his distinctive charm. Focus on the finer elements, such as Garfield's hand area and the delightful ice cream he's enjoying. Precision is key here, so take it slow and steady to ensure accuracy. Resist the temptation to rush, patience is your ally in achieving a flawless outline that captures the essence of our lasagna-loving friend. As you continue outlining, check and double-check every detail against your initial sketch. Make sure the lines are crisp and confident, maintaining the playful attitude that defines Garfield. The drawlish acrylic paint pen is your magic wand, adding a touch of personality to each stroke.

Step 4: Adding Vibrant Yellow To The Body
Let's infuse some sunshine into our Garfield creation with the fourth step of this artistic journey! Armed with your trusty yellow drawlish acrylic paint pen, it's time to bring our favorite feline to life by coloring in his overall body, including those lovably lazy paws. Begin by carefully filling in the contours of Garfield's rotund body. Embrace the playful curves and rounded features, making sure to leave the face area untouched for now. This step is all about capturing Garfield's sunny personality and zest for life, so let the vibrant yellow hues flow with each stroke. As you move, covering the body, relish in the simplicity of the process. The drawlish acrylic paint pen offers a smooth and easy application, ensuring that even if you're new to this, the result will be a radiant and lively Garfield.

Step 5: Coloring the Ice Cream Delight
In this fifth step of our colorful adventure, it's time to focus on the delightful treat in Garfield's paw, that scrumptious ice cream! Grab your drawlish acrylic paint pens and let's add a touch of sweetness to our ceramic plate. Start by coloring the ice cream layers one by one. The first layer is a luscious light yellow with a sprinkle of silver, mimicking the creamy goodness that Garfield is savoring. Follow it up with the second layer, a tempting brown that's reminiscent of light chocolate, ensuring your layers are as sweet as they come. The third layer brings a refreshing light blue, adding a playful twist to the treat. Now, turn your attention to the cone. Grab your silver drawlish acrylic pen and carefully color the cone, giving it a metallic touch that complements Garfield's cool vibes. The silver adds a shiny finish, making the ice cream treat even more delectable.

Step 6: Coloring Garfield's Mustache, Tongue, and Eyes
As we continue our artistic journey, the sixth step brings us to the charming details that make Garfield truly one of a kind. Grab your light green drawlish acrylic paint pen, and let's add a playful touch to Garfield's cool demeanor by coloring in his distinctive mustache. Lightly glide the pen, infusing the mustache with a shade that complements the overall vibrancy of our feline friend. Now, shift your attention to Garfield's tongue on the right side. Using your red drawlish acrylic paint pen, add a splash of color to the small, peeking tongue. Remember, it's just a playful hint protruding from the mouth, capturing Garfield's carefree spirit. For the finishing touches on this step, bring out your black drawlish acrylic pen. Playfully give Garfield two dots for eyes, perfectly capturing his laid-back gaze. The simplicity of these dots adds a touch of whimsy, enhancing Garfield's expressive face.

Step 7: Adding Finishing Touches
In this seventh step, let's elevate our Garfield masterpiece to the next level by adding those essential details that make him truly iconic. Grab your drawlish black acrylic pen, and let's embark on the journey of giving Garfield and his delightful ice cream some character. Start by adding cat-like hair details to Garfield's head. Playfully sketch out the distinctive fur that crowns his cool demeanor. Extend your strokes to emphasize his ears, giving them a touch of authenticity with some slashes. These little details breathe life into our lasagna-loving friend, capturing the essence of his laid-back charm. Moving on to the mustache, enhance its playful appeal by adding some dots. These tiny accents create a sense of depth and texture, making Garfield's face even more engaging. Now, turn your attention to the ice cream layers, giving them a delightful boost with additional dots for added sweetness. As a final touch, add some slashes to the ice cream cone, creating a textured effect that complements the overall design. Take a moment to review your masterpiece, checking every remaining detail. If anything needs a little adjustment, now is the time to fix it.

Step 8: Adding a Greeting Calligraphy
As we approach the final touch of our artistic journey, the eighth step brings a touch of personalization to your Garfield masterpiece. It's time to infuse the upper area of the ceramic plate with a friendly greeting using your trusty black drawlish acrylic pen. Begin by considering the placement of your greeting. Choose a spot that complements the overall composition, ensuring a harmonious balance with Garfield and the ice cream design. Now, let your creativity flow as you delicately write the word "Hello" in captivating calligraphy. The drawlish acrylic pen provides a smooth and controlled application, allowing you to achieve elegant curves and stylish flourishes. Feel free to experiment with different styles that resonate with your personal aesthetic.

Step 9: Perfecting Your Art
In the ninth step of our artistic journey, it's time to compare the masterpiece you've crafted with the reference video that guided your creative process. Carefully observe both the reference video and your completed art, paying attention to every tiny detail. Check the positioning of Garfield's features, the nuances of the mustache, the expression in the eyes, and the intricacies of the ice cream treat. If any discrepancies are found, don't worry, this is a valuable part of the artistic process. Take a moment to correct any mistakes you may have made during the creation process. Adjustments can involve fine-tuning the proportions, refining lines, or enhancing details to match the reference more closely. Remember, art is a continuous journey of improvement, and no one is perfect. This step is an opportunity to learn, grow, and refine your skills as you progress toward becoming a future professional artist.
Video Tutorial Of This Painting
How To Use Drawlish Acrylic Paint Pens?
Drawlish Art Supply Store offers a diverse selection of acrylic paint pens designed for various artistic purposes. The Drawlish Acrylic Painting Pens Set of 24 provides an excellent choice for those seeking to explore an array of colors and tones. These pens are effective on multiple surfaces such as canvas, paper, and wood. They are user-friendly, ensuring a seamless and consistent paint application. To use the pens, simply shake them well before applying, and press the tip onto your chosen surface until the paint begins to flow. Apply the paint smoothly and evenly on your canvas, glass, plate, or paper. These pens are water-resistant and dry quickly, making them perfect for intricate designs like flowers.
2 Bonus Tips
Tip 1: Layer for Depth and Vibrancy
Unlock the full potential of acrylic paint pens by layering colors to achieve depth and vibrancy in your artwork. Start with a base color and allow it to dry before adding additional layers. Experiment with blending different hues to create new shades and tones. Layering not only enhances the richness of your colors but also adds dimension to your paintings, making them visually compelling and dynamic.
Tip 2: Experiment with Surfaces
Expand your creative horizons by experimenting with a variety of surfaces suitable for acrylic paint pens. While these pens work well on traditional canvases, try exploring alternative surfaces such as wood, glass, or fabric. Each surface brings its own unique texture and character to your artwork. This experimentation not only adds diversity to your creative process but also allows you to discover unexpected effects and styles that can set your paintings apart.
Q1. How do I choose the right acrylic paint pens for my artwork?
Selecting the right acrylic paint pens depends on your specific needs and preferences. Consider factors such as the pen's tip size, color range, and intended surface. If you enjoy experimenting with various colors and surfaces, a versatile set with multiple options could be ideal. For detailed work, opt for pens with fine tips, while broader tips are suitable for covering larger areas. and drawlish pens are perfect one for all of these
Q2. Can acrylic paint pens be used on different surfaces?
Yes, acrylic paint pens are designed to be versatile and work well on various surfaces. These include traditional canvases, paper, wood, glass, fabric, and more. The key is to ensure the surface is clean and suitable for acrylics, allowing the paint to adhere effectively.
Q3. How do I prevent acrylic paint pens from smudging?
To prevent smudging, it's essential to let the paint dry completely before touching or layering. Additionally, avoid excessive pressure during application, as this can cause excess paint to be released. If working on a vertical surface, consider working from top to bottom to minimize the risk of accidental smudging.
Q4. Can I mix colors with acrylic paint pens?
While acrylic paint pens offer a convenient way to apply color, mixing colors directly on the surface may be challenging. Instead, consider layering different colors after allowing each layer to dry. This method allows you to achieve blended effects and create a broader range of hues.
Q5. Are acrylic paint pens suitable for detailed work?
Yes, acrylic paint pens are excellent for detailed work due to their precise tips. Fine-tipped pens allow for intricate details and precision, making them ideal for outlining, small designs, or adding intricate elements to your artwork.
Q6. How can I extend the life of my acrylic paint pens?
To prolong the life of your acrylic paint pens, store them horizontally to ensure even ink distribution. Keep the caps securely closed when not in use to prevent the pens from drying out. If a pen tip becomes clogged, gently shake it and press it onto a piece of paper until the paint flows smoothly again.
Q7. Can I use acrylic paint pens for outdoor projects?
Acrylic paint pens are suitable for outdoor projects as they are water-resistant and quick-drying. but, for optimal durability, consider sealing your outdoor artwork with a clear acrylic sealant to protect it from the elements.
Q8. How do I clean acrylic paint pens?
Cleaning acrylic paint pens is straightforward. Wipe the tip on a piece of paper until the paint stops flowing, and then replace the cap. If the tip becomes clogged, soak it in warm water for a few minutes and wipe it clean with a soft cloth.
Q9. Can I use acrylic paint pens for fine art projects?
Absolutely! Acrylic paint pens are a popular choice for fine art projects, offering precision and control. Whether you're creating detailed illustrations, fine lines, or adding intricate details to your paintings, these pens provide a convenient and effective tool for fine art endeavors.
Q10. Are acrylic paint pens suitable for beginners?
Yes, acrylic paint pens are beginner-friendly. Their ease of use, precision, and quick-drying properties make them an excellent choice for artists of all skill levels. Beginners can experiment with different techniques, surfaces, and colors without the need for additional tools or equipment.
In summary, turning a plain ceramic plate into a vibrant canvas with Garfield using Drawlish acrylic paint pens is an enjoyable and accessible artistic journey. These user-friendly pens offer a broad spectrum of colors, making experimentation a breeze for artists of all levels. Whether you're sketching, outlining, or adding those final details, the process is straightforward and filled with creative joy. So, embrace the artistry, have fun with every stroke, and let your inner Garfield-loving artist shine through. With Drawlish, transforming everyday items into personalized masterpieces is as easy as saying, "Hello" to a world of colorful possibilities!


Leave a comment