How to Paint Girl Cartoon on Sketchbook with Acrylic Pens
Welcome, creative souls, to an artistic adventure that promises to add a splash of vibrancy to your sketchbook, Today, we're diving into the world of expressive art with a cool and fun tutorial on "How to Paint a Girl Cartoon on Sketchbook with Acrylic Pens." Unleash your inner artist as we explore simple yet captivating techniques to bring your sketches to life using the magic of acrylic pens. This step-by-step journey is designed for everyone, from beginners to seasoned doodlers, offering an easygoing and enjoyable approach to creating a lively cartoon character. So, grab your sketchbook and let's embark on a colorful escapade together, where each stroke adds personality to your creation. Get ready to infuse your art with personality and charm in this playful and exciting tutorial. Let's paint the town (and sketchbook) with vibrant creativity
You will require the following materials for this painting
-
Sketching Book
Discover the Step-by-Step Process for Creating Girl Cartoon on Sketchbook
Here we are, ready to embark on a creative journey filled with vibrant hues and artistic flair. We are going to guide you through each step, making the process easy and fun, let's explore the exciting realm of girl cartoon together. Ready to bring your imagination to life? Let's get started from the 1st step of sketching
Step 1: Create a Sketch Of a Cartoon Girl
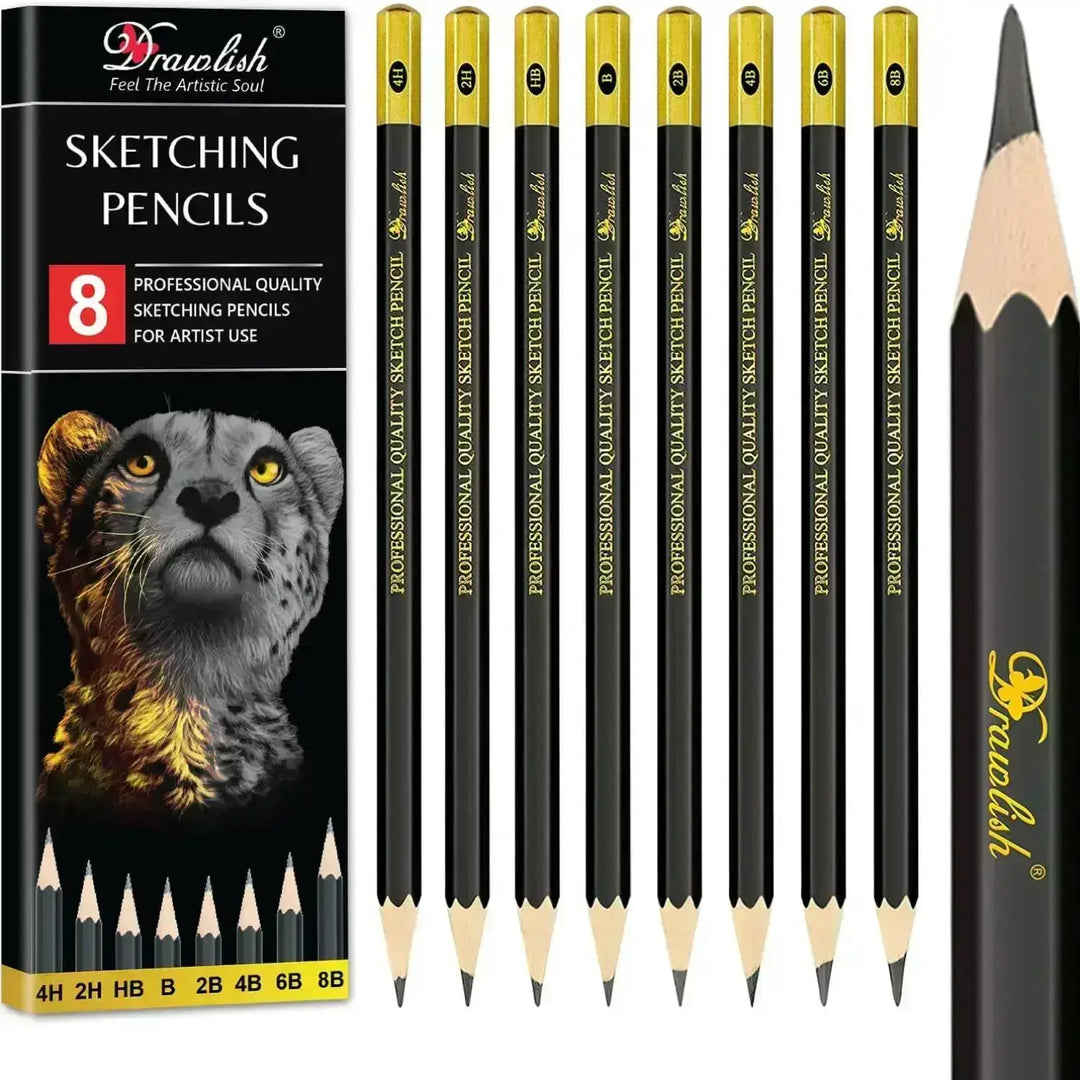
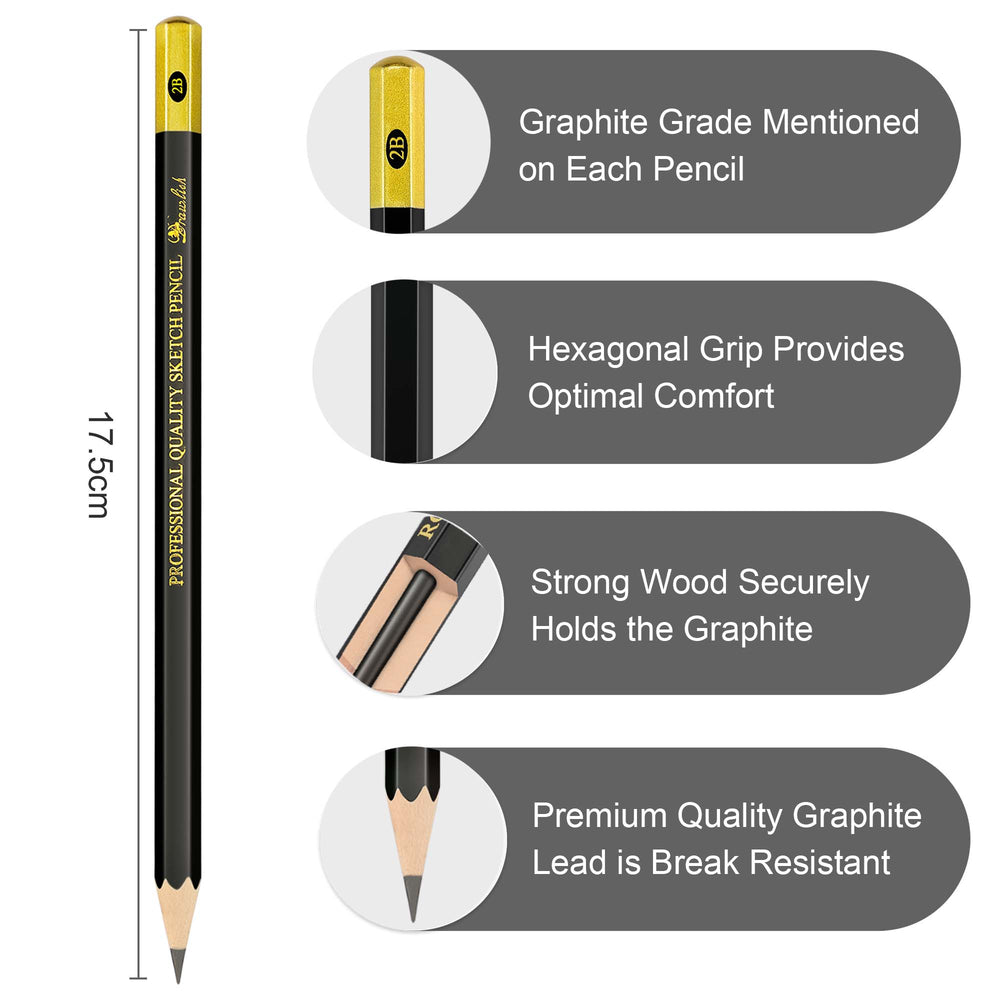
Let the creative journey commence, Begin by grabbing your trusty drawlish pencils and sketching out the full outline of your girl cartoon on the welcoming canvas of your sketchbook. Infuse a touch of emotion by opting for a sad-like pose, picture it. a delicate hand resting gently on the cheek, a pair of big, soulful eyes expressing a world of emotion, and a face that radiates the essence of your character. Keep the vibe cool and fun by opting for short, sassy hair that adds a playful twist to the overall appearance.

Step 2: Dive into the Dark Side with Stylish Sweater Vibes
Get ready to make your cartoon pop, Armed with a thin but bold brush, dip it into the enchanting pool of black acrylic paint. Now, let the cool transformation begin as you carefully color the sweater, giving your character an instant dose of style. Embrace the brushstrokes with confidence, creating a dynamic contrast that adds depth and character to the sketch. Revel in the process as the black hue breathes life into the cartoon's attire, making a bold statement on your sketchbook. With each stroke, witness the magic unfold and set the stage for a seriously stylish masterpiece.

Step 3: Coloring Cartoon Girl Hairs
It's time to turn your cartoon's mane into a masterpiece, Armed with the trusty thin yet bold brush and that fabulous black acrylic paint, embark on the journey of giving your character a head-turning hairstyle. Dive into the cool sophistication as you meticulously color the entire hair, stroke by stroke. Picture it: the bold brush effortlessly gliding through the strands, infusing your cartoon with a touch of noir elegance. Whether it's short and sassy or long and flowing, let your imagination run wild as you bring life and character to those locks. Feel the rhythm of the brush, adding a dose of coolness to your cartoon's persona. With each stroke, watch the magic unfold, turning your sketchbook into a canvas of stylish storytelling. Ready to unveil a hairdo that steals the spotlight? Let's keep the artistic vibes flowing in this fun and fabulous painting adventure

Step 4: Giving More touch To Eyes and Face Expression
Let's dive into the captivating world of facial features, Equip yourself with a black acrylic paint pen to define those expressive eyebrows. Bring your cartoon's gaze to life with bold strokes, giving the character a touch of attitude and flair. Now, switch gears to the face itself, grab that thin brush once again, this time dipped in a light brown watercolor-like acrylic paint. As you delicately color the full face, envision the transformation from a blank canvas to a palette of emotions.

Step 5: Infuse Depth and Details for a Dynamic Finish
Prepare for the magic to intensify as we add layers of detail to your cartoon character, Grab your trusty drawlish acrylic paint in brown and a thin brush, ready to create a scratchy-like effect that adds dimension to the overall look. With each stroke, infuse a touch of coolness, giving your character a textured vibe that captivates the eye. Now, shift your focus to the lips, equip yourself with black acrylic paint pens to outline and define, adding a touch of sophistication. To achieve a 3D effect, delicately dot with white using a pen, transforming those lips into a focal point of expression. Elevate the drama by enhancing the eyes. Use black acrylic paint pens for stylish slashes and a rounded circle outline, creating a shadow effect that adds depth. Moving on to the iris, introduce a pop of light green with the same thin brush, and don't forget the black dot for that captivating gaze. Extend the artistic finesse to the hair, where acrylic paint pens create realistic slashes and a gradient-like effect. Transition seamlessly to the hands, applying the paint with a soft touch, resembling tree-like patterns for a whimsical touch.

Step 6: Ignite the Sunshine Vibes with Yellow Bliss
Get ready to splash some sunshine onto your cartoon's wardrobe, Equip yourself with a burst of yellow acrylic paint and let the color party begin. With a cool and fun touch, grab your brush and generously coat the entire half t-shirt with vibrant yellow hues. Feel the energy radiate from your sketchbook as the color comes to life, giving your character a dynamic and playful wardrobe choice. This step is all about infusing a burst of positivity and warmth into your creation, turning the ordinary into extraordinary. Revel in the cool vibes as your cartoon takes on a whole new level of style and flair

Step 7: Finishing Touches
Now it's time to add the finishing touches that will take your cartoon's style to the next level, Begin by introducing a touch of nature with four flower stems in the background. With a cool and fun demeanor, let these stems subtly bloom, creating a charming backdrop that adds character to your sketchbook. Moving on to the shirt sleeves, grab your trusty black acrylic paint pen and unleash your creativity with stylish slashes that form an eye-catching design. This step is all about infusing a hint of edgy flair. Enhance the wrist with a sleek bracelet using the same black acrylic paint pen. Watch as this small detail adds a touch of sophistication and completes the overall look. Now, turn your attention to the shirt itself. Dive into the world of design by creating a chain-like pattern. With black and white drawlish acrylic paint pens, let your imagination run wild as you color within the lines, adding a cool and fun element to the shirt.

Step 8: Compare your artwork
Compare your art with the reference video. Match every detail, correct mistakes, and remember, no one is perfect. Keep practicing for continuous improvement on your path to becoming a future professional artist.
Video Tutorial Of This Painting
How To Use Drawlish Acrylic Paint Pens?
Drawlish Art Supply Store has a bunch of acrylic paint pens that work great for this. If you're into trying different colors, go for the Drawlish Acrylic Painting Pens Set of 24. They're good on all sorts of stuff like canvas, paper, and wood. Super easy to use too, with a smooth and steady paint flow. Just shake them, press the tip on paper until the paint comes out, and then apply it smoothly on your canvas, glass, plate, or paper. These pens dry up quickly and don't mind water, making them perfect for painting detailed stuff like flowers and intricate designs. Easy peasy, right?
2 Bonus Tips
Tip 1: Mix and Match Colors Experiment
with the acrylic paint pens by mixing and matching colors. Create your own unique shades and tones to add a personalized touch to your artwork. Don't be afraid to explore the vibrant spectrum and let your creativity shine through.
Tip 2: Layer for Dimension
Give your artwork depth and dimension by layering colors. Allow each layer to dry before adding the next, building up intensity and richness. This technique adds complexity and visual interest to your painting. Whether it's creating shadows, highlights, or intricate patterns, layering opens up a world of possibilities for expressing your artistic vision. Dive into the layering adventure and watch your artwork come to life
Q1. Are there any special techniques for achieving gradients with acrylic paint pens?
Creating gradients with acrylic paint pens is an exciting venture. Start by practicing on scrap paper to get a feel for blending colors. Apply one color and, while it's still wet, overlap it with another, gently blending the edges. Experiment with different pressure and stroke techniques to achieve seamless transitions between colors for a stunning gradient effect.
Q2. What's the best way to clean the tips of acrylic paint pens?
Cleaning the tips of acrylic paint pens is simple. While the pen is open, gently wipe the tip on a piece of scrap paper until the color runs clear. If the tip becomes clogged, you can soak it in warm water for a short period, then wipe it clean on paper until the color flows smoothly again.
Q3. Is it possible to refill or replace the ink in acrylic paint pens?
Most acrylic paint pens are not designed for refilling or replacing ink. Once the ink is depleted, it's time to replace the pen. but, some high-quality brands may offer refillable options. Check the product details or manufacturer's instructions for information specific to the brand you're using.
Q4. How can I achieve a watercolor effect with acrylic paint pens?
To achieve a watercolor effect, dilute the acrylic paint pens with water. Create a palette by applying the pen ink to a surface, then use a wet brush to pick up the color. Apply the diluted paint to your artwork in gentle, flowing strokes, experimenting with water-to-ink ratios for varying levels of transparency.
Q5. Are there specific paper types that work best with acrylic paint pens?
While acrylic paint pens work on various surfaces, smooth and heavyweight papers tend to yield the best results. Papers designed for mixed media or acrylic painting are excellent choices, as they provide a stable surface for the pens to glide smoothly without excessive absorption.
Q6. Can I create fine lines and intricate details with acrylic paint pens?
Yes, you can create fine lines and intricate details with acrylic paint pens, especially those with fine or extra-fine tips. Practice control and precision on scrap paper before working on your main piece. The pens' versatility allows for both bold strokes and delicate detailing, catering to a range of artistic styles.
Q7. Can I use acrylic paint pens for 3D effects or raised surfaces?
Yes, you can create 3D effects or raised surfaces with acrylic paint pens. Apply multiple layers of paint to build up thickness and texture, allowing each layer to dry before adding the next. Experiment with layering and stroke techniques to achieve a tactile and visually interesting 3D effect.
Q8. How do I store acrylic paint pens to maintain their quality?
Store acrylic paint pens horizontally to ensure an even distribution of ink. This prevents one end from drying out faster than the other. Keep them in a cool, dry place and avoid exposing them to extreme temperatures. Storing them correctly helps maintain the quality and longevity of the pens.
Q9. Can I use acrylic paint pens for large-scale projects or murals?
While acrylic paint pens are fantastic for detailed work, they may not be the most efficient choice for large-scale projects or murals. Consider using traditional acrylic paints and brushes for such extensive surfaces, as they provide better coverage and allow for quicker application.
Q10. Are there safety precautions when using acrylic paint pens?
Always work in a well-ventilated area when using acrylic paint pens to avoid inhaling fumes. Additionally, wear protective clothing, especially if working on fabrics, to prevent stains. Keep the pens away from young children, as they may have small parts that could pose a choking hazard.
In summary, the journey of creating girl cartoon on sketchbook with acrylic paint pens is a delightful exploration of artistic expression. From choosing the right pens to infusing personality into details, each step contributes to a colorful adventure. Drawlish Art Supply Store's acrylic paint pens become your trusted companions in this artistic odyssey, whether you're a seasoned creator or a beginner honing your skills. With their versatility and vibrant hues, these pens transform a blank canvas into a tapestry of creativity. So, dive into the world of acrylic artistry, let your imagination guide each stroke, and discover the joy of bringing your unique visions to life on paper, canvas, or any surface you choose.


Leave a comment