How To Paint Mickey Mouse Cartoon Character Goofy With Acrylic Paint
Welcome to the fun world of acrylic painting, where we'll be creating the ever-charming Mickey Mouse step by step! Using simple drawlish yellow, black, orange, red, white, and light pink acrylic paints, we'll bring Mickey to life on your canvas. From coloring the background to adding the iconic features, let's make painting Mickey Mouse an enjoyable and straightforward experience. Let the creative adventure begin!
Get These Materials For This Mickey Mouse Painting
-
Canvas Paper
Step By Step Process To Paint Mickey Mouse Painting
Step 1: Prepare the Background
Start by coloring the background of your canvas with drawlish yellow acrylic paint. This will provide a warm and cheerful backdrop for Mickey Mouse. Ensure an even application and let it dry completely before moving on to the next step.
Step 2: Create the Outline
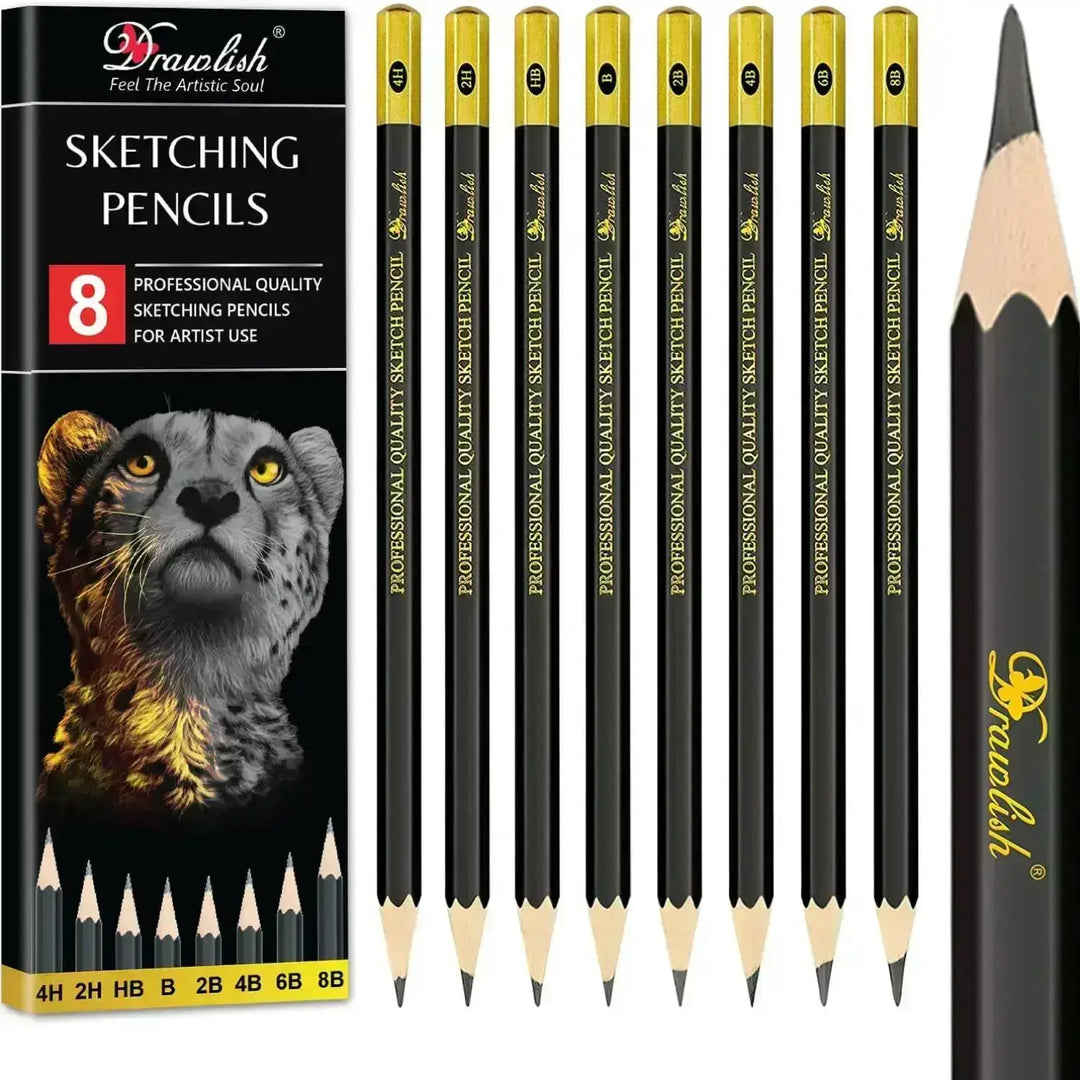
Using a drawlish pencil, sketch the basic shapes of Mickey Mouse's face, the big face, big rounded nose, big ears, long tongue, mouth, and two teeth on both sides. Pay attention to proportions and placement. This initial outline will serve as a guide for the subsequent steps.
Step 3: Add Depth with a Black Acrylic Paint Pen
Go over the pencil outline using a black drawlish acrylic paint pen. Emphasize the contours of Mickey's features, adding depth, shadows, and highlights. Vary the stroke widths to create a dynamic and visually interesting outline. Bold lines will make the details stand out.
Step 4: Paint Mickey's Outfit and Mouth
Apply orange drawlish acrylic paint to the area below the neck to create the illusion of Mickey wearing clothing. Then, use red drawlish acrylic paint for his mouth and white drawlish acrylic paint for the teeth. Take your time to ensure a clean and vibrant application.
Step 5: Detail the Eyes and Nose
Paint the eyes with white drawlish acrylic paint. Add black dots to represent the pupils and color the nose in black as well. Ensure that the details are crisp and well-defined for a lively expression.
Step 6: Color the Head and Ears
Using black drawlish acrylic paint, fill in the main head and the ears. This step brings Mickey Mouse to life on the canvas. Additionally, use light pink to paint the tongue, giving it a soft and realistic appearance.
Step 7: Refine and Compare
Compare your painting to the reference video or image of Mickey Mouse. Check for any discrepancies or mistakes and make corrections as needed. Remember that practice is key to improvement, and no one achieves perfection instantly. Keep refining your skills and aspire to become a future professional artist.
Video Tutorial Of This Mickey Mouse Painting
Common Mistakes To Avoid
While painting Mickey Mouse with acrylics can be a delightful experience, it's essential to be aware of common pitfalls that may arise. Here are some things to avoid:
Rushing the Background
Applying the drawlish yellow background hastily. Take your time to ensure an even and well-applied background. Let it dry thoroughly before moving on to the next steps.
Neglecting Proportions in the Outline
Inaccurate proportions in the initial drawlish pencil outline. Pay close attention to Mickey's features, ensuring proper sizing and placement. A well-proportioned outline is crucial for a realistic depiction.
Inconsistent Stroke Widths in the Outline
Using inconsistent stroke widths with the drawlish acrylic paint pen. Vary your strokes strategically to add depth, but be mindful of maintaining a cohesive and visually appealing outline.
Messy Application of Clothing Color
Messy application of orange drawlish acrylic paint for Mickey's "clothing." Apply the clothing color carefully, ensuring clean lines and a neat finish. Use a smaller brush for detailed areas.
Overlooking Detail in Teeth and Mouth
Neglecting detail in the teeth and mouth. Take the time to carefully paint each tooth, ensuring they are well-defined. Pay attention to the mouth shape to capture Mickey's signature expression.
Sloppy Eye and Nose Detailing
Careless detailing of the eyes and nose. Use a fine brush for precise detailing of the eyes and nose. Achieve a crisp finish to make these features stand out.
Inconsistent Colors
Inconsistency in colors, especially with light pink and black. Ensure uniformity in color application. Be mindful of shades and tones, especially when using light pink and black to create dimension.
Ignoring Reference Comparisons
Failing to compare your work to the reference video. Regularly check your painting against the reference material to identify and correct any discrepancies. This step is crucial for achieving accuracy.
Not Allowing for Mistakes
Frustration with imperfections and not embracing the learning process. Remember that art is a journey, and mistakes are part of the learning experience. Embrace imperfections, learn from them, and use them as opportunities for improvement.
Lack of Patience
Impatience with the drying process or rushing through steps. Exercise patience at each stage of the painting. Allow layers to dry completely before adding new ones, ensuring a polished and professional result.


Leave a comment