How to Paint on Wood: A Complete Beginner’s Guide
Painting on wood is one of the most satisfying and versatile forms of art. Whether you're customizing furniture, creating handmade signs, or decorating wooden decor pieces, this surface offers endless creative possibilities. If you're a beginner wondering how to start painting on wood, this complete guide is for you.
This is a step-by-step tutorial, so we are going to discover how you can create any kind of wooden surface into a masterpiece with the help of the correct tools, such as Drawlish Acrylic Paints and Drawlish Paint Pens, selling on Drawlish.com.
Step 1: Choose the Right Wood Surface
Not all wood is the same. Choose a smooth, sanded piece of wood to make painting easier. You can paint on:
-
Wooden panels
-
Boxes
-
Crates
-
Furniture
-
Reclaimed wood
Tip: If the wood has splinters or rough patches, sand it down with fine-grit sandpaper before starting.
Step 2: Prep Your Surface
A clean, primed surface makes your colors pop and last longer.
-
Clean: Wipe off any dust or grease with a damp cloth.
-
Sand: Lightly sand if needed to smooth the surface.
-
Prime: Apply a thin layer of white acrylic gesso or primer to help the paint adhere better.
Step 3: Choose Your Paints and Tools
For vibrant colors, smooth coverage, and long-lasting results, acrylic paints are your best bet. That’s where Drawlish Acrylic Paints come in!
Why Use Drawlish Acrylic Paints?
-
Rich pigments that bring your artwork to life
-
Smooth blendability for gradients and shading
-
Quick-drying and water-based (beginner-friendly)
-
Excellent for wood, canvas, and more
You can also add fine details, outlines, or lettering using Drawlish Paint Pens. These pens offer precision and control, making them ideal for writing quotes, adding borders, or enhancing designs on wood.
Get both from Drawlish.com your one-stop art shop.
Step 4: Sketch Your Design (Optional)
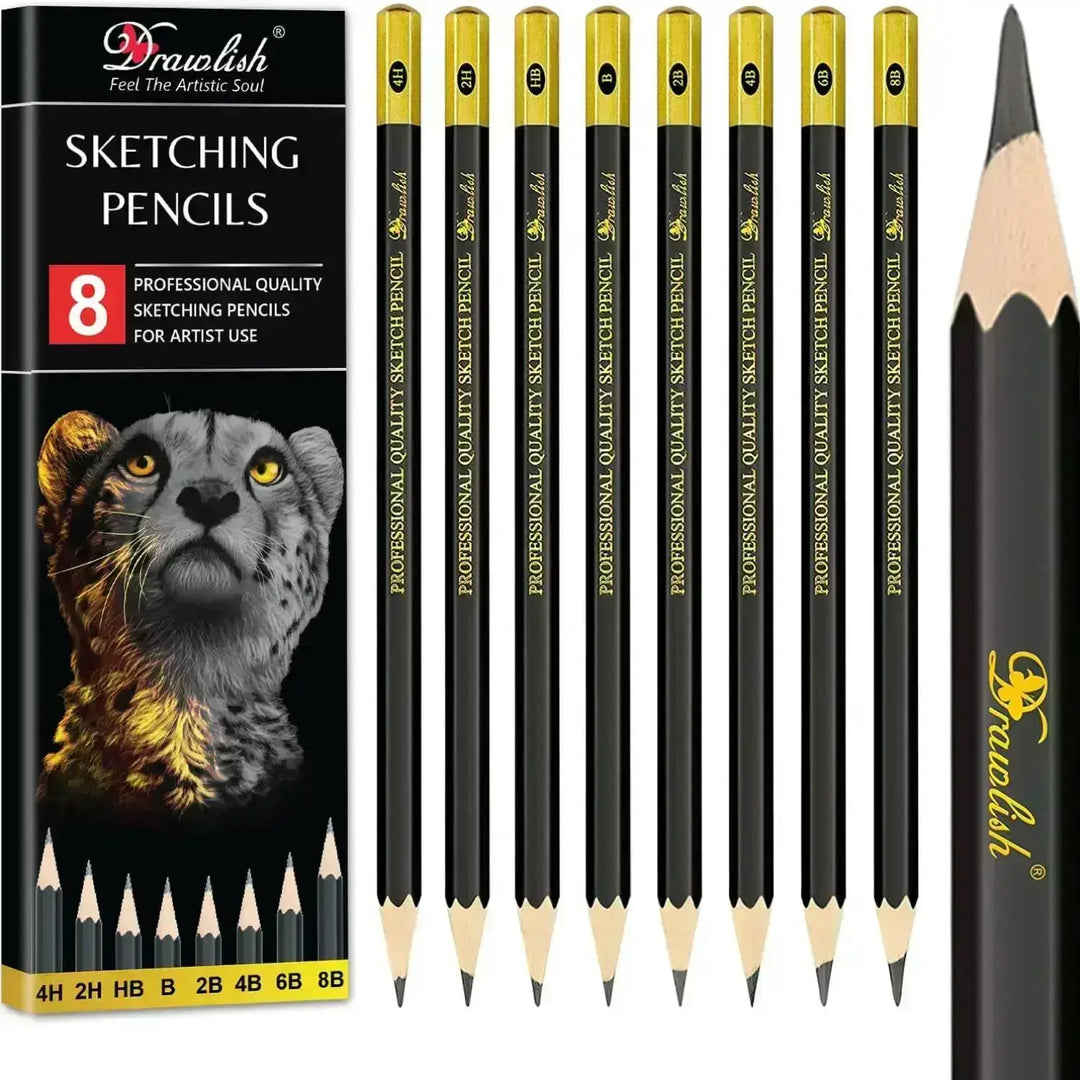
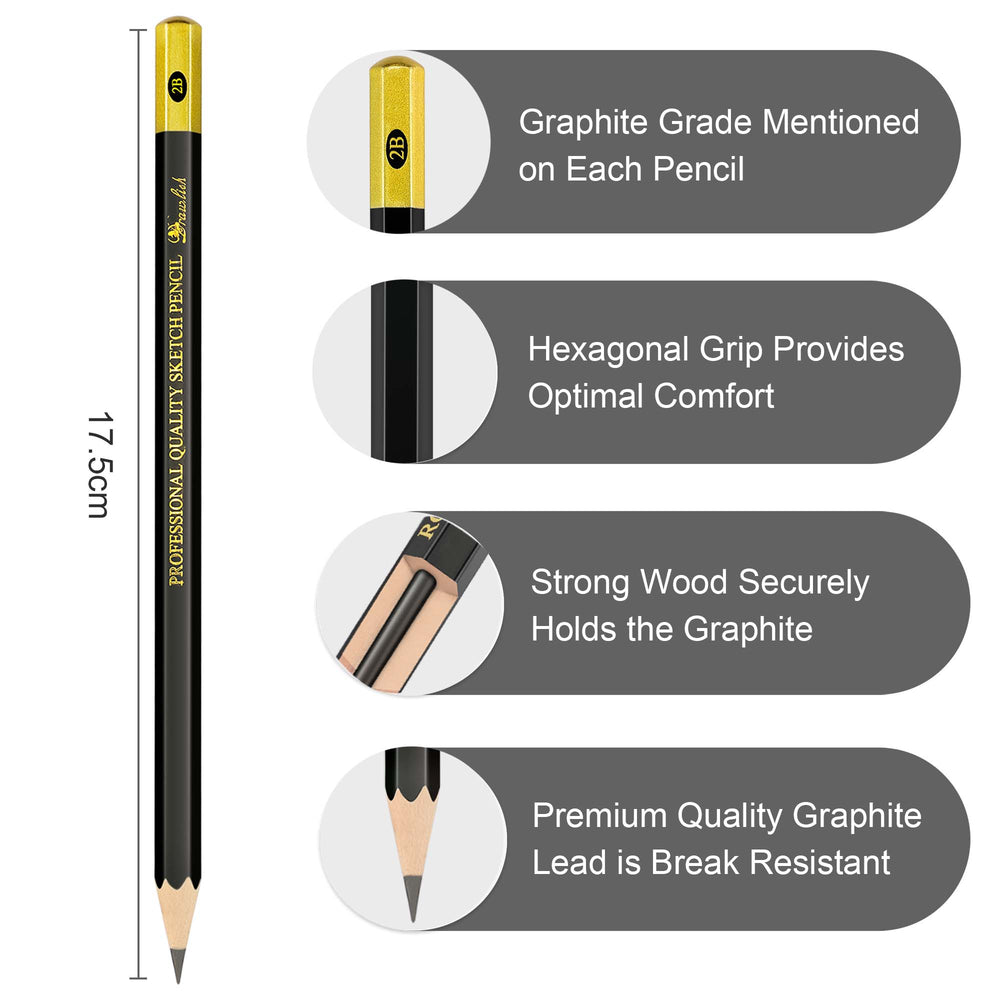
Lightly sketch your design with a pencil. If you're painting freehand, this step helps with planning composition and proportions. Don’t worry if you mess up — it’s just a guide!
Step 5: Start Painting
Here’s how to approach the painting stage:
-
Base Colors First: Fill in large sections with your main colors using a flat brush.
-
Layer Gradually: Acrylics dry fast layer colors once the base coat is dry.
-
Use Paint Pens for Details: Once the paint dries, use Drawlish Paint Pens for crisp lines, patterns, and accents.
Step 6: Add Texture or Effects
Want to add some dimension? Try:
-
Dry brushing for a rustic effect
-
Blending techniques for smooth color transitions
-
Splatter or stipple for fun textures
Experiment and see what works!
Step 7: Seal Your Work
Once the paint is fully dry, seal your work with a clear acrylic sealer or varnish. This helps protect your piece from scratches, moisture, and fading.
Bonus Ideas for Painting on Wood
Looking for project inspiration? Try these:
-
Personalized name plaques
-
Hand-painted wooden coasters
-
Wall signs with quotes
-
Painted plant boxes
-
Wooden holiday ornaments
All these projects are perfect for beginners and make for great DIY gifts too.
Ready to Start? Shop the Essentials at Drawlish.com
To bring your wooden masterpieces to life, stock up on premium art supplies. Explore our top-rated:
Drawlish Acrylic Paints – For rich, lasting color on any wooden surface
Drawlish Paint Pens – For clean, vibrant detail work and lettering
Everything you need to get started is just a click away: Shop Now at Drawlish.com
Painting on wood is a joyful and rewarding creative outlet, even for total beginners. With the right prep, techniques, and tools like Drawlish Acrylic Paints and Drawlish Paint Pens, you can easily turn a simple wooden surface into art.


Leave a comment