How To Paint Spongebob On Ceramic Plate With Acrylic Paint Pens
Welcome to the colorful world of DIY ceramics! In this step-by-step guide, we'll embark on a creative journey to learn "How To Paint SpongeBob on a Ceramic Plate with Acrylic Paint Pens." Unleash your artistic side as we explore a simple and fun technique to bring everyone's favorite sponge to life on a ceramic plate. No prior artistic experience? No worries! We've designed this tutorial with easy-to-follow instructions using acrylic paint pens, making it accessible for beginners and enthusiasts alike. Grab your materials, including a plain ceramic plate, pencil for sketch, and drawlish acrylic pens and let's dive into the vibrant world of SpongeBob SquarePants. From outlining the iconic features to adding those lively colors, each step is crafted to ensure a joyful and satisfying painting experience. So, get ready to turn an ordinary plate into a whimsical masterpiece that captures the charm of SpongeBob, perfect for adding a touch of animation to your daily dining or gifting a handmade treasure to a fellow SpongeBob enthusiast. Let's get started!
Get These Materials Before Starting
Step By Step Guide for Spongebob On Ceramic Plate
Step-by-Step Guide for creating everyone's favorite sponge on a ceramic plate! Get ready to dive into the world of SpongeBob with easy instructions using simple tools. Let's turn an ordinary plate into a whimsical masterpiece together!
Step 1: Bringing SpongeBob to Life with a Pencil Sketch
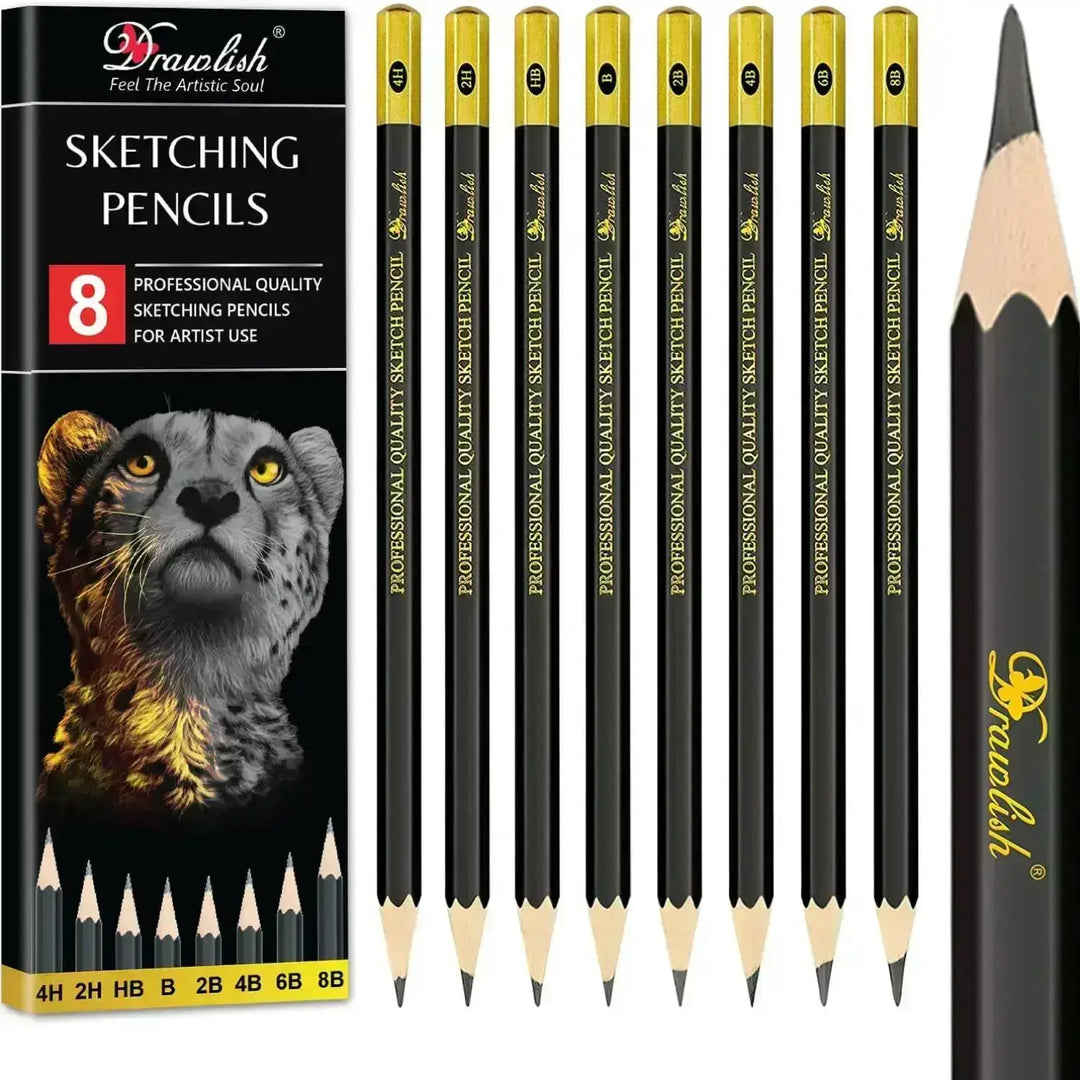
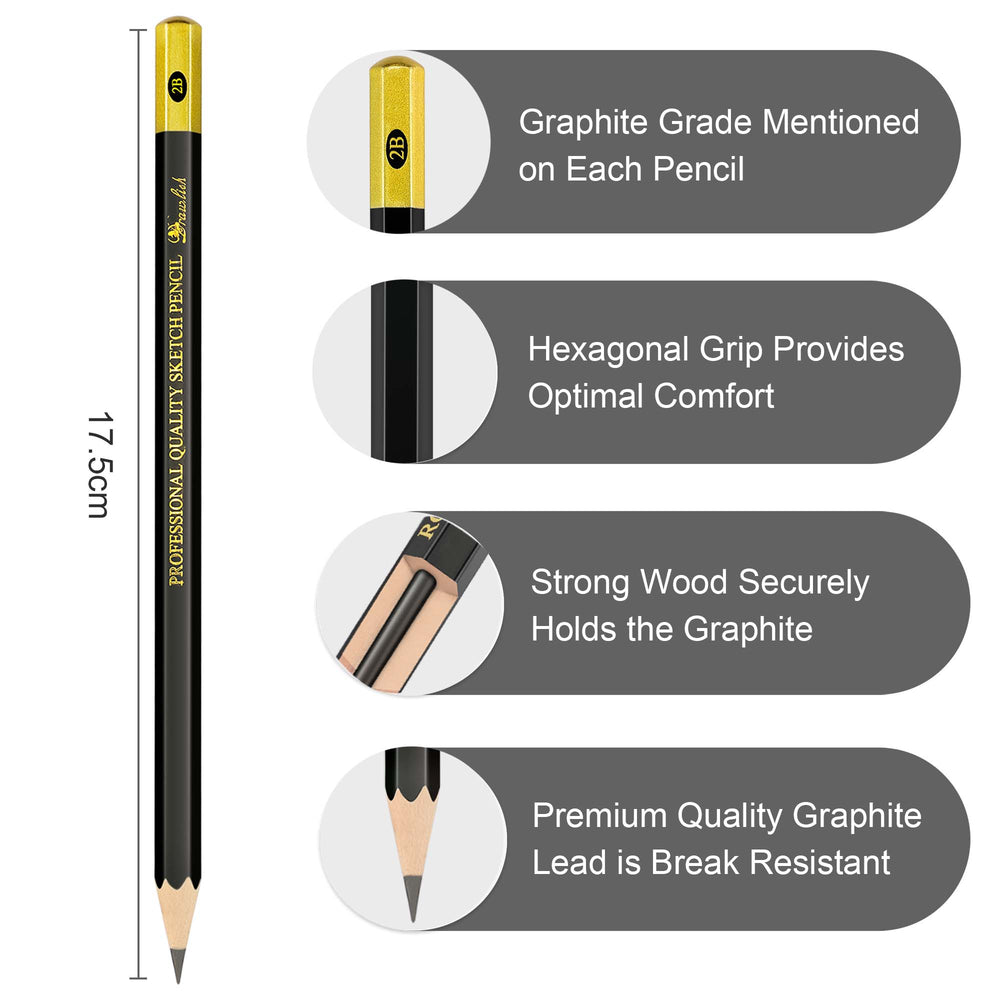
Embark on your creative adventure by infusing humor into your ceramic plate masterpiece. Begin with the first step: creating a lively outline sketch using a drawlish pencil. This special pencil is your artistic ally, designed for smooth outlining and easy adjustments.
Start by sketching SpongeBob's iconic features, his square face, friendly eyes, lovable hands, cheerful mouth, bendable legs, and distinctive ears. Don't be afraid to exaggerate those characteristic details, after all, SpongeBob's charm lies in his quirky appearance.
As you sketch, focus on capturing the essence of SpongeBob's personality, making sure the proportions feel just right. If you're unsure about any part, feel free to refer to reference video to ensure accuracy. Take your time, enjoy the process, and let the pencil guide your hand in creating the foundation for your humorous and functional artwork.
Once your sketch is complete, you'll be ready to add the vibrant colors that will truly bring SpongeBob to life on your ceramic plate. So, onto the next step, let the painting fun begin!

Step 2: Bold Outlining with Black Drawlish Acrylic Pen
Now that your cheerful SpongeBob sketch is ready, it's time to give it definition and precision with the second step. Grab your trusty black drawlish acrylic pen and let's make those outlines pop!
This step is crucial for accuracy, as it adds structure to your creation. The bold lines not only enhance SpongeBob's features but also ensure that your masterpiece retains its intended shape. The drawlish acrylic pen is specially crafted for this purpose, providing a smooth and controlled flow, making it easy for both beginners and seasoned artists.
As you go over your sketch, pay close attention to every detail, from the square outline of his face to the curves of his lovable legs. Boldly trace the contours, making sure each line is clear and distinct. This will serve as the foundation for the vibrant colors that will follow, adding depth and character to your SpongeBob creation.
Remember, perfection isn't the goal, it's about capturing the whimsical essence of SpongeBob. So, let your hand glide confidently with the drawlish acrylic pen, and watch your outline come to life, setting the stage for the next exciting phase of your artistic journey. Get ready to dive into the world of colors?

Step 3: Infusing Vibrancy with Blue Drawlish Acrylic Pen
Get ready to add a splash of color to your SpongeBob masterpiece in the third step! Now, take your blue drawlish acrylic pen and focus on bringing SpongeBob's head, hands, and leg sides to life with lively shades.
Start with SpongeBob's square head, carefully filling it in with the delightful blue hue. Use smooth, controlled strokes, following the contours of your bold outline. This is where the magic happens, transforming your outlined sketch into a vibrant character that radiates energy and cheerfulness.
Move on to those lovable hands that are always ready for adventure. Apply the blue acrylic pen to capture their playful essence, ensuring you stay within the lines you've drawn. Don't hesitate to add a bit of flair to SpongeBob's fingers, making them as lively as the character himself.
As you work your way down, color in the leg sides with the same blue acrylic pen, maintaining the consistency of your chosen shade. This step not only adds color but also builds dimension, making SpongeBob visually captivating.
Remember, there's no rush, enjoy the process and let the blue hues bring SpongeBob to life on your ceramic plate. The next steps will continue to unveil the vibrant personality of everyone's favorite sponge!

Step 6: Compare Your Artwork
Take a close look at your SpongeBob drawing and compare it to the reference video. Check every detail and fix any mistakes you spot. Remember, no one's perfect, and improvement comes with practice. Correcting errors helps you become a better artist. Keep going, stay positive, and enjoy the learning process. You're on your way to becoming a skilled artist!
Video Tutorial Of This Spongebob
1. How do I start painting SpongeBob on a ceramic plate?
To begin, gather a plain ceramic plate and a drawlish pencil. Create a sketch of SpongeBob, including his face, hands, mouth, legs, and ears.
2. Why is bold outlining with a black drawlish acrylic pen important?
Bold outlining with the black pen adds structure to your sketch, ensuring accuracy in SpongeBob's shape and features.
3. What colors should I use for SpongeBob's head, hands, and leg sides?
Use a blue drawlish acrylic pen to color SpongeBob's head, hands, and leg sides, bringing vibrancy to these areas.
4. How can I paint SpongeBob's body?
Paint SpongeBob's body with a yellow drawlish acrylic pen, adding playful pink accents to specific areas. Introduce a pop of red to a single body part for emphasis.
5. What's the significance of using white drawlish acrylic pen lines?
The white pen adds depth to blue-colored areas, while the red pen defines light pink sections. Scratchy lines around the eyes convey SpongeBob's mood.
6. How do I create a natural texture on SpongeBob's yellow areas?
Use a light orange drawlish acrylic pen to add small dots to the yellow areas, mimicking the natural texture of a sponge.
7. Is it necessary to compare my artwork with a reference video?
Yes, comparing helps ensure accuracy. Identify any mistakes, correct them, and remember that improvement comes with practice.
8. How do I correct mistakes in my SpongeBob painting?
Review your artwork, spot any errors, and adjust lines, colors, or details as needed. Embrace the learning process and keep practicing.
9. Can I become a professional artist with practice?
Absolutely! Continuous practice, learning from mistakes, and staying inspired contribute to becoming a skilled artist.
10. Why is enjoying the artistic journey important?
Enjoying the process keeps you motivated and allows you to appreciate your progress. Embrace challenges, stay positive, and celebrate your artistic endeavors.
In conclusion, painting SpongeBob on a ceramic plate is a joyful journey of creativity. Starting with a simple sketch and using drawlish pens, we added vibrant colors and playful details, making our SpongeBob come to life. Remember, no artwork is perfect, but through practice and comparison, we refine our skills. Whether you're a beginner or aspiring artist, enjoy the process and celebrate your progress. Keep practicing, stay positive, and soon you'll create SpongeBob masterpieces that reflect your unique style. Happy painting!


Leave a comment