How To Paint Wildlife Girl On Cardboard With Acrylic Paints
Materials You Will Needed
Follow These Simple Steps To Paint Wildlife Girl On Cardboard
Get ready to unleash your inner artist as we take you through the step-by-step process of creating a heartwarming masterpiece, we're diving into the world of acrylic painting on cardboard, bringing to life a delightful scene featuring a girl and the wonders of wildlife.
Step 1: Setting the Serene Backdrop And Making Sketch
To start our wildlife girl painting, let's infuse a touch of dreamy ambiance into the cardboard. Begin by giving the cardboard a watercolor effect for the background. Dip your brush in water and gently stroke water onto the surface, creating a damp base.
Now, select soft pastel hues like blues and pinks, and with a light hand, apply strokes of diluted acrylic paint. Let the colors blend naturally, forming a subtle, ethereal backdrop. This simple watercolor technique adds a tranquil atmosphere to the scene, setting the stage for our charming wildlife girl.
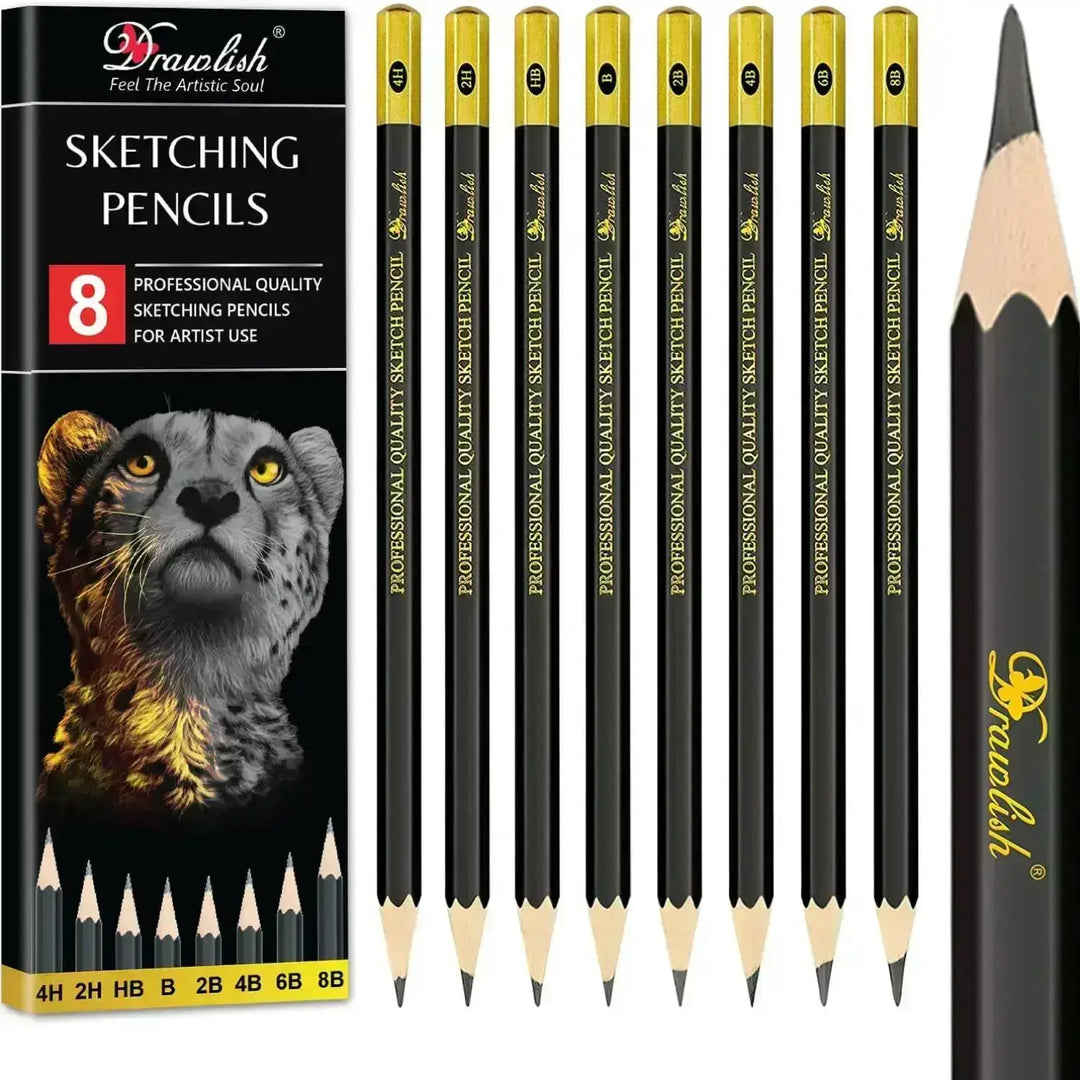
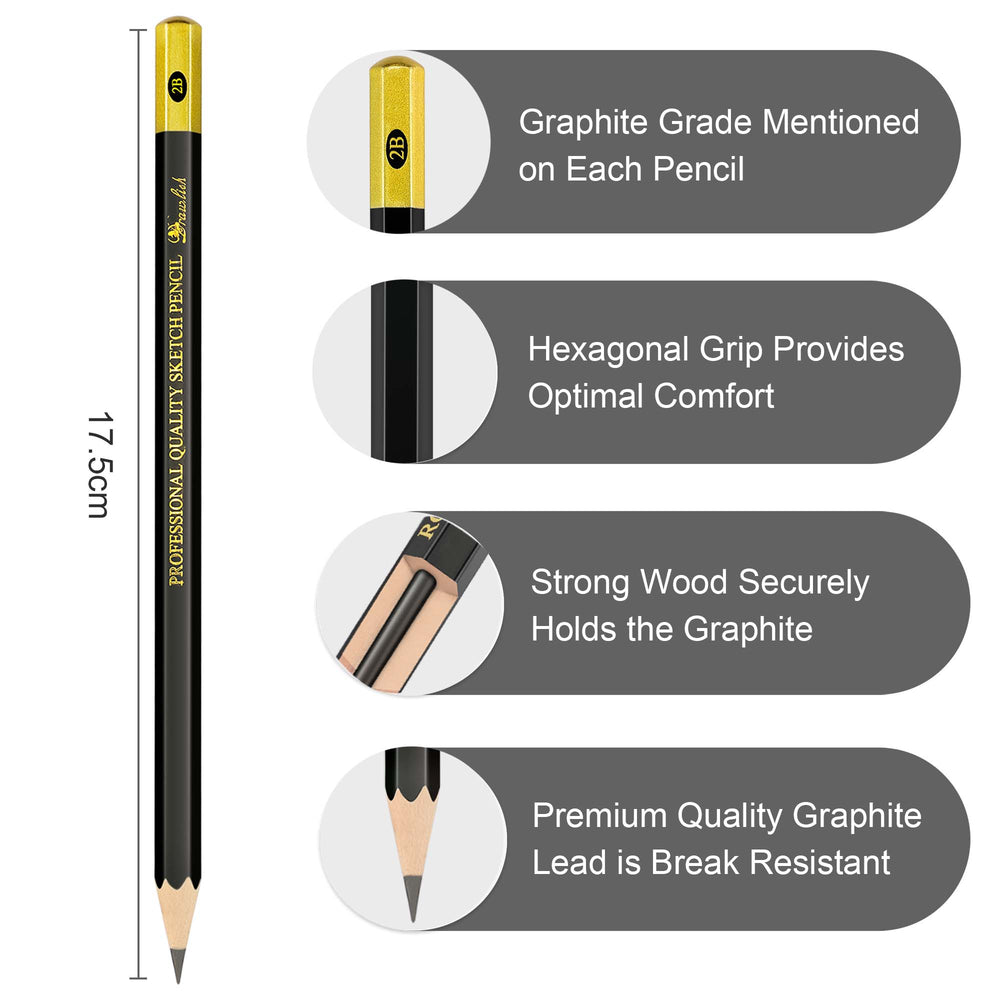
With the background taking shape, let's dive into bringing our wildlife girl to life. Start by sketching with drawlish pencil the outline of her features. Outline her head, capturing the innocence in her eyes. Add flowing strokes for her hair, allowing it to cascade with a sense of natural movement. Craft her delicate face with gentle lines, evoking the sweetness of youth.
Extend your sketch to include the flora surrounding her, draw flowers at her feet and a bird in the distance, catching her attention. This comprehensive sketch lays the foundation for the heartwarming connection between our wildlife girl and the enchanting natural world she inhabits. As we move forward, this initial sketch will guide us in infusing depth and detail into our painting, ensuring the final masterpiece radiates warmth and charm.

Step 2: Giving Colors to Our Wildlife Girl
Now that our whimsical background is set, let's dive into giving our Wildlife Girl some personality. In this step, we'll use brown drawish acrylic paint to add character to her hair and lips. Imagine the rich, earthy tones enhancing the charm of our girl!
Start by loading your brush with the brown acrylic paint. With gentle strokes, create the flowing strands of hair, allowing the paint to mimic the natural movement. Feel free to add some playful curls or loose strands to capture the carefree spirit of our character.
As you apply the paint to the lips, think about a soft, rosy hue that complements the overall innocence of our Wildlife Girl. Use small, precise strokes to define the lip shape, bringing a subtle touch of warmth to her expression.
This step is all about letting your creativity shine while adding depth to our artwork. The brown tones not only give life to the hair and lips but also create a harmonious balance with the dreamy background. So, grab your brushes, embrace the magic of acrylics, and let's see our Wildlife Girl come to life with every stroke!

Step 3: Adding Expressive Details to Our Wildlife Girl
Now that the foundation is set, let's focus on giving our Wildlife Girl a face full of charm and expression. In this step, we'll create essential features like her nose and eyes, adding a touch of makeup with delicate dots. Additionally, we'll dive into the whimsical flower adorning her head, infusing it with lively green and blue drawish acrylic paints.
Begin by dipping a fine brush into the acrylic paint. Carefully craft her nose, ensuring it complements the innocence radiating from her captivating eyes. Speaking of eyes, let them come alive with a sparkle, envision the curiosity and wonder in each stroke.
Now, for a subtle yet playful touch, apply tiny dots on her face to simulate a gentle makeup effect. Imagine the whimsy as these dots add a touch of magic to our Wildlife Girl's appearance.
Moving upward, let's breathe life into the lovely flower perched on her head. With a mix of green and blue drawish acrylic paints, let your brush dance along the petals. Imagine the flower blooming with vibrant colors, seamlessly blending into the dreamy backdrop.
This step is all about capturing the essence of our Wildlife Girl's personality. As you paint, let your imagination guide you, infusing her features with life and expression. Get ready to witness our creation blossom with every stroke!

Step 4: Making the Flower Colorful and the Bird Beautiful
Now, let's make the flower on our Wildlife Girl's head really colorful. Think of bright colors like orange, red, green, and blue coming together to create a beautiful bloom, just like in our reference. Imagine each petal as a tiny canvas, ready for a splash of vibrant color. Dip your brush in the different colors, let them mix, and make the flower stand out against the dreamy background.
Next, let's paint the bird. imagine a charming and pretty bird with blue and yellow feathers and a bit of green. Use your brush to bring these soothing colors to life on the cardboard. Keep it simple and balanced, letting the blue and yellow feathers blend nicely, and add a touch of green for a natural feel.
This step is all about adding brightness to the flower and introducing a lovely bird friend for our Wildlife Girl. Have fun with the colors, and imagine the beauty unfolding on your cardboard paper as we get closer to finishing our artwork.

Step 5: Check Your Artwork
Now, compare your painting with the reference video. Look at every detail and fix any mistakes. Remember, no one is perfect, and practice makes you better. So, if there are things to correct, go ahead and do it. Enjoy the learning process and keep practicing to become a fantastic artist!

Video Tutorial Of This Wildlife Girl On Cardboard Painting
1. How do I start painting if I've never done it before?
If you're new to painting, start with simple supplies like paper, basic brushes, and acrylic paints. Choose an easy subject and enjoy the process of experimenting with colors.
2. What's the difference between acrylic and watercolor paints?
Acrylic paints are water-based but have a thicker consistency, allowing for more layering and texture. Watercolors are thinner and best for transparent, delicate effects.
3. Can I mix different paint brands together?
Yes, you can mix different brands, but be cautious with mixing mediums. It's advisable to test on a small surface to ensure compatibility.
4. How do I avoid my acrylic paint drying too fast?
Keep a spray bottle of water handy. Spritz the paint on your palette occasionally to prevent premature drying and extend your working time.
5. Do I need to follow every step in a painting tutorial exactly?
No, feel free to add your unique touches. Tutorials are guides, not strict rules. Experimenting can lead to exciting discoveries!
6. What's the best way to clean my paintbrushes?
Rinse your brushes with water immediately after use. For acrylics, mild soap can be used. For oil paints, consider using a brush cleaner.
7. Can I paint on any surface?
While canvas is popular, you can paint on various surfaces like paper, cardboard, or wood. Just ensure the surface is primed or suitable for your chosen medium.
8. How can I make my own custom paint colors?
Experiment by mixing existing colors. Start with small amounts, record your ratios, and gradually adjust until you achieve your desired shade.
9. Is it okay to paint over mistakes?
Absolutely! Allow the paint to dry, then paint over any mistakes or unwanted areas. Think of it as part of the creative process.
10. What should I do if I feel stuck or uninspired in the middle of a painting
Take a break. Step away, clear your mind, and return with fresh eyes. Sometimes, a pause can reignite your inspiration and creativity.
In conclusion, painting is a joyful adventure accessible to everyone. Whether you're a beginner or exploring new techniques, remember that each stroke tells your unique story. Embrace the learning process, and don't be afraid to add your personal touch. Art is a journey of self-expression, and practice paves the way to improvement. So, grab your brushes, dive into the colors, and create your masterpiece. With each artwork, you're not just painting, you're unlocking your creativity. Enjoy the delightful world of painting.


Leave a comment