


Step‑by‑Step Guide to Portrait Sketching for Beginners
Portrait sketching is one of the most rewarding forms of drawing. Capturing expressions, emotions, and personality with just a pencil can feel magical but for beginners, it can also feel intimidating. The good news? Portrait sketching isn’t about talent alone. With the right steps, patience, and quality tools, anyone can learn it.
This step-by-step guide will walk you through the basics of portrait sketching and help you build confidence from your very first sketch.
Step 1: Start with the Right Materials
Before you begin, make sure you have tools that support smooth, controlled sketching. A reliable set of pencils with varied hardness helps you create light guidelines, soft shading, and crisp details.
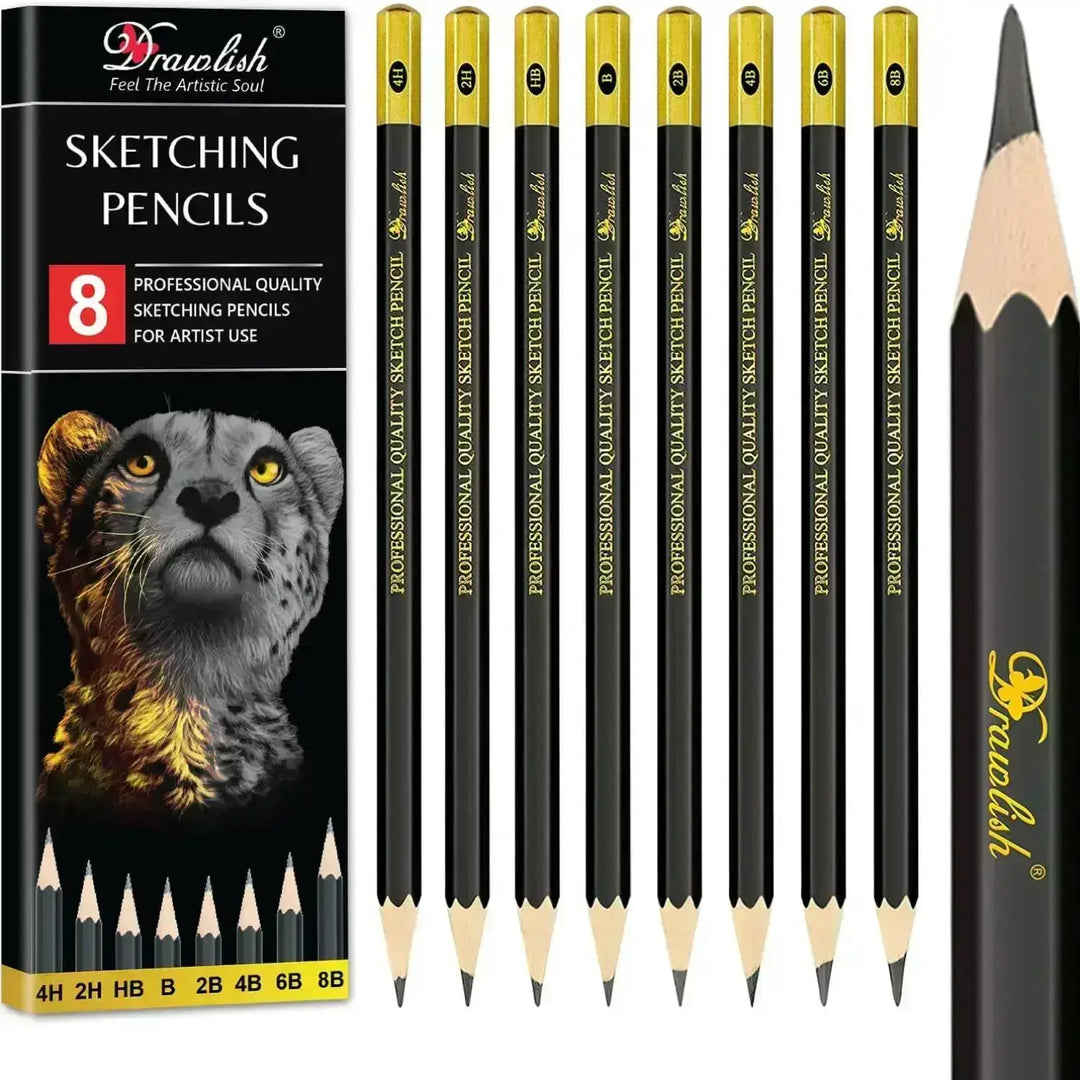
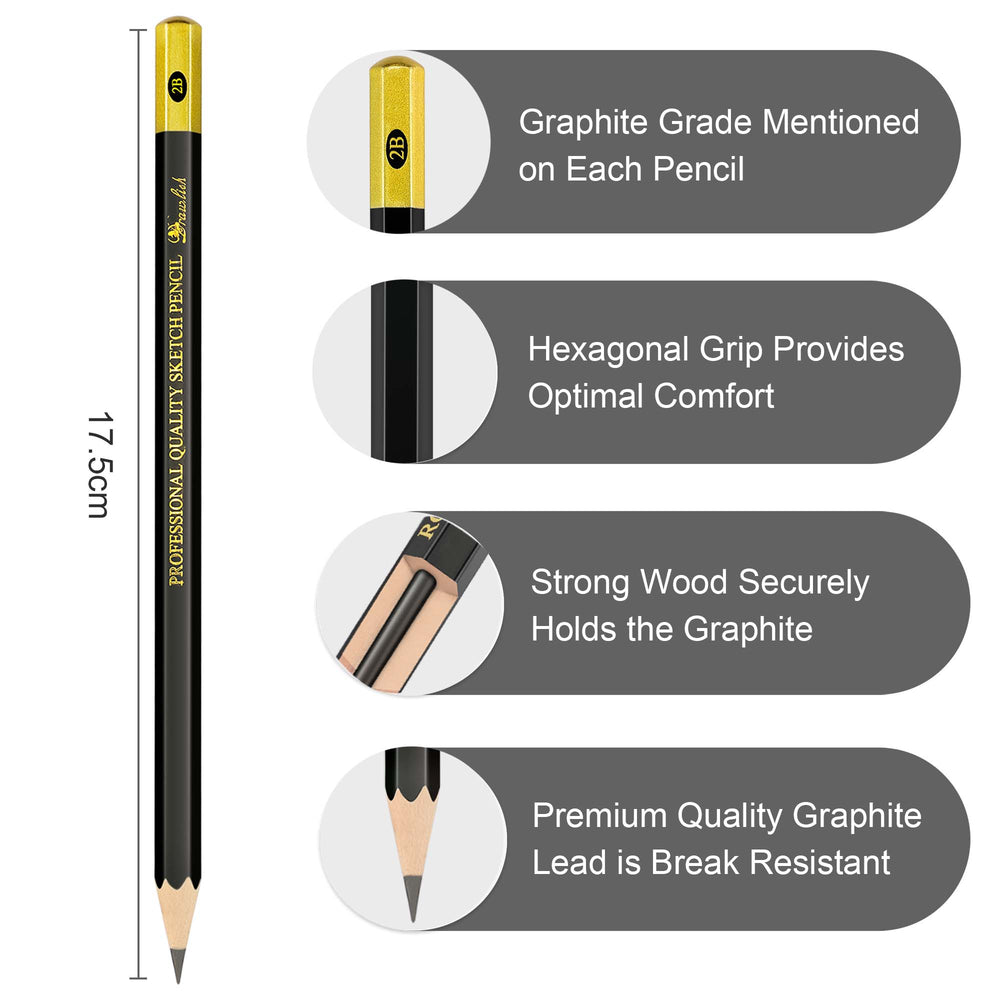
Drawlish Sketch Pencils are ideal for beginners because they offer consistent graphite quality, smooth strokes, and excellent control perfect for learning proportions and shading without frustration.
Step 2: Understand Basic Face Proportions
Portraits become easier when you break the face into simple guides.
-
Draw an oval or egg shape for the head
-
Divide it vertically down the center
-
Add horizontal lines for:
-
Eyes (usually halfway down the head)
-
Nose (midway between eyes and chin)
-
Mouth (between nose and chin)
These guidelines keep facial features balanced and aligned, even in early practice sketches.
Step 3: Sketch Lightly and Loosely
One of the biggest beginner mistakes is pressing too hard too soon. Start with very light strokes, allowing yourself to adjust shapes easily.
Using a softer graphite pencil from your Drawlish Sketch Pencil set helps you keep lines gentle and erasable while mapping out the face.
Step 4: Draw the Eyes, Nose, and Mouth Step by Step
Instead of perfecting one feature at a time, block in all features lightly first.
-
Eyes: Focus on placement and spacing before details
-
Nose: Think in simple shapes, not outlines
-
Mouth: Pay attention to the curve and distance from the nose
This approach keeps your portrait looking natural and proportional.
Step 5: Refine the Face Shape and Features
Once everything is placed correctly, begin refining:
-
Sharpen the jawline and cheekbones
-
Define eyelids, nostrils, and lips
-
Clean up unnecessary guide lines
This is where your sketch starts feeling like a real portrait.
Step 6: Add Shading to Create Depth
Shading brings your portrait to life. Observe where light hits the face and where shadows naturally fall.
Key shading areas include:
-
Under the nose and lower lip
-
Around the eyes
-
Along the sides of the face and jawline
Using different pencil grades from Drawlish Sketch Pencils makes blending smoother and helps you build realistic depth without harsh lines.
Step 7: Practice Facial Expressions
Once you’re comfortable with basic portraits, experiment with expressions, smiles, serious looks, or thoughtful gazes. Small changes in eyebrows, eyes, and mouth can completely transform your drawing.
Regular practice with quality sketch pencils makes these subtle details easier to control.
Step 8: Be Patient and Keep Practicing
Every artist improves with time. Your first portrait doesn’t need to be perfect, it just needs to be finished. Each sketch teaches you something new about proportions, shading, and observation.
Consistency matters more than speed, and using dependable tools like Drawlish Sketch Pencils ensures your focus stays on learning, not fighting your materials.
Portrait sketching is a journey of observation, patience, and creativity. By breaking the process into simple steps and practicing regularly, beginners can develop strong skills faster than they expect.
Leave a comment